Red Velvet Cake Recipe
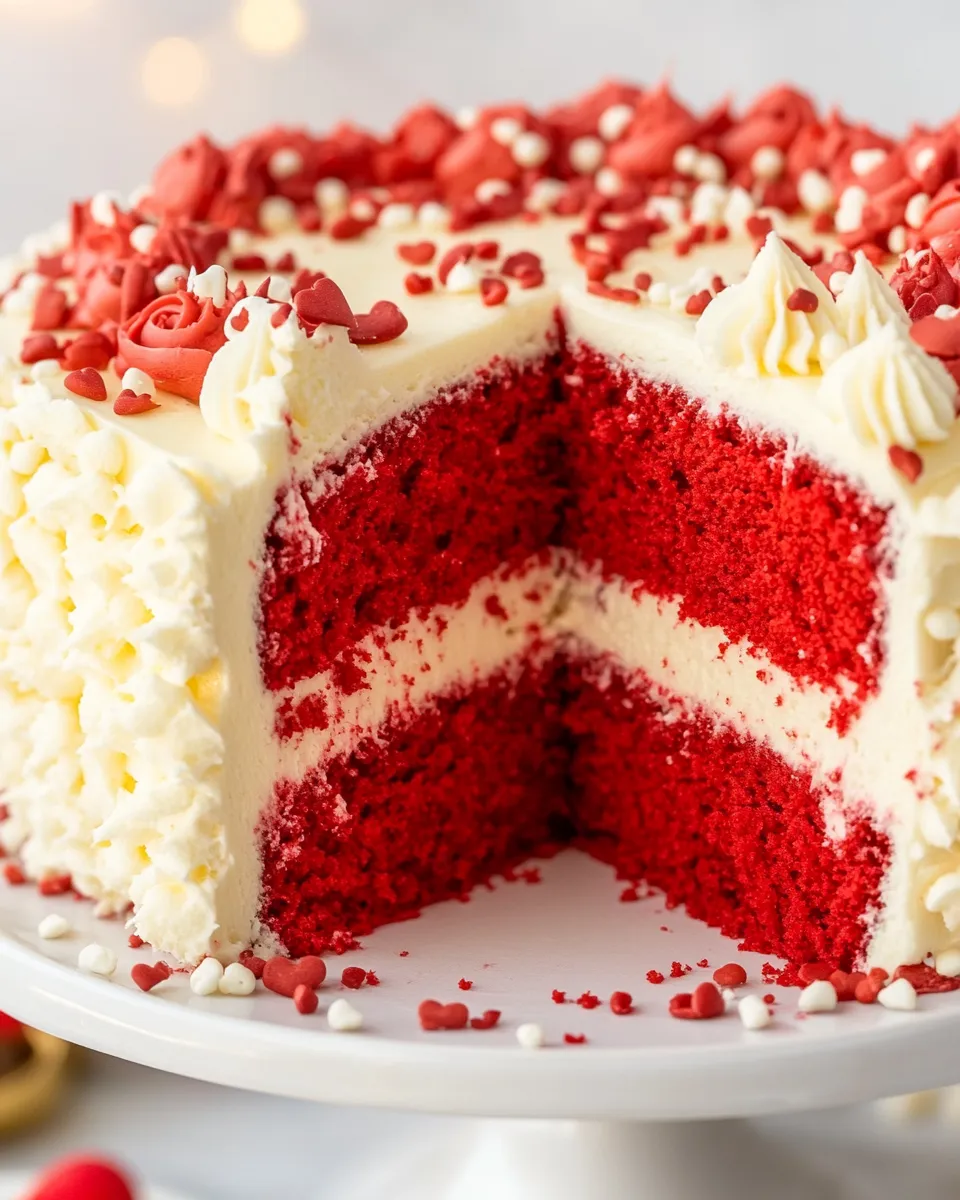
Red velvet cake is one of those desserts that instantly steals the spotlight at any celebration. With its luscious deep red hue, velvety texture, and decadent cream cheese frosting, it’s no wonder that this cake has become a classic in the world of baking. This recipe captures all the traditional flavors while being accessible even for novice bakers. Get ready to impress your family and friends with this delightful treat!
Why This Recipe Is a Must-Try
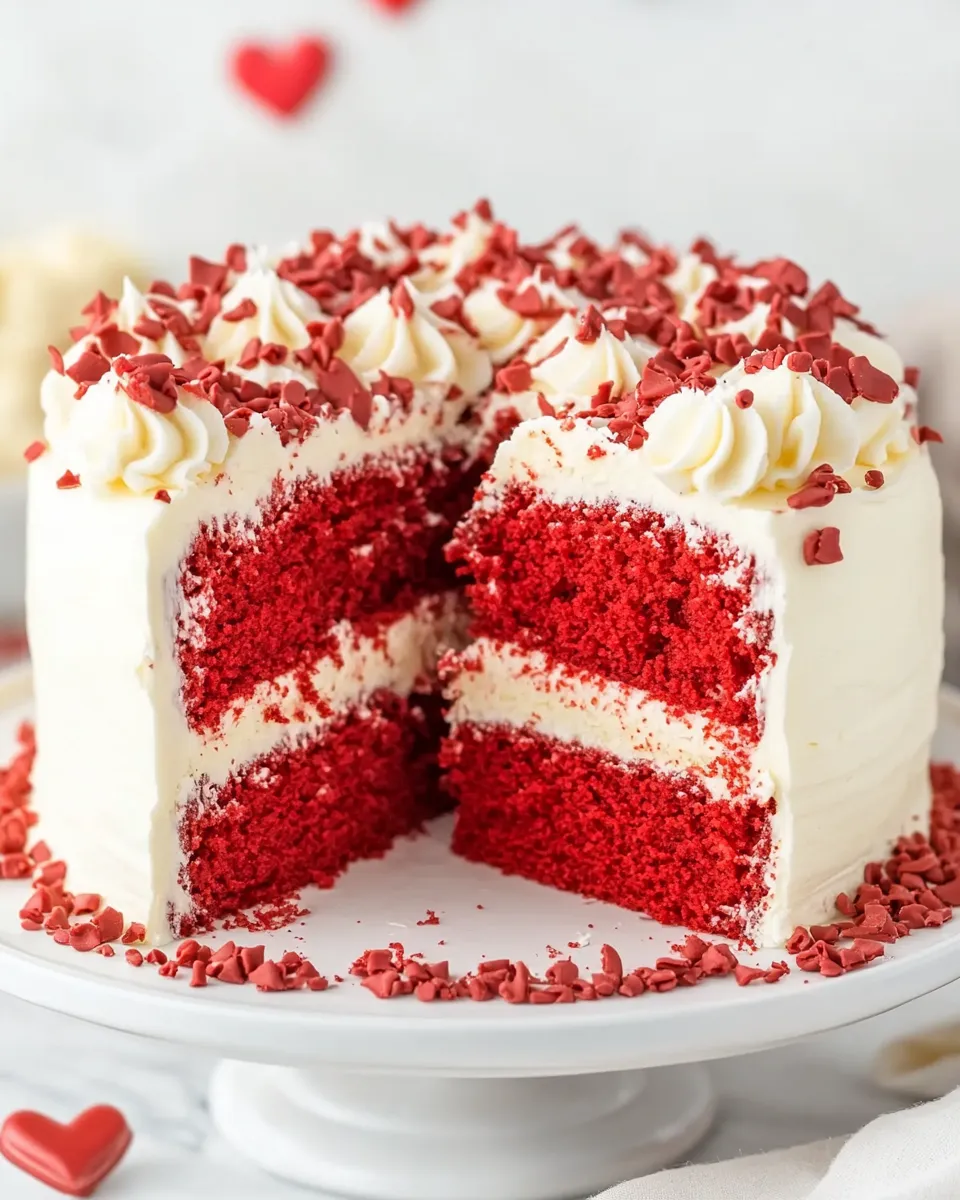
This red velvet cake recipe is not just about its stunning appearance; it’s also about rich flavor and alluring texture. The combination of tangy buttermilk and cocoa powder gives it a subtle depth, while the moistness of the cake ensures each bite is indulgent. Topped with the creamy goodness of cream cheese frosting and a sprinkle of white chocolate shavings, this cake is a true showstopper. Whether it’s for a birthday, an anniversary, or just because, this red velvet cake is sure to make any occasion extra special.
Ingredients
- ⅔ cup vegetable oil
- 2 ¼ cups granulated sugar
- 3 large eggs
- 1 ounce liquid red food coloring (see note)
- 1 ½ teaspoons vanilla extract
- 3 cups all-purpose flour
- 1 tablespoon unsweetened cocoa powder
- ½ teaspoon salt
- 1 ½ cups buttermilk
- 1 ½ teaspoons baking soda
- 1 batch Best Cream Cheese Frosting (see note)
- Sprinkles for decorating
- White chocolate shavings for decorating
How To Make Red Velvet Cake Recipe

Step 1: Preheat the Oven
Begin by preheating your oven to 350°F (175°C). Prepare two 9-inch round cake pans by greasing them and lining the bottoms with parchment paper for easy removal later.
Step 2: Mix Wet Ingredients
In a large mixing bowl, combine the vegetable oil and granulated sugar. Whisk these together until they are well blended. Add the eggs one at a time, ensuring each is fully incorporated before adding the next. Then mix in the red food coloring and vanilla extract until the mixture is smooth and vibrant.
Step 3: Combine Dry Ingredients
In a separate bowl, sift together the all-purpose flour, cocoa powder, and salt. This ensures there are no lumps and provides a lighter cake texture.
Step 4: Alternate Dry and Wet Ingredients
To the wet ingredients, add the dry ingredient mixture alternately with the buttermilk, starting and finishing with the dry ingredients. Be careful not to overmix—just combine until there are no flour streaks.
Step 5: Add Baking Soda
In a small bowl, combine the baking soda with a teaspoon of vinegar (this creates a reaction that helps the cake rise). Quickly fold this into the cake batter until just combined.
Step 6: Bake
Divide the batter evenly between the prepared cake pans and tap them gently on the counter to release any air bubbles. Bake in the preheated oven for about 25 to 30 minutes, or until a toothpick inserted in the center comes out clean.
Step 7: Cool the Cakes
Once baked, remove the cakes from the oven and let them cool in the pans for about 10 minutes. Then, carefully turn the cakes out onto a wire rack to cool completely.
Step 8: Frosting
Once the cakes are completely cool, it’s time to frost! Place one layer on a serving plate and spread a generous amount of the Best Cream Cheese Frosting on top. Place the second layer on top and frost the top and sides of the cake. For a festive touch, decorate with sprinkles and white chocolate shavings.
Expert Tips
- Make sure your ingredients are at room temperature for better mixing.
- If you cannot find buttermilk, you can make a substitute by adding 1 tablespoon of vinegar or lemon juice to 1 ½ cups of milk and letting it sit for about 10 minutes.
- For an extra moist cake, do not overbake; start checking for doneness a few minutes before the recommended time.
- When measuring flour, use the spoon-and-level method to avoid excess flour, which can lead to a dense cake.
Variations and Customizations
- For a chocolate lover’s twist, increase the cocoa powder to 2 tablespoons.
- Add a layer of raspberry or strawberry filling between the cake layers for a fruity flavor contrast.
- Incorporate chopped nuts, like pecans or walnuts, into the batter for added texture.
- Use food-safe edible glitter for an even more festive decoration!
How to Store Leftovers
To store any leftover red velvet cake, cover it well with plastic wrap or place it in an airtight container. You can keep it at room temperature for about 2-3 days or in the refrigerator for up to a week. If you’re storing it for a longer period, consider freezing slices wrapped in plastic wrap and then aluminum foil. When you’re ready to enjoy it, simply thaw it in the refrigerator overnight.
FAQ
Can I use gel food coloring instead of liquid food coloring?
Absolutely! Gel food coloring provides a more concentrated color and can often achieve the desired red hue without using as much. Just ensure it’s mixed in well.
What can I substitute for buttermilk?
You can use regular milk with a tablespoon of vinegar or lemon juice added. Let it sit for 10 minutes, and it will curdle slightly, giving you a buttermilk-like consistency.
How do I know when my cake is done baking?
Insert a toothpick or cake tester into the center of the cake. If it comes out clean or with just a few crumbs attached, your cake is done. If it’s wet with batter, it needs a few more minutes in the oven.
Can I make red velvet cupcakes with this recipe?
Yes! You can definitely use this batter to make cupcakes. Fill each cupcake liner about ⅔ full and bake for about 18-20 minutes, or until a toothpick inserted in the center comes out clean.
Conclusion
This red velvet cake recipe not only provides a stunning dessert that dazzles visually but also delivers on taste with every bite you take. The moist, tender crumbs combined with the rich cream cheese frosting create a dessert that’s simply irresistible. Perfect for celebrations or just a weekend baking project, this classic cake will quickly become a favorite in your baking repertoire. So gather your ingredients and start creating this beautiful cake – it’s time to experience the joy of baking!

Red Velvet Cake
Ingredients
Wet Ingredients
- ⅔ cup Vegetable Oil
- 2 ¼ cups Granulated Sugar
- 3 large Eggs
- 1 ounce Liquid Red Food Coloring See note for alternatives.
- 1 ½ teaspoons Vanilla Extract
Dry Ingredients
- 3 cups All-Purpose Flour
- 1 tablespoon Unsweetened Cocoa Powder
- ½ teaspoon Salt
- 1 ½ cups Buttermilk Can substitute with milk and vinegar.
- 1 ½ teaspoons Baking Soda
Frosting and Decorations
- 1 batch Best Cream Cheese Frosting See note for recipe.
- Sprinkles For decorating.
- White Chocolate Shavings For decorating.
Instructions
- Step 1: Preheat the oven to 350°F (175°C) and prepare two 9-inch round cake pans by greasing and lining them with parchment paper.
- Step 2: In a large mixing bowl, whisk together the vegetable oil and granulated sugar until well blended. Add the eggs one at a time, mixing well after each addition. Then mix in the red food coloring and vanilla extract until smooth.
- Step 3: In a separate bowl, sift together the all-purpose flour, cocoa powder, and salt.
- Step 4: Alternately add the dry ingredients and buttermilk to the wet mixture, starting and finishing with the dry ingredients. Mix until just combined.
- Step 5: In a small bowl, combine the baking soda with a teaspoon of vinegar and fold it into the batter.
- Step 6: Divide the batter between the prepared pans and bake for 25 to 30 minutes, or until a toothpick comes out clean.
- Step 7: Let the cakes cool in the pans for 10 minutes, then turn them out onto a wire rack to cool completely.
- Step 8: Frost the cooled cakes with cream cheese frosting and decorate with sprinkles and white chocolate shavings.
Equipment
- Mixing Bowl
- Cake Pans
- Whisk
- Sifter
- Wire Rack