Mint Chocolate Cookies
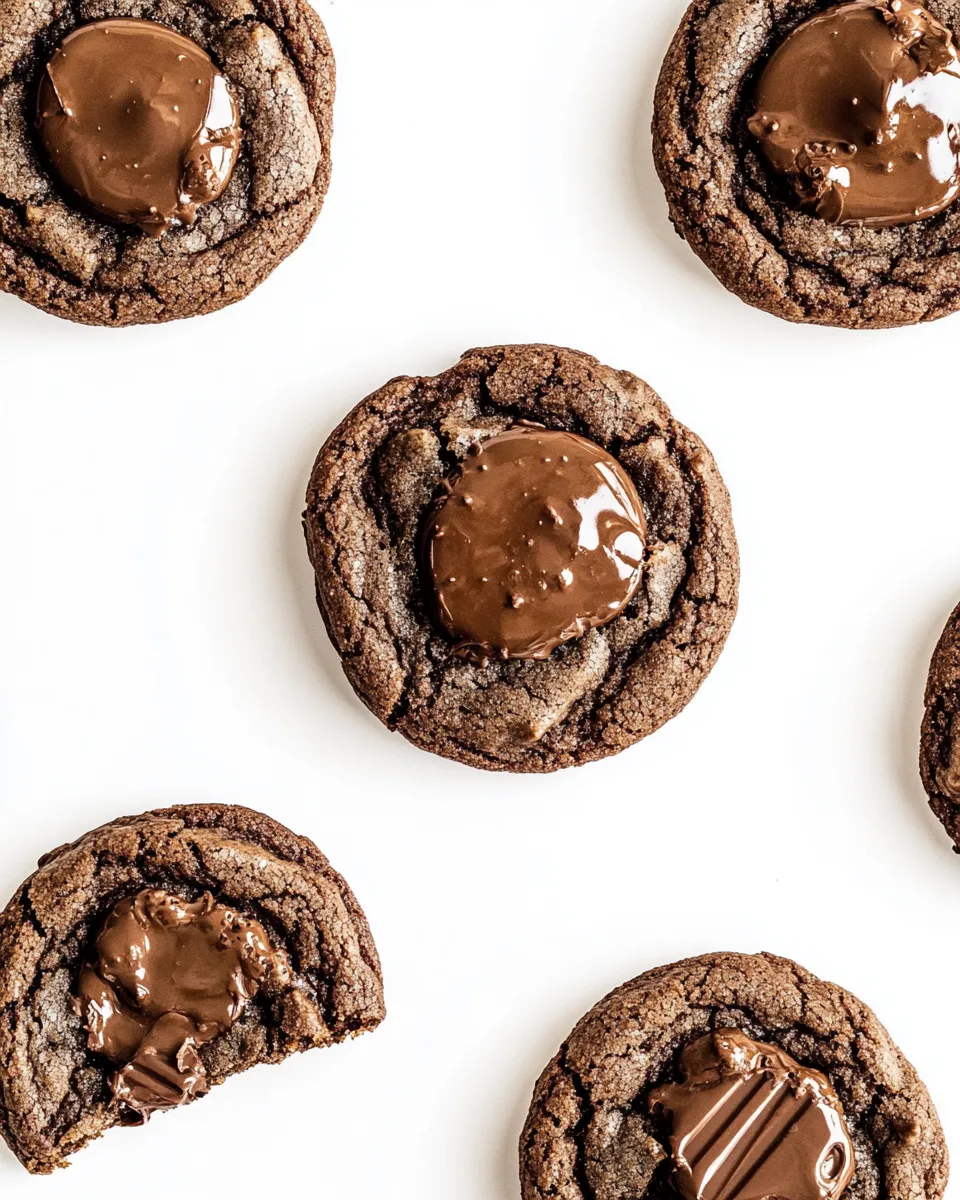
I love a cookie that balances rich chocolate with a bright mint kick. These Mint Chocolate Cookies do exactly that: a tender chocolate base studded with melty chocolate chips, finished with a chocolate mint wafer that melts into a glossy, minty topper. They feel a little grown-up, a little nostalgic, and they come together without drama.
The technique is straightforward: melt butter, sugar and water together, fold in chocolate and eggs, then mix in dry ingredients. Chill briefly so the dough handles well, scoop, bake, and add the mint while the cookies are hot so the wafers melt into a shiny, minty cap.
Below you’ll find a clear shopping list, a detailed ingredients section with quick notes, step-by-step instructions exactly matched to the original recipe amounts, and practical tips for variations, storage and troubleshooting. Read through once, then scroll to the method when you’re ready to bake.
Shopping List
- Butter — ¾ cup (unsalted preferred so you can control salt; if using salted, omit or reduce added salt).
- Packed brown sugar — 1 ½ cups (adds moisture and caramel depth).
- Water — 2 tablespoons (helps dissolve sugar and create a glossy dough).
- Semisweet chocolate chips — 2 cups (the chocolate base and melty pockets).
- Eggs — 2 large (binds and adds lift).
- All-purpose flour — 2 ½ cups (structure for the cookies).
- Baking soda — 1 ¼ teaspoons (leavening; ensures proper rise).
- Salt — ½ teaspoon (balances sweetness).
- Chocolate mint wafer candies (such as Andes Mints) — 36 pieces (one half per cookie for the mint topping).
Ingredients
- ¾ cup butter — melts with sugar to form the cookie’s fat base; unsalted recommended.
- 1 ½ cups packed brown sugar — supplies moisture and a toffee-like flavor; pack firmly.
- 2 tablespoons water — helps dissolve the sugar and thin the mixture for even melting.
- 2 cups semisweet chocolate chips — provides the chocolate body and gooey chips throughout.
- 2 eggs — add structure and richness; room temperature is easiest to incorporate.
- 2 ½ cups all-purpose flour — primary dry ingredient for cookie texture.
- 1 ¼ teaspoons baking soda — gives lift and lightness.
- ½ teaspoon salt — balances sweetness; use fine salt for even distribution.
- 36 chocolate mint wafer candies (such as Andes Mints) — each will be split in half to top the hot cookies and melt into a mint glaze.
Stepwise Method: Mint Chocolate Cookies
- Preheat the oven to 350°F (175°C).
- In a large pan set over low heat, combine ¾ cup butter, 1 ½ cups packed brown sugar and 2 tablespoons water. Stir gently until the butter fully melts and the sugar dissolves into a smooth mixture; do not boil.
- Add 2 cups semisweet chocolate chips to the warm pan. Stir continuously until the chips are partially melted, then remove the pan from heat and keep stirring until the chocolate is completely melted and the mixture is glossy.
- Pour the melted chocolate mixture into a large bowl and let it stand for 10 minutes to cool slightly. It should still be warm but not so hot it cooks the eggs.
- Using an electric mixer at high speed, beat in 2 eggs one at a time, making sure each egg is fully blended before adding the next. The mixture will lighten and become smoother.
- Reduce mixer speed to low. Add the dry ingredients—2 ½ cups all-purpose flour, 1 ¼ teaspoons baking soda and ½ teaspoon salt—and beat just until blended. Scrape the bowl as needed so there are no streaks of flour.
- Cover the dough and chill in the refrigerator about 1 hour. Chilling firms the dough for neater scooping and helps control spread during baking.
- Line or grease a cookie sheet (un-greased sheets can work per source, but a liner or light grease prevents sticking). Use a 1-tablespoon cookie scoop or a tablespoon to portion dough into balls. Place scoops about 2 inches apart on the sheet; they will spread slightly.
- Bake in the preheated 350°F oven for 8–10 minutes. The cookies should look set around the edges and slightly soft in the center; they will finish setting as they cool.
- While the cookies bake, unwrap 36 chocolate mint wafer candies and cut or split each wafer in half (so you have 72 halves). When the cookies come straight out of the oven, immediately place one half mint on top of each cookie, cut side down if you prefer faster melting.
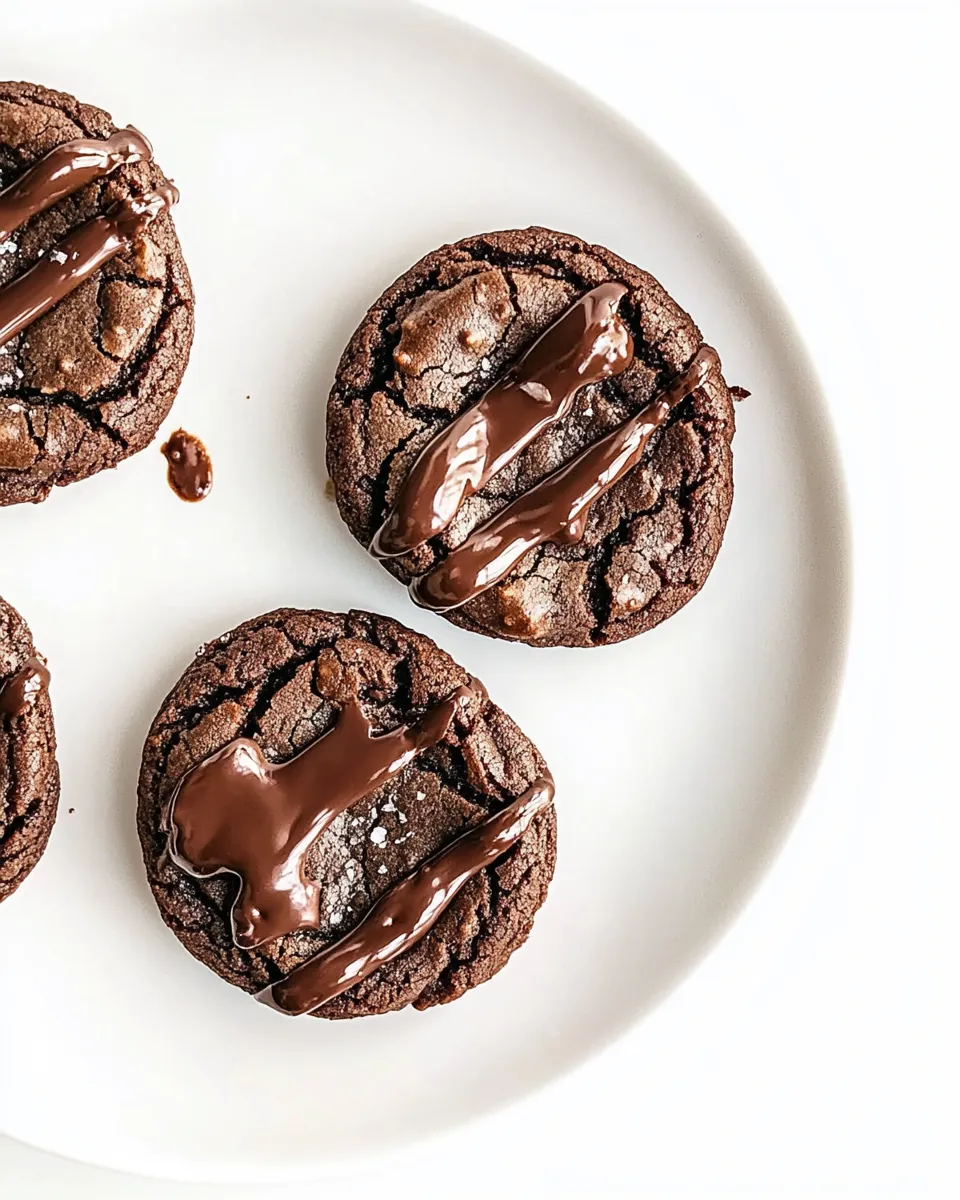
- Let the mint sit on the hot cookies for up to 5 minutes so it melts and spreads. After a few minutes, use the back of a spoon or an offset spatula to gently spread the melted mint into a glossy layer across the top of each cookie, if desired.
- Transfer cookies to a wire rack to cool completely. The mint will set as the cookies cool, creating a thin minty cap.
Top Reasons to Make Mint Chocolate Cookies

- Simple pantry ingredients, with one technique (melt-and-mix) that’s forgiving for home bakers.
- Combines classic chocolate depth with refreshing mint—great for holidays or after-dinner treats.
- Customizable: swap the mint candies or chocolate chips to tune sweetness and intensity.
- Produces attractive cookies with a glossy mint top that looks bakery-made without specialty tools.
Flavor-Forward Alternatives

- Use dark chocolate chips for a less sweet, richer cookie base.
- Replace chocolate mint wafers with peppermint patties for a thicker, more intense mint layer (note: melting time may vary).
- Add ½ teaspoon peppermint extract to the dough for an all-over mint flavor (use sparingly—extracts are strong).
- Fold in ½ cup chopped toasted nuts (like walnuts or pecans) for crunch and contrast.
What’s in the Gear List
- Large saucepan — for melting butter, sugar and chocolate together safely on low heat.
- Large mixing bowl — to finish the dough and mix in eggs and dry ingredients.
- Electric mixer — makes beating the eggs in effortless and consistent.
- Measuring cups and spoons — accurate amounts matter, especially for flour and baking soda.
- 1-tablespoon cookie scoop or spoon — for uniform cookie sizing and even baking.
- Baking sheet and cooling rack — to bake and fully cool cookies; a silicone mat or parchment is optional.
- Offset spatula or spoon — useful for spreading the melted mint evenly if you like a smooth top.
Errors to Dodge
- Overheating the chocolate mixture — keep heat low and remove from stove as soon as chips are mostly melted; residual heat finishes the job.
- Adding eggs to a mixture that’s too hot — let the melted mixture cool about 10 minutes before beating in eggs to avoid scrambling.
- Skipping the chill — unchilled dough spreads too much and makes flatter, oilier cookies.
- Placing uncut mints on warm cookies without splitting — whole wafers take longer to melt and won’t spread as nicely.
Seasonal Adaptations
- Winter holidays: add ½ teaspoon cinnamon or replace half the chocolate chips with white chocolate for a festive look.
- Spring: use pastel-wrapped mint candies or top with crushed freeze-dried raspberries for color contrast.
- Summer: serve chilled—keep cookies refrigerated for a cool, firm mint topping that’s refreshing on warm days.
- Fall: fold in ¼ cup cocoa nibs and toasted pecans for earthy, nutty depth.
Method to the Madness
This recipe’s logic is simple: melt fat and sugar to create a cohesive, flavorful base, incorporate chocolate for body, and add eggs for structure. Chilling stabilizes the dough so cookies keep a soft center while developing set edges. Topping with a half mint immediately after baking leverages oven heat to melt the mint into a glossy, integrated cap—no tempering or special tools needed. Follow the sequence carefully and you’ll get consistent cookies every batch.
Storage Pro Tips
- Room temperature: store cooled cookies in an airtight container at room temperature for up to 3 days.
- Refrigeration: keep in a single layer or separated with parchment for up to 1 week; refrigeration firms the mint topping.
- Freezing dough: shape dough balls and freeze on a sheet, then transfer to a bag for up to 3 months. Bake from frozen, adding 1–2 minutes to baking time.
- Freezing baked cookies: freeze fully cooled cookies in a single layer, then stack with parchment between layers in a sealed container for up to 2 months. Thaw at room temperature.
Questions People Ask
- Q: Can I use salted butter? A: Yes—use salted butter but reduce the added salt slightly or omit it to avoid over-salting.
- Q: Do I have to chill the dough? A: Chilling is recommended. It firms the dough, reduces spread and improves texture.
- Q: What if the mint doesn’t melt? A: Place the mint cut-side down on the freshly baked, hot cookie. If it still resists, return cookies to the warm (turned-off) oven for 30–60 seconds, then spread.
- Q: Can I use a different mint candy? A: Yes, but melting characteristics vary. Thin mint wafers melt fastest; thicker candies may need extra time.
Let’s Eat
Serve these Mint Chocolate Cookies with a cup of coffee, a glass of milk, or a scoop of vanilla ice cream for a simple dessert. They’re great fresh-warm when the mint is soft, or cooled when the mint sets into a crisp, minty cap. Make a double batch if you’re sharing—these disappear fast.
Happy baking—trust the steps, and enjoy the balance of glossy chocolate and bright mint in every bite.

Mint Chocolate Cookies
Ingredients
- 3/4 cup butter
- 1 1/2 cup packed brown sugar
- 2 tablespoons water
- 2 cups semisweet chocolate chips
- 2 eggs
- 2 1/2 cups all-purpose flour
- 1 1/4 teaspoons baking soda
- 1/2 teaspoon salt
- 36 chocolate mint wafer candies (such as Andes Mints) unwrapped and halved
Instructions
- In a large saucepan over low heat, melt the butter with the brown sugar and water, stirring until smooth.
- Add the semisweet chocolate chips to the butter mixture and stir until they are partially melted, then remove from heat and continue stirring until fully melted. Let cool for about 10 minutes.
- At high speed, beat the eggs into the cooled chocolate mixture one at a time until incorporated.
- Reduce mixer speed to low and add the flour, baking soda, and salt; beat until just blended into a dough.
- Cover the dough and chill in the refrigerator for about 1 hour.
- Preheat the oven to 350°F (175°C). Line baking sheets with parchment paper or leave them ungreased.
- Using a tablespoon or 1-tablespoon cookie scoop, roll the dough into balls and place them about 2 inches apart on the prepared baking sheets.
- Bake for 8–10 minutes, until cookies are set around the edges but still soft in the center.
- While cookies bake, unwrap the mint wafers and cut each in half. When cookies come out of the oven, place one half-mint on top of each cookie and let sit for up to 5 minutes until the mint softens, then gently spread the melted mint over the cookie if desired.
Equipment
- Large Saucepan
- large mixing bowl
- Electric Mixer
- cookie scoop or tablespoon
- Baking Sheets
- Wire Rack
Notes
- Dough needs about 1 hour chilling before baking.
- Place cookies about 2 inches apart on the baking sheet.
- Bake 8–10 minutes until edges are set.
- Top each cookie with half a mint immediately after baking.