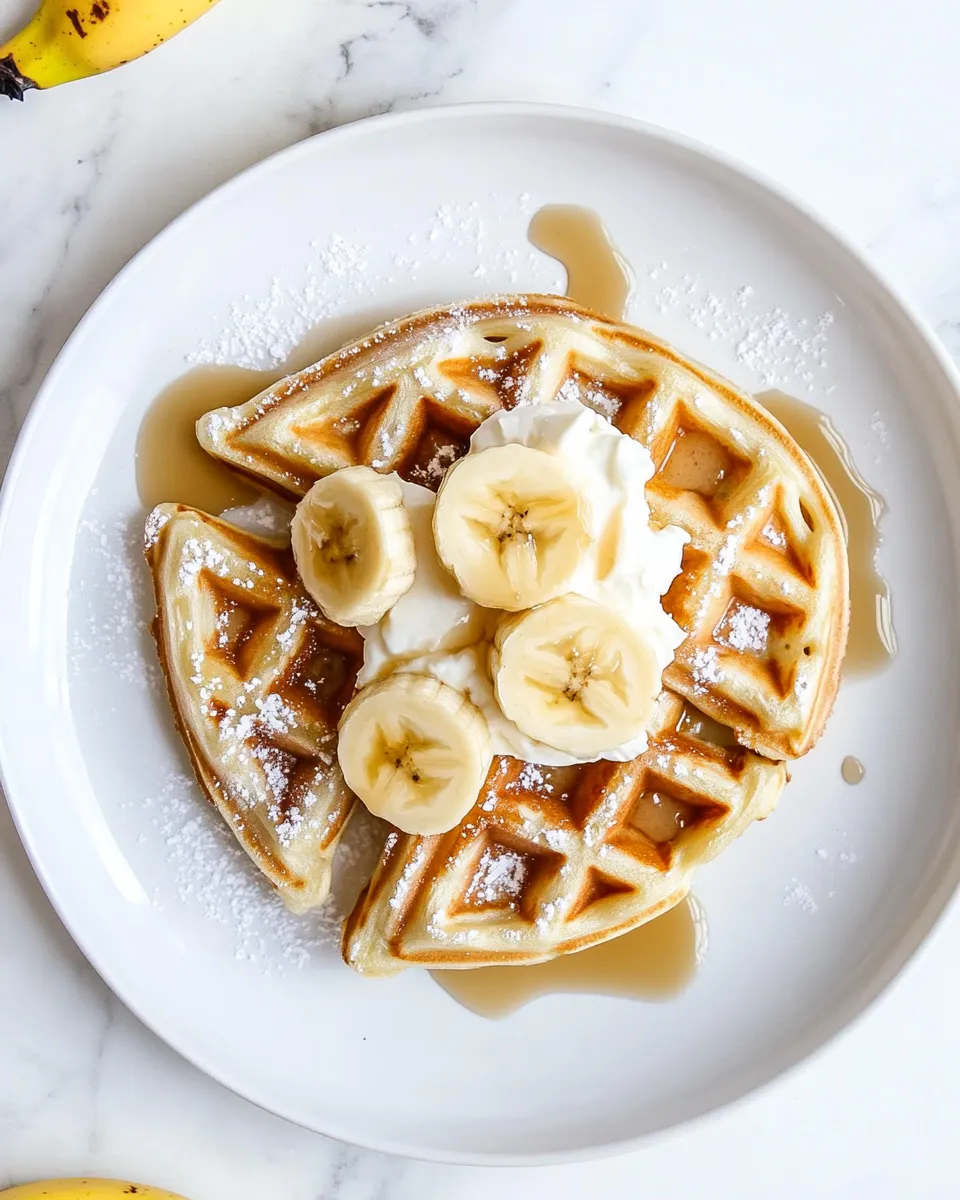
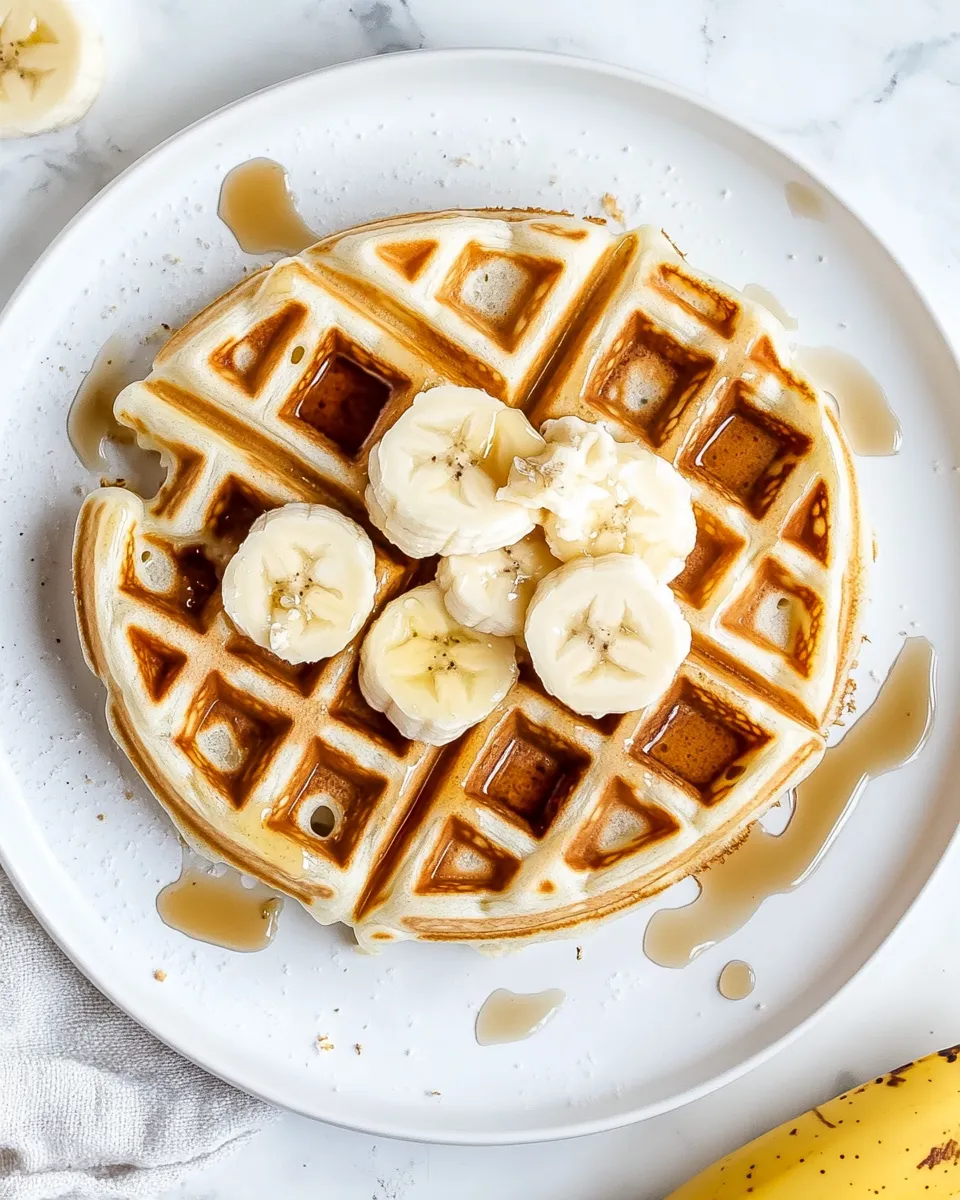
Banana Sour Cream Waffles
These waffles walk the line between tender and crisp. Ripe banana and tangy sour cream create a batter that’s rich without being heavy. They take less effort than you think and reward you with deep flavor and a golden crust.
The included maple-honey syrup is simple to make and keeps well—use it warm for finishing or stash leftovers in the fridge. I’ll guide you through straightforward steps, small tips to avoid common mistakes, and options to adapt these waffles for different diets and appliances.
Ingredients at a Glance

- 1/2 cup maple syrup — base for the warm finishing syrup; provides depth and maple flavor.
- 1/2 cup honey — balances maple with floral sweetness and helps thin the syrup for drizzling.
- 3 tablespoons unsalted butter — melts into the syrup for richness and sheen.
- 1 cup all purpose flour — the structure for the waffles; use fresh flour for best rise.
- 1½ tablespoons granulated white sugar — a touch of sweetness in the batter that aids browning.
- 1 teaspoon baking powder — primary leavening to give lift and lightness.
- 1/4 teaspoon baking soda — reacts with sour cream for extra tenderness and color.
- 1/4 teaspoon salt — balances sweetness and enhances overall flavor.
- 1 cup sour cream — adds tang, moisture, and a tender crumb.
- 1 medium ripe banana, mashed — natural sweetness and banana flavor; mash until smooth for even distribution.
- 1 large egg, beaten — binds and helps with structure and browning.
- 1/2 cup milk — thins the batter to the correct consistency; whole milk gives richer results.
- 1/4 cup (1/2 stick) unsalted butter, melted — folded into the wet ingredients for richness and to keep waffles crisp when cooked.
Mastering Banana Sour Cream Waffles: How-To
- Make the maple-honey syrup: In a small saucepan combine 1/2 cup maple syrup, 1/2 cup honey, and 3 tablespoons unsalted butter. Warm the mixture over low heat, stirring until the butter melts and the syrup is smooth. Alternatively, place the ingredients in a glass bowl and microwave in 2-minute intervals, stirring between intervals, until melted and combined. Keep warm for serving, or cool and store in a covered container in the refrigerator for up to 1 month. Reheat gently before using.
- Preheat and prepare the waffle iron: Spray the waffle iron with nonstick spray even if it has a nonstick surface. Preheat to medium-high or follow the manufacturer’s recommended setting for golden, crisp waffles.
- Combine dry ingredients: In a medium mixing bowl whisk together 1 cup all purpose flour, 1½ tablespoons granulated white sugar, 1 teaspoon baking powder, 1/4 teaspoon baking soda, and 1/4 teaspoon salt until evenly blended.
- Combine wet ingredients: In another bowl whisk together 1 cup sour cream, 1 medium ripe banana (mashed), 1 large egg (beaten), 1/2 cup milk, and 1/4 cup (1/2 stick) unsalted butter, melted. Mix until the banana is evenly distributed and the mixture is smooth.
- Mix batter without overworking: Make a well in the center of the dry ingredients and pour in the banana-sour cream mixture. Using a rubber spatula, stir just a few strokes until the dry ingredients are evenly moistened. The batter should be slightly lumpy—do not over-mix, which makes waffles tough.
- Cook the waffles: For each waffle, pour about 3/4 cup of batter onto the preheated waffle iron. Close the lid and cook until the waffle is crisp and well-browned, about 4 to 5 minutes (time will vary with your iron). Avoid opening too early; wait for the steam to slow and the exterior to set.
- Remove and serve: Use a fork to lift the waffle from the iron. Serve immediately, drizzled with warm maple-honey syrup. Keep finished waffles on a wire rack in a single layer in a low oven (about 200°F / 95°C) if keeping warm while you finish the batch.
Why This Recipe Belongs in Your Rotation
These waffles are quick to mix and deliver complex flavor: the banana adds sweet, fragrant notes while sour cream gives brightness and a tender interior. The batter holds together well, so you can prepare it in advance and cook waffles to order, perfect for busy weekend mornings or hosting brunch without last-minute chaos.
They also freeze and reheat beautifully, so a single batch can become several breakfasts. If you like a contrast between a soft interior and a crunchy edge, this recipe reliably produces both.
International Equivalents
- 1 cup all purpose flour — ~125 g.
- 1/2 cup maple syrup — ~120 ml.
- 1/2 cup honey — ~170 g (honey is denser; use volume if easier).
- 1/4 cup butter — 57 g (melted).
- 1 cup milk — 240 ml.
- 1 cup sour cream — 240 ml.
- 1½ tablespoons sugar — ~19 g.
- 1 teaspoon baking powder — ~4 g; 1/4 teaspoon baking soda — ~1.25 g.
Appliances & Accessories
- Waffle iron (standard Belgian or classic grid) — ensures even browning; adjust cook time by iron model.
- Small saucepan or microwave-safe glass bowl — for warming the syrup.
- Mixing bowls (one medium for dry, one for wet).
- Rubber spatula — gentle mixing to avoid overworking batter.
- Measuring cups and spoons (or kitchen scale) — accurate quantities equal consistent results.
- Wire cooling rack and rimmed sheet pan — hold finished waffles crisp while you finish the batch.
Errors to Dodge
- Over-mixing the batter — this creates gluten and yields tough waffles. Stir just until moistened; small lumps are fine.
- Underheating the waffle iron — low heat makes soggy, pale waffles. Let the iron reach medium-high temperature before adding batter.
- Using an unripe banana — it won’t sweeten or flavor the batter properly. Use a ripe banana with brown specks for best flavor.
- Skipping the butter in the syrup — it adds shine and prevents crystallization when cooled.
- Stacking hot waffles directly on each other — they steam and lose crispness. Use a wire rack if you need to hold them briefly.
Tailor It to Your Diet
Dairy swaps
- Replace sour cream with plain Greek yogurt for similar tang and texture (use 1 cup). The flavor will be slightly brighter.
- Use a plant-based milk and vegan butter to make the batter dairy-free; note that texture will be a bit lighter.
Sweetness & sugar
- Reduce granulated sugar to 1 tablespoon for a less sweet batter; the maple-honey syrup already adds plenty of sweetness.
Gluten-free option
- Substitute 1:1 gluten-free flour blend for all-purpose flour. Look for blends with xanthan gum or add 1/4 teaspoon per cup if your blend lacks it.
Author’s Commentary
I return to this batter on slow mornings. The sour cream keeps the center tender even when the exterior crisps well, and the ripe banana gives a gentle, homey sweetness that doesn’t overpower the maple-honey syrup. The syrup itself is a small, reliable indulgence—easy to warm and versatile enough to drizzle on fruit, pancakes, or yogurt bowls.
Keep an eye on your waffle iron’s heat and resist over-mixing the batter. Those two small habits make the difference between a good waffle and a great one.
Storing, Freezing & Reheating
- Storing: Cool waffles completely on a wire rack, then store in a single layer in the refrigerator for up to 3 days in an airtight container.
- Freezing: Flash-freeze waffles on a sheet pan until firm, then transfer to a freezer-safe bag or container. They keep up to 2 months.
- Reheating: For crisp waffles: reheat frozen or refrigerated waffles in a toaster or toaster oven until hot and crisp (2–4 minutes). Avoid the microwave unless you don’t mind a softer texture—heat briefly and then crisp in a skillet if necessary.
- Syrup storage: The maple-honey syrup will keep in the refrigerator for up to 1 month in a covered container. Reheat gently on the stove or in the microwave before serving.
Top Questions & Answers
- Can I make the batter ahead? Yes. Refrigerate the mixed batter up to 24 hours. Give it a gentle stir before using. Baking powder’s lift is best fresh, but the baking soda + sour cream still help the batter perform.
- Why is there both baking powder and baking soda? Baking powder provides general lift; baking soda reacts with the sour cream’s acidity for extra tenderness and better browning.
- My waffles are soggy—what went wrong? Most likely the iron wasn’t hot enough, or waffles were stacked while hot. Preheat properly and keep finished waffles on a wire rack.
- Can I split the batch? Yes. The recipe scales down cleanly. Use the same ratios and cook times will be unchanged.
Save & Share
If you make these waffles, save the recipe to your favorites and share a photo. Tag friends who love banana or anyone who appreciates a reliable brunch recipe. Small tweaks—like a sprinkle of toasted pecans or a smear of peanut butter—make great variations, but the core batter is already a dependable crowd pleaser.
Banana Sour Cream Waffles
Ingredients
- 1/2 cup maple syrup
- 1/2 cup honey
- 3 tablespoons unsalted butter
- 1 cup all purpose flour
- 1 1/2 tablespoons granulated white sugar
- 1 teaspoon baking powder
- 1/4 teaspoon baking soda
- 1/4 teaspoon salt
- 1 cup sour cream
- 1 medium ripe banana mashed
- 1 large egg beaten
- 1/2 cup milk
- 1/4 cup unsalted butter melted (1/2 stick)
Instructions
- Make the maple-honey syrup: in a small saucepan combine 1/2 cup maple syrup, 1/2 cup honey, and 3 tablespoons butter; warm over low heat just until the butter melts and the mixture is liquefied. Keep warm or transfer to a heatproof bowl and cover.
- Prepare the waffle iron by spraying it with nonstick spray and preheating to medium-high or following the manufacturer's instructions.
- In a medium bowl whisk together 1 cup flour, 1 1/2 tablespoons granulated sugar, 1 teaspoon baking powder, 1/4 teaspoon baking soda, and 1/4 teaspoon salt.
- In another bowl whisk together 1 cup sour cream, the mashed medium ripe banana, the beaten large egg, 1/2 cup milk, and the 1/4 cup melted unsalted butter until combined.
- Make a well in the dry ingredients and pour in the banana-sour cream mixture; fold gently with a rubber spatula just until the batter is evenly moistened. Do not overmix.
- For each waffle, pour about 3/4 cup batter onto the preheated waffle iron, close the lid, and cook until crisp and well browned, about 4 to 5 minutes per waffle.
- Remove waffles from the iron with a fork, serve immediately, and drizzle with the warm maple-honey syrup.
Equipment
- Small Saucepan
- Whisk
- Mixing bowls
- rubber spatula
- Waffle Iron
- Measuring cups and spoons
Notes
- To freeze waffles, cool completely before packing.
- Store individual waffles in freezer bags for up to 2 months.
- Reheat frozen waffles in a toaster or toaster oven until hot and crisp.