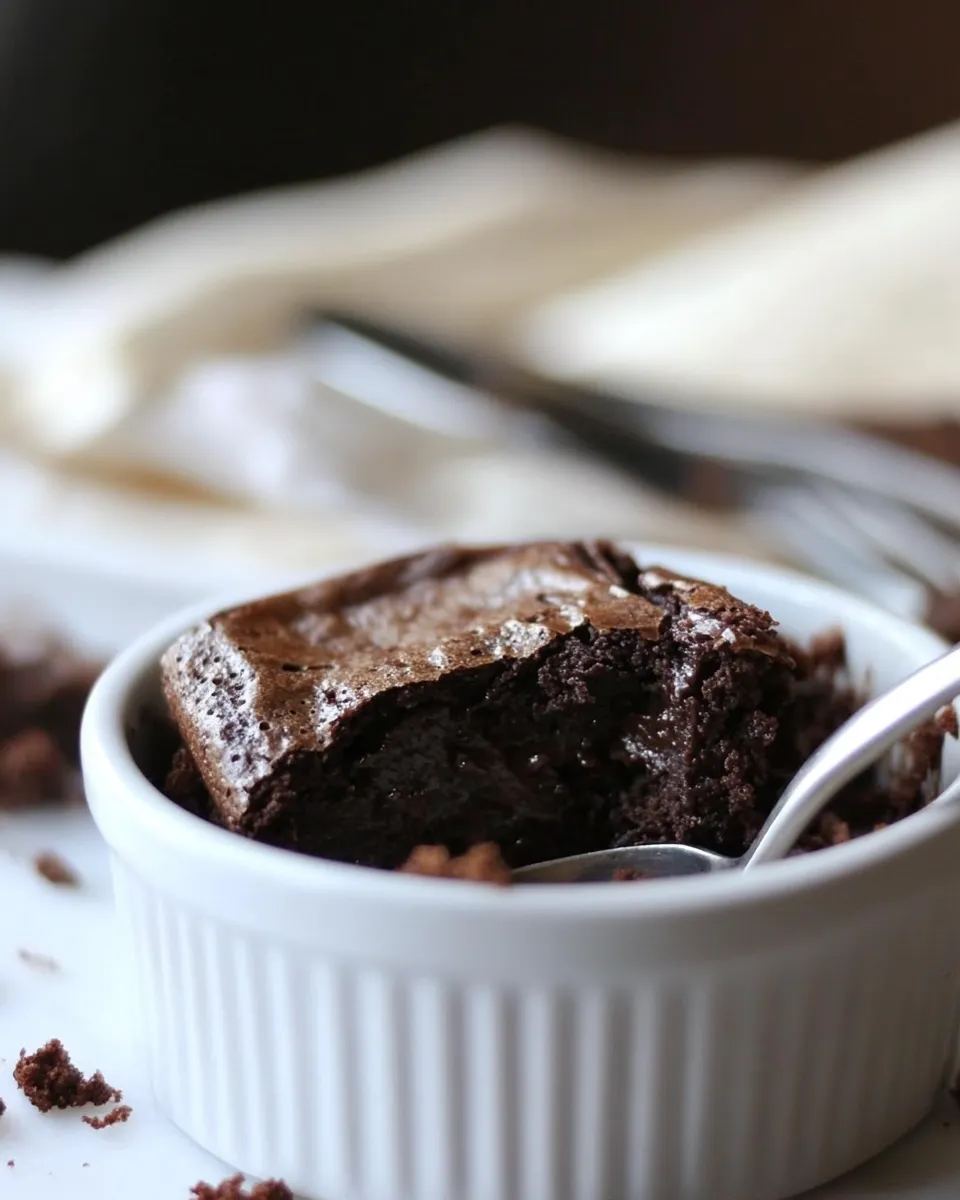
3-Minute Brownie in a Mug
I have a soft spot for tiny desserts that feel indulgent without requiring an hour in the oven. This 3-Minute Brownie in a Mug is exactly that: rich, chocolatey, and ready before you can decide which movie to watch. It’s built from a handful of pantry staples and needs only a microwave and a mug—perfect for solo cravings or a fast finish to dinner.
No fuss, no special equipment, and no measuring drama. The texture lands somewhere between fudgy and cakey depending on your microwave and timing, and the topping options are endless: whipped cream, a scoop of ice cream, or a sprinkle of flaky salt. Below you’ll find the ingredients, a clear step-by-step method, sensible swaps, and troubleshooting tips so your brownie comes out great every time.
The Ingredient Lineup

- 1/4 cup all purpose flour — gives structure; measure by spooning into the cup for accuracy.
- 1/4 cup brown sugar — adds sweetness and a hint of molasses for depth.
- 2 tablespoons cocoa powder — concentrates the chocolate flavor; use unsweetened.
- 2 tablespoons milk — hydrates the batter and helps dissolve the dry ingredients.
- 2 tablespoons vegetable oil — keeps the brownie moist and fudgy.
- pinch salt — balances sweetness and enhances chocolate notes.
- splash vanilla — brightens the flavor; about 1/4 teaspoon is fine.
- splash coffee extract optional — intensifies chocolate if you have it; omit if you prefer.
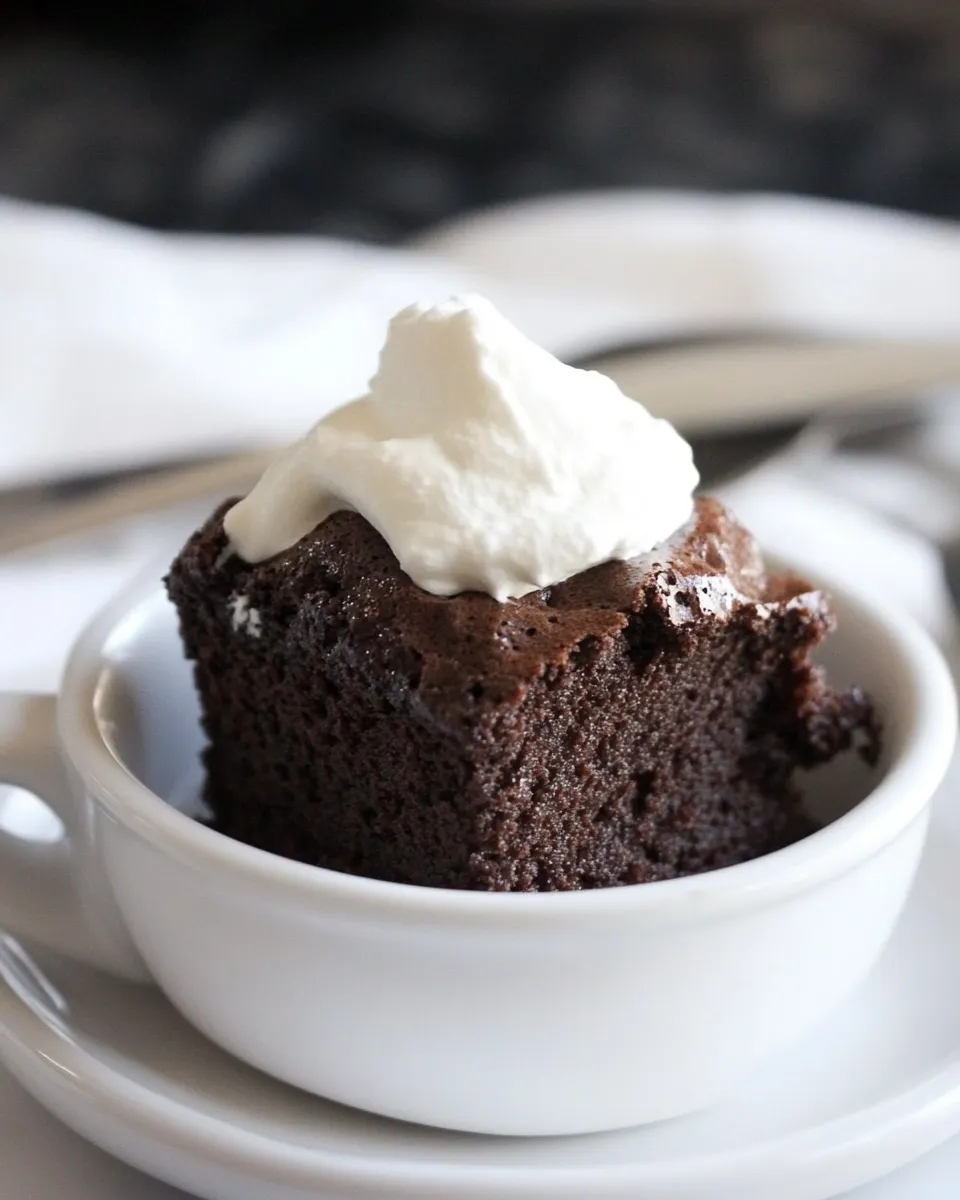
- sweetened whipped cream optional — great for serving; adds creaminess and contrast.
Cook 3-Minute Brownie in a Mug Like This
Follow these steps exactly to turn the ingredient lineup into a warm, single-serve brownie. The directions keep the same ingredient amounts and order as provided, with clearer, practical steps for home cooks.
- Measure the dry ingredients: In a small bowl, add 1/4 cup all purpose flour, 1/4 cup brown sugar, and 2 tablespoons cocoa powder. Sprinkle in a pinch of salt. Stir with a fork or small whisk until evenly combined and there are no clumps of cocoa or sugar.
- Add the wet ingredients to the bowl: Pour in 2 tablespoons milk and 2 tablespoons vegetable oil. Add a splash of vanilla and, if using, a splash of coffee extract. Stir everything together until you have a smooth batter with no visible streaks of flour.
- Prep the mug: Lightly spray the inside of a microwave-safe mug with nonstick cooking spray. This helps the brownie release cleanly. Alternatively, wipe the inside with a little oil using a paper towel.
- Transfer the batter: Pour the batter from the bowl into the prepared mug, using a spatula or spoon to get it all out and level the top.
- Microwave: Microwave the mug on high for 1 to 1 1/2 minutes. Start checking at 1 minute—insert a toothpick or a small knife into the center; it should come out with moist crumbs but not raw batter. Microwave times vary by microwave wattage, so adjust within this range.
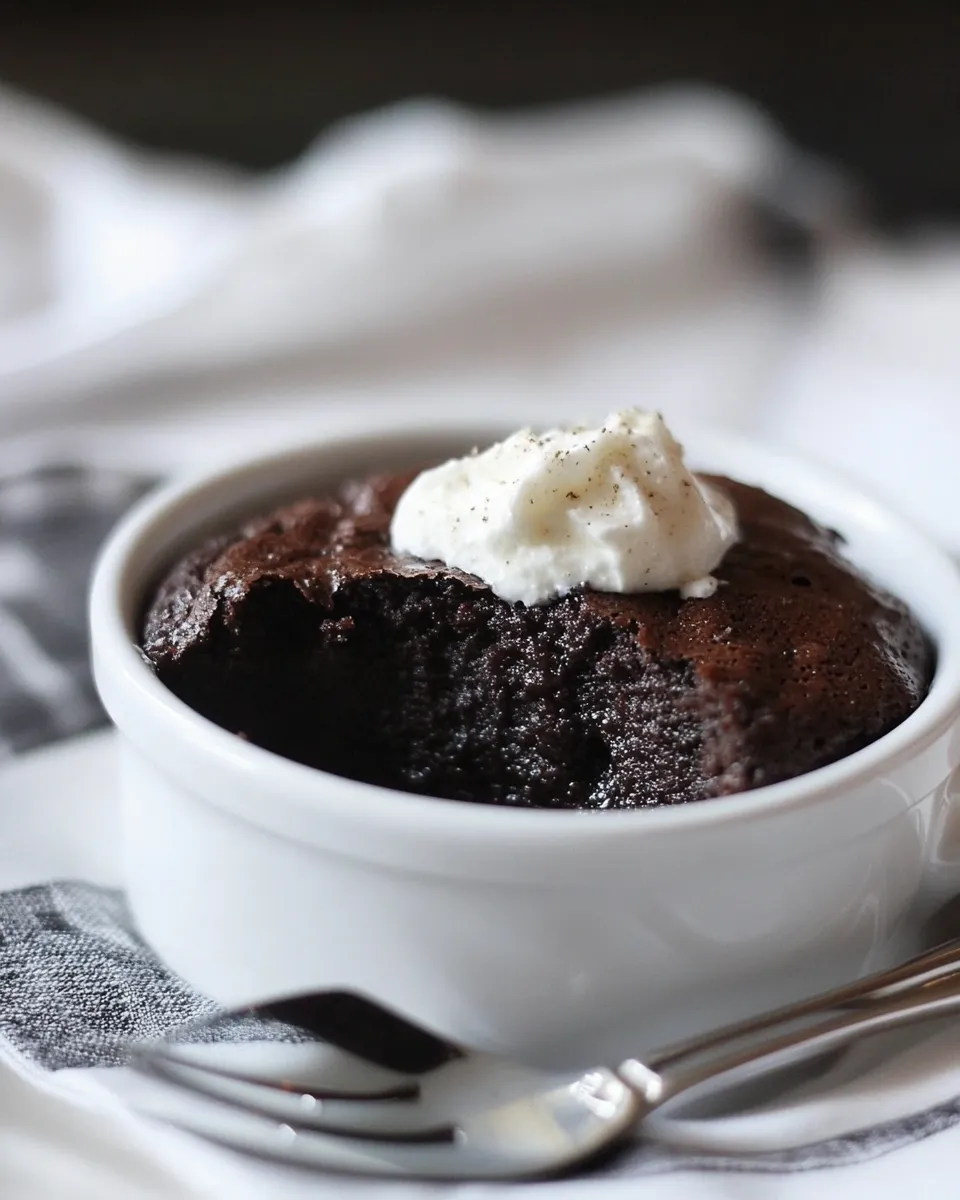
- Finish and serve: Carefully remove the mug (it will be hot). Either turn the brownie out onto a small plate or leave it in the mug. Top with sweetened whipped cream if desired and enjoy warm.
Why You’ll Love This Recipe
This recipe is fast, forgiving, and satisfying. It uses common pantry ingredients and makes one portion—perfect for nights when you want dessert without leftovers. The texture is a pleasing cross between cake and dense brownie, and it adapts well to modest tweaks: more cocoa for richness, a touch more milk for a looser crumb, or a quick sprinkle of flaky salt on top for contrast.
It’s also a great way to practice microwave baking—once you learn how your microwave behaves, you’ll consistently hit the sweet spot where the center is set but still moist.
Ingredient Swaps & Substitutions
- All purpose flour — You can try whole wheat pastry flour for a nuttier flavor, but the brownie will be slightly denser.
- Brown sugar — Use granulated sugar if that’s what you have; the flavor will be a touch less caramelized.
- Cocoa powder — Dutch-processed cocoa will give a rounder, less acidic chocolate note; use the same amount.
- Milk — Any milk (dairy or plant-based) works. Almond milk and oat milk are good options.
- Vegetable oil — Light olive oil, melted coconut oil, or neutral-tasting oils are acceptable swaps.
- Vanilla — If you don’t have vanilla, a tiny pinch of cinnamon or an extra splash of coffee extract can help lift the flavor.
- Coffee extract (optional) — Instant espresso dissolved in the milk would work in a pinch; keep amounts modest so coffee doesn’t dominate.
- Whipped cream — Vanilla ice cream or a dollop of Greek yogurt are good alternatives for topping.
Gear Up: What to Grab
- Microwave-safe mug (10–12 oz is ideal)
- Small mixing bowl
- Spoon or small whisk
- Measuring cups and spoons
- Nonstick cooking spray or a paper towel and oil
- Toothpick or small knife for doneness testing
Don’t Do This
- Don’t overfill the mug—this is a single serving. The batter should only fill the mug about halfway to allow for slight rise.
- Don’t skip mixing the dry ingredients first—uneven cocoa or sugar pockets will give you inconsistent flavor.
- Don’t assume all microwaves cook the same—start checking at 1 minute to avoid an overcooked, rubbery brownie.
- Don’t use a metal mug or metal utensils in the microwave.
Better Choices & Swaps
- Use fresh cocoa powder. Cocoa loses aroma with time, so fresher powder gives a noticeably better chocolate flavor.
- Prefer oil over butter for this recipe; it keeps the brownie moister in the microwave. If you really want butter flavor, use clarified butter to reduce splattering risk.
- For a more fudgy center, stop microwaving at the first sign of set edges and slightly jiggly center; residual heat will finish cooking.
- Top with a sprinkle of flaky sea salt to sharpen the chocolate notes and balance the sweetness.
Testing Timeline
- 1 minute — Start here for higher-wattage microwaves. The center will likely still be very soft.
- 1 minute 15 seconds — A good midpoint for many microwaves; expect moist crumbs when tested.
- 1 minute 30 seconds — For lower-wattage microwaves or if you want a firmer, more cake-like texture. Doneness is best judged with a toothpick.
Freezer-Friendly Notes
This mug brownie is best enjoyed fresh and warm. If you want to save leftovers, cool completely, wrap tightly, and freeze for up to 1 month. Thaw in the refrigerator, then reheat briefly in the microwave (20–30 seconds) until warm. Texture after freezing will be slightly denser and less moist than freshly cooked.
Frequently Asked Questions
- Can I use cocoa powder substitutes like chocolate chips? You can fold a tablespoon of chocolate chips into the batter after mixing, but do not replace the cocoa powder amount—chips will not dissolve and will change the batter texture.
- Why did my brownie come out dry? Most likely overcooked. Try reducing microwave time by 10–20 seconds and test earlier. Smaller mugs heat faster too.
- Can I double the recipe? You can double the ingredients and use a larger microwave-safe bowl, but cooking time will increase and the center may need more careful testing. I recommend making two single servings for consistency.
- Is the splash vanilla and coffee extract a specific amount? A splash is roughly 1/8 to 1/4 teaspoon—just enough to boost flavor without overpowering.
See You at the Table
This 3-Minute Brownie in a Mug is the kind of recipe I reach for on a weeknight when I want something comforting and quick. It’s flexible, small-batch, and gratifying in just a few minutes. Try it as written first, then experiment with toppings and mix-ins once you know how your microwave treats the batter.
Leave a comment after you try it—what microwave time worked for you, and which topping became your go-to? I love hearing small tweaks that make a fast recipe feel like home.
3-Minute Brownie in a Mug
Ingredients
- 1/4 cup all-purpose flour
- 1/4 cup brown sugar
- 2 tablespoons cocoa powder
- 2 tablespoons milk
- 2 tablespoons vegetable oil
- pinch salt
- splash vanilla extract
- splash coffee extract optional
- sweetened whipped cream optional, for topping
Instructions
- In a small bowl, whisk together the all-purpose flour, brown sugar, and cocoa powder until evenly combined.
- Add the milk, vegetable oil, a pinch of salt, and a splash of vanilla (and coffee extract if using). Stir until a smooth batter forms.
- Lightly spray a microwave-safe mug with nonstick cooking spray and pour the batter into the mug.
- Microwave on high for 1 to 1½ minutes, watching for the top to set but remain moist; avoid overcooking.
- Let the brownie cool for a minute, then top with sweetened whipped cream if desired and serve directly from the mug or turned out onto a plate.
Equipment
- Microwave-safe Mug
- small bowl
- Measuring cups and spoons
- spoon or small whisk
- Nonstick cooking spray
Notes
- If the calorie count is scaring you, simply halve everything!