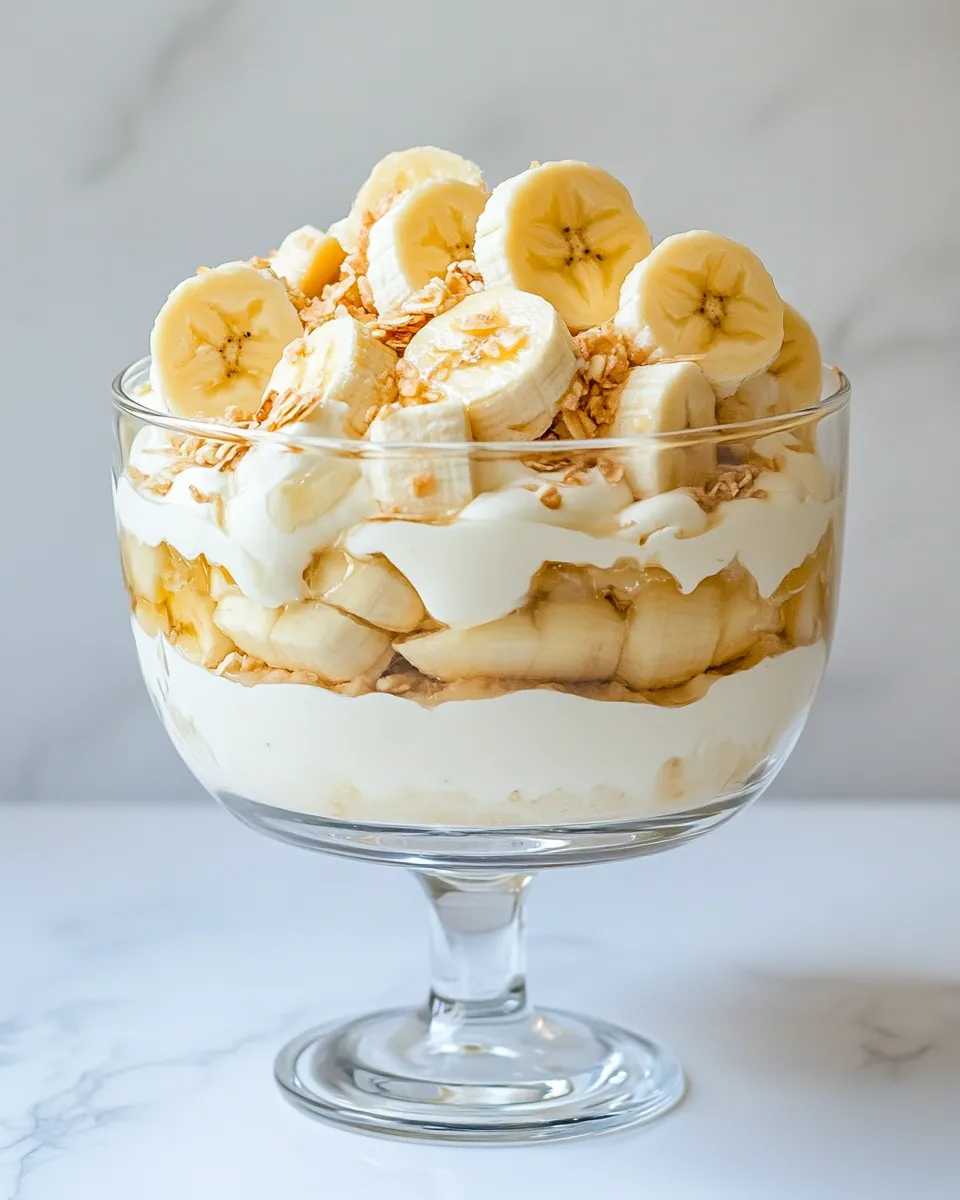
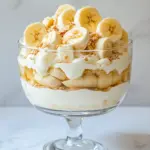
Banana Pudding
Banana pudding is one of those desserts that feels like a hug in a bowl: comforting, familiar, and impossibly easy to assemble. This version leans on pantry-friendly staples—sweetened condensed milk, instant pudding mix, vanilla wafers, and bananas—so you can pull it together quickly but still get that custardy, banana-forward flavor everyone asks for seconds of.
Make this for casual weekend dinners, potlucks, or whenever you want a dessert that travels well and improves with time in the refrigerator. It’s forgiving, straightforward, and made to be assembled the night before so the wafers soften into pillowy layers.
What Goes In
Ingredients
- 28 ounces sweetened condensed milk — provides the sweet, milky base and richness for the pudding.
- 1 cup water — used to hydrate the instant pudding mix for proper set.
- 3 cups milk — adds creaminess and dilutes the condensed milk to the right consistency.
- 10.2 ounces instant vanilla pudding — the thickening agent and primary vanilla flavor.
- 11 ounces vanilla wafers — create the classic cake-like layers once softened.
- 4 to 6 bananas — thinly sliced; 4 gives a lighter banana presence, 6 gives a stronger banana layer.
- 8 ounces Cool Whip — whipped topping to finish the pudding with a light, creamy top layer.
Mastering Banana Pudding: How-To
Follow these steps to build the pudding so layers are even and the wafer-banana-pudding ratio is balanced.
- In a medium-sized mixing bowl, whisk together the 28 ounces sweetened condensed milk, 1 cup water, and 3 cups milk until smooth and combined.
- Add the 10.2 ounces instant vanilla pudding mix to the milk mixture. Whisk vigorously until the pudding powder is fully dissolved and the mixture begins to thicken (about 2 minutes). Let it sit for a minute to set slightly.
- Line the bottom of an 8×8-inch casserole dish with a single layer of the 11 ounces vanilla wafers, placing them side by side to cover the surface.
- Thinly slice 4 to 6 bananas and arrange a layer of banana slices directly over the wafer layer. Aim for even coverage without too much overlap so the banana layer is uniform.
- Give the pudding a quick stir to reincorporate any thickened parts, then pour a layer of pudding over the banana layer to cover it completely.
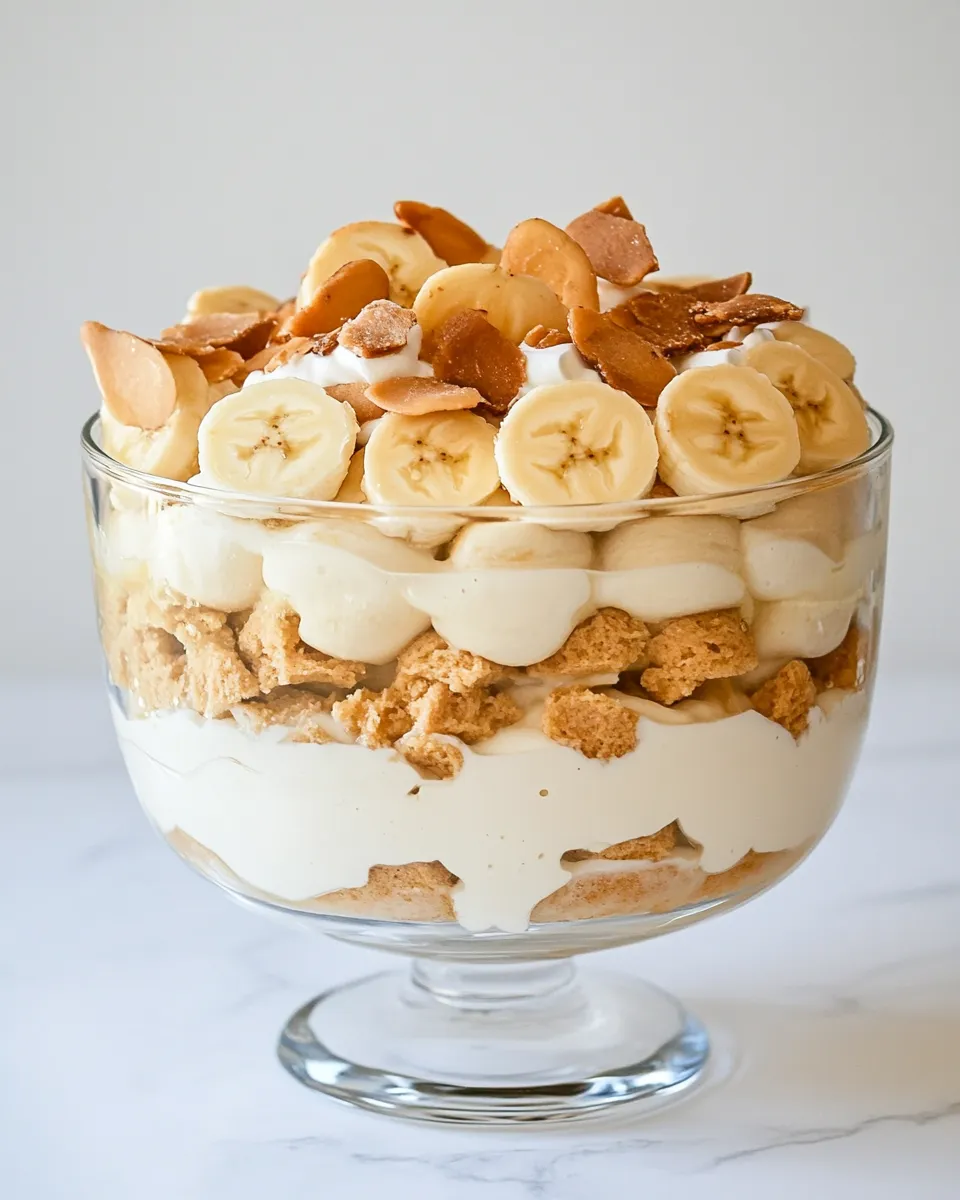
- Repeat layering: wafers, banana slices, and pudding. Continue until the dish is filled, keeping the same order and finishing with a top layer of vanilla wafers.
- Cover the assembled dish tightly with plastic wrap and refrigerate overnight (or at least 6–8 hours) so the vanilla wafers soften and absorb moisture from the pudding and bananas.
- Just before serving, spread 8 ounces Cool Whip over the top layer of wafers. Garnish with extra banana slices or a few broken wafers if you like, then serve chilled.
Why You’ll Love This Recipe
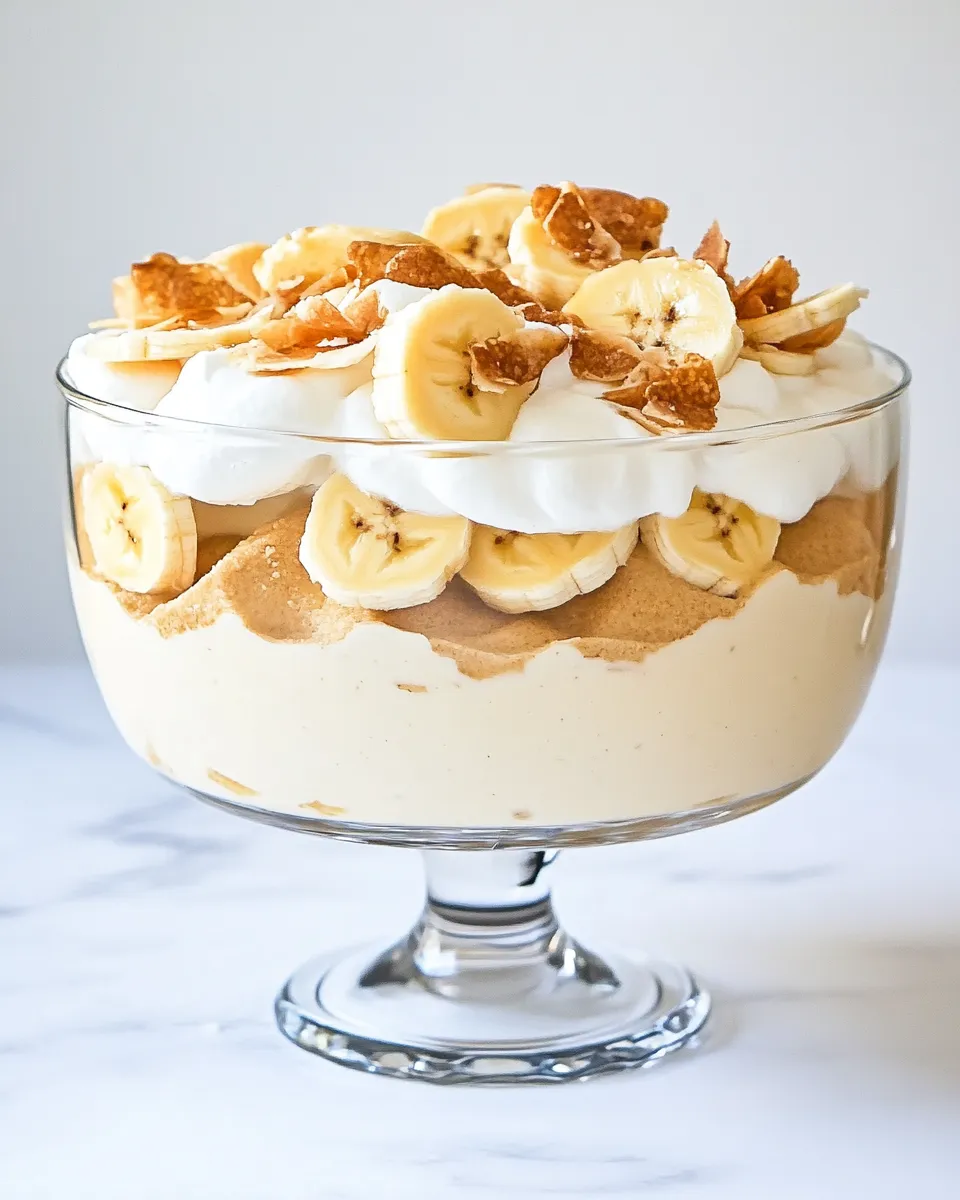
It’s fast to assemble and doesn’t require cooking. The texture is the star: silky pudding, soft banana, and cake-like wafers that melt into the custard. Because it benefits from resting, flavors meld and the dessert actually gets better the next day.
Portion control is easy—slice and serve from the 8×8 dish or scoop into individual bowls. It’s familiar enough for picky eaters but delivers nostalgic comfort that adults appreciate, too.
Easy Ingredient Swaps
- Sweetened condensed milk — can’t easily be swapped without changing sweetness; if needed, reduce condensed milk and add 1–2 tablespoons granulated sugar, but texture will differ.
- Instant vanilla pudding — for a homemade approach use 1 cup granulated sugar, 1/3 cup cornstarch, pinch of salt, and real vanilla with cooked custard, but prep time increases.
- Vanilla wafers — shortbread cookies or graham crackers work for a different texture and flavor.
- Cool Whip — swap for freshly whipped cream (about 1 cup heavy cream whipped with 2 tbsp powdered sugar) for a fresher finish.
- Bananas — ripe but firm bananas give best texture; overripe will turn too mushy after refrigeration.
Essential Tools for Success
- 8×8-inch casserole dish — gives the correct depth for balanced layers.
- Medium mixing bowl and whisk — for smooth blending of condensed milk and pudding mix.
- Sharp knife and cutting board — to slice bananas thinly and evenly.
- Plastic wrap or airtight lid — to prevent the pudding from absorbing fridge odors and to help wafers soften evenly.
Frequent Missteps to Avoid
- Skipping the chill time — if you don’t refrigerate long enough, wafers stay crunchy and layers won’t meld.
- Overripe bananas — can become brown and mushy, making the texture unpleasant after overnight refrigeration.
- Uneven slices — thick banana slices create lumps; aim for thin, uniform slices for smooth layering.
- Pouring hot liquid — everything here is cold; don’t heat ingredients or the pudding’s texture will be off.
Holiday & Seasonal Touches
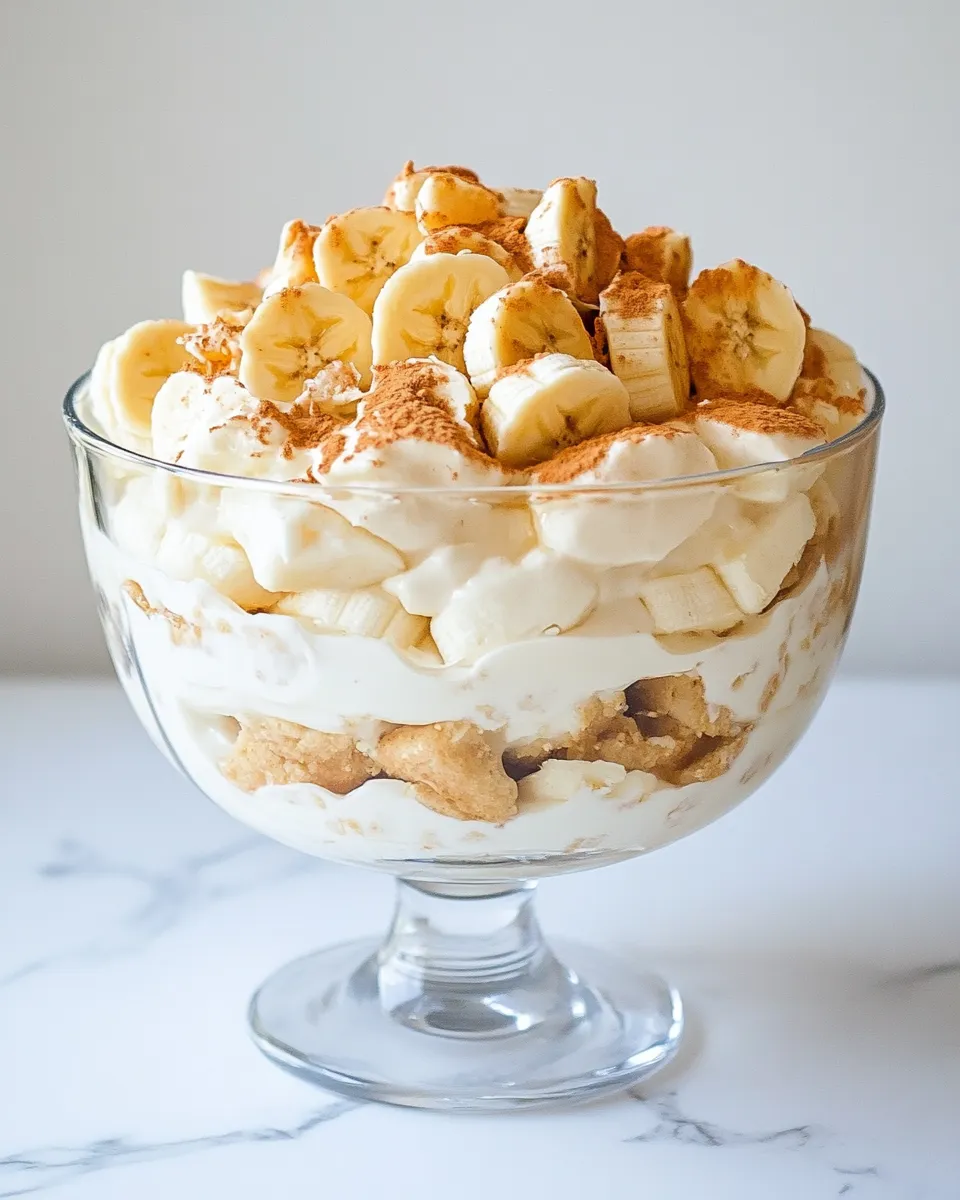
For summer gatherings, top with fresh berries and a sprinkle of toasted coconut for brightness. In cooler months, add a light dusting of cinnamon or nutmeg to the pudding mixture before setting to warm the flavor profile.
Make individual parfaits for brunch by layering in jars—handy for parties and easy to transport. For a festive twist, swap half the vanilla wafers for crushed gingersnaps during the holidays.
Insider Tips
- Banana timing — slice your bananas just before assembling to minimize browning. If you must slice ahead, toss briefly in a tiny splash of lemon juice to slow oxidation.
- Layer control — press wafers gently into the pudding layer so they make good contact and soften evenly; avoid pressing hard, which squeezes out pudding.
- Consistency check — after whisking the pudding mix into the milks, the mixture should be smooth and noticeably thicker. If it seems too thin, give it a few extra minutes to set before layering.
- Serving temperature — serve cold straight from the fridge; slightly warmer temperatures make the Cool Whip runny and the layers less distinct.
Leftovers & Meal Prep
Store leftovers tightly covered in the refrigerator for up to 3 days. Texture will soften over time, so it’s best enjoyed within that window. Frozen banana pudding is not recommended—the bananas and wafers will become watery and mealy once thawed.
To meal-prep: assemble in single-serving jars, leaving space at the top for the Cool Whip, and cover each jar before refrigerating. These are great for grab-and-go desserts at lunches or potlucks.
Quick Q&A
- Can I make this without Cool Whip? — Yes. Substitute freshly whipped cream (about 1 cup heavy cream whipped with 2 tbsp powdered sugar).
- How many people does this serve? — An 8×8 dish yields roughly 6–8 servings depending on portion size.
- Can I use sugar-free pudding? — You can, but the overall sweetness will change because the recipe relies on sweetened condensed milk; adjust to taste.
- Do I have to refrigerate overnight? — Overnight is ideal, but refrigerating 6–8 hours will also give good results.
The Last Word
This Banana Pudding is proof that great desserts don’t need fuss. Simple ingredients, a little assembly, and time in the fridge deliver a creamy, nostalgic dessert that feeds a crowd or makes a cozy family treat. Follow the steps, mind the banana ripeness, and enjoy a dessert that practically sells itself.
Banana Pudding
Ingredients
- 28 ounces sweetened condensed milk
- 1 cup water
- 3 cups milk
- 10.2 ounces instant vanilla pudding mix
- 11 ounces vanilla wafers
- 4 to 6 bananas ripe but firm
- 8 ounces Cool Whip (or whipped topping)
Instructions
- In a medium bowl, whisk together the sweetened condensed milk, water, and milk until smooth.
- Stir in the instant vanilla pudding mix and whisk until fully combined and slightly thickened.
- Line the bottom of an 8×8 casserole dish with a single layer of vanilla wafers.
- Thinly slice 4 to 6 bananas and arrange a layer of banana slices over the wafers.
- Give the pudding mixture a quick stir and pour a layer over the bananas to cover them.
- Repeat layers of wafers, banana slices, and pudding until the dish is filled, finishing with a top layer of vanilla wafers.
- Cover the dish with plastic wrap and refrigerate overnight (about 8 hours) so the wafers soften and the layers set.
- Top the chilled pudding with Cool Whip just before serving and optionally garnish with extra banana slices or crushed wafers.
Equipment
- medium mixing bowl
- Whisk
- measuring cups
- Knife
- Cutting Board
- 8x8 casserole dish
- Plastic Wrap
Notes
- Start with firm, just-ripe bananas to reduce browning.
- Spritz banana slices lightly with lemon or lime juice to slow browning.
- Slice bananas immediately before layering to keep them fresh.
- Make the pudding a day ahead so flavors meld and wafers soften.