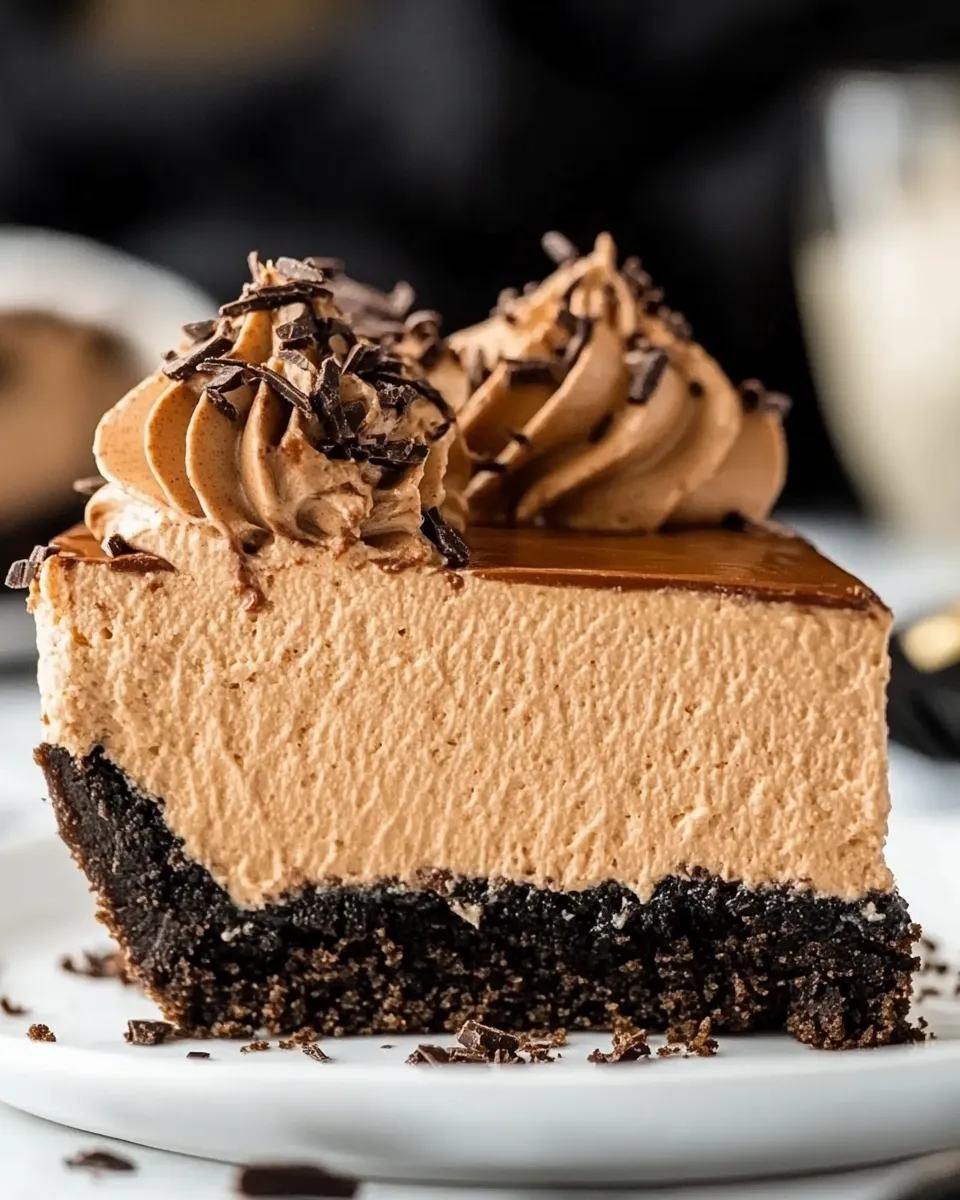
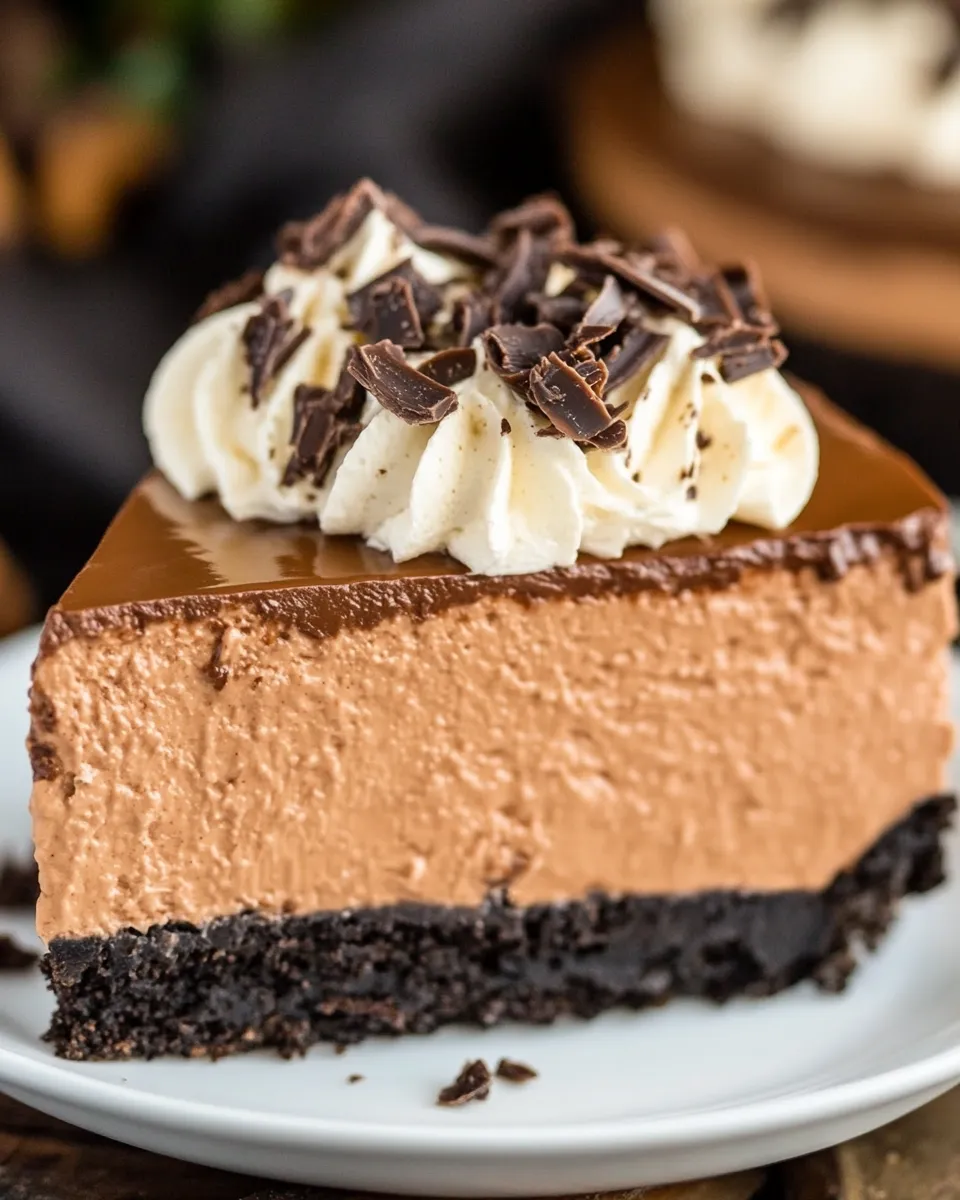
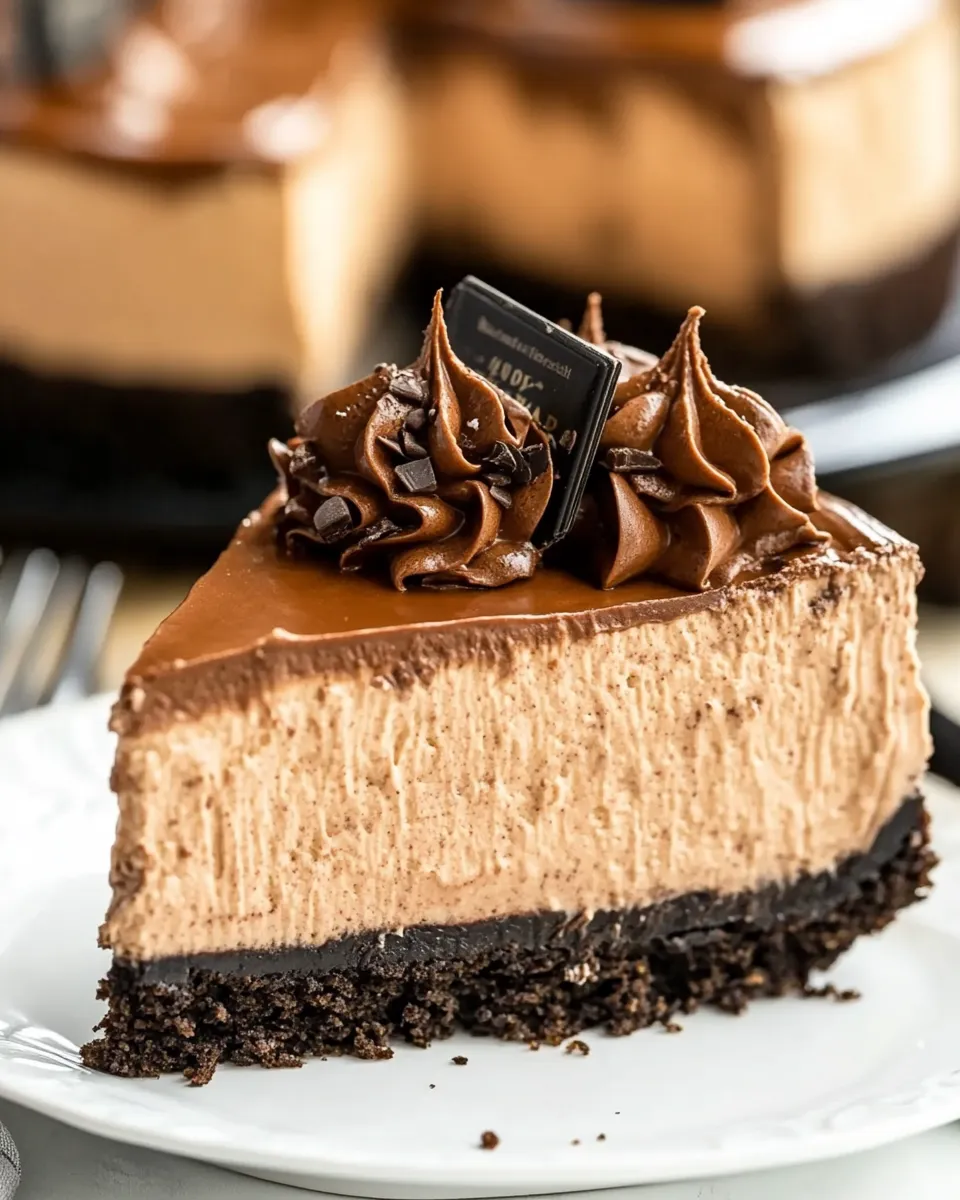
No-Bake Nutella Cheesecake
I love desserts that look impressive but come together without turning on the oven. This No-Bake Nutella Cheesecake is one of my favorite quick-showstopper recipes: silky Nutella-forward filling, a crisp Oreo crust, and a cloud of piped cream on top. It’s dependable, travel-friendly, and a crowd-pleaser for birthdays or casual get-togethers.
I kept the method straightforward so you can make it without stress. You’ll need some patience for chilling, but most of the active work is simple mixing and melting. Read through the ingredients and steps once, gather your gear, and you’ll be slicing into glossy, chocolate-hazelnut slices before you know it.
Your Shopping Guide
- Oreo Cookies (20) — for the crust; the classic chocolate cookie gives structure and flavor.
- Unsalted butter (6 tablespoons), melted — binds the crumbs; use unsalted so you control the saltiness.
- Unflavored gelatin (1 package, 4 envelopes) — stabilizes the filling so it sets without baking.
- Water (2/3 cup), cold — to bloom the gelatin.
- Milk chocolate (12 ounces), chopped — melted into the filling for depth and shine.
- Nutella (1 1/2 cups) — the star flavor; measure by spooning into the cup for accuracy.
- Cream cheese (32 ounces) — full-fat for best texture and flavor; should be room temperature for easier mixing.
- Heavy whipping cream (2 cups), cold — folded into the filling for lightness.
- Heavy cream (2 cups), cold — a second batch used for whipped cream topping.
- White sugar (1/4 cup) — sweetens the whipped cream topping.
- Vanilla extract (1 teaspoon) — brightens the whipped cream.
- Mini Oreos (9) — garnish; use whole mini cookies or halved for decoration.
No-Bake Nutella Cheesecake Cooking Guide
Crust
- Lightly coat a 9-inch springform pan with nonstick spray and set it aside.
- Place 20 Oreo cookies in a zip-top bag and crush them with a rolling pin until you have fine crumbs.
- Combine the cookie crumbs and 6 tablespoons melted unsalted butter in a large bowl and stir until the crumbs are evenly moistened.
- Press the crumb mixture into the prepared springform pan, using the bottom of a measuring cup to pack it down and press the crumbs up the sides about 1 inch to form a rim.
- Refrigerate the crust for at least 20 minutes to firm up while you prepare the filling.
Gelatin and Chocolate
- Pour 2/3 cup cold water into a small bowl and sprinkle the contents of the unflavored gelatin package (4 envelopes) over the surface. Let it bloom for 1–2 minutes.
- Whisk the bloomed gelatin briefly, then microwave for 30 seconds. Whisk again until fully dissolved and smooth. Set aside to cool slightly but don’t let it set.
- Place 12 ounces chopped milk chocolate in a medium bowl. Microwave in 30-second intervals, stirring between each, until the chocolate is fully melted and smooth. Set aside to cool slightly.
Filling
- In a large bowl, beat 32 ounces room-temperature cream cheese using an electric hand mixer or stand mixer until smooth and free of lumps.
- Add 1 1/2 cups Nutella and the cooled melted milk chocolate to the cream cheese. Beat until the mixture is homogeneous, stopping occasionally to scrape the sides and bottom of the bowl so everything incorporates evenly.
- In a separate medium bowl, add 2 cups cold heavy whipping cream. Pour the slightly cooled gelatin mixture into the cream and whisk manually until combined.
- Pour the cream-plus-gelatin into the cream cheese mixture. Using the mixer, beat until the filling is fully combined and slightly thickened. The gelatin will help the filling set as it chills.
- Spread the filling evenly over the chilled Oreo crust, smoothing the top with a spatula.
Chill and Finish
- Place the assembled cheesecake in the refrigerator to chill and firm for 5–6 hours, or preferably overnight for the best texture.
- When ready to decorate, whisk together 2 cups cold heavy cream, 1/4 cup white sugar, and 1 teaspoon vanilla extract in a large bowl until stiff peaks form.
- Transfer the whipped cream to a piping bag fitted with a star tip and pipe decorative swirls around the edge of the chilled cheesecake, or simply spoon the cream beside individual slices.
- Garnish with 9 mini Oreos placed on top or around the piped cream.
- Run a butter knife around the inside edge of the springform pan to loosen the cake, remove the pan ring, and cut into slices—cleaning the knife between cuts for cleaner slices.
What Makes This Recipe Special
- Nutella-forward flavor: The recipe uses a generous 1 1/2 cups of Nutella so the hazelnut-chocolate character is unmistakable.
- No-bake ease: The filling sets with gelatin, so no oven is required—great for hot weather or when you want less fuss.
- Textural contrast: A crunchy Oreo crust meets a smooth, creamy filling and a light whipped topping for balanced bites.
- Make-ahead friendly: It benefits from chilling time, so you can prepare it a day ahead for stress-free entertaining.
Substitutions by Category

- Cookies: Swap Oreo cookies for chocolate graham crackers or chocolate wafer cookies if you want a slightly different crumb flavor.
- Chocolate: Use semi-sweet chocolate instead of milk chocolate for a less sweet, richer profile.
- Nutella: If you don’t have Nutella, a chocolate-hazelnut spread alternative works; flavor will vary slightly.
- Cream cheese: Full-fat cream cheese is best. Low-fat versions may produce a looser texture and less richness.
- Gelatin: For a vegetarian option, try a tested agar-agar conversion—but note agar behaves differently and may require a different technique (this recipe uses gelatin only).
Gear Up: What to Grab
- 9-inch springform pan — makes removing the cake simple and neat.
- Zip-top bag and rolling pin — for crushing the Oreos quickly and cleanly.
- Mixing bowls — at least two: one for the filling and one for whipped cream/gelatin.
- Electric hand mixer or stand mixer — speeds up smoothing the cream cheese and whipping cream to the right texture.
- Measuring cups and spoons — for accurate quantities, especially gelatin and liquids.
- Spatula and measuring cup — for pressing crumbs and smoothing filling.
- Piping bag with star tip — optional, for pretty cream decoration.
Learn from These Mistakes
- Not blooming the gelatin: Skipping the bloom step or not dissolving it fully will lead to grittiness or a filling that won’t set properly.
- Using cold cream cheese: If the cream cheese is too cold you’ll get lumps. Bring it to room temperature for smoother mixing.
- Adding hot chocolate to cream: If the melted chocolate or gelatin is too hot when added to the cream, you risk deflating the cream or causing separation—let them cool slightly first.
- Insufficient chilling: Cutting the cake before it’s fully set makes messy slices. Allow the full 5–6 hours, overnight if possible.
Smart Substitutions
- Short on cream cheese: Don’t substitute with mascarpone alone—mixing a little mascarpone with cream cheese can add silkiness but keep most of the base as cream cheese.
- No piping bag: Use a small zip-top bag with the corner snipped for piping, or spread whipped cream with a spoon for a rustic look.
- Less sugar: The filling isn’t heavily sweetened because Nutella and milk chocolate add sugar; reduce the 1/4 cup sugar in the whipped cream if you prefer a less sweet topping.
- Flavor twists: Fold a tablespoon of espresso powder into the melted chocolate for a mocha lift, or sprinkle toasted hazelnuts on top for crunch.
Flavor Logic
- Oreo crust: Its cocoa notes echo the Nutella and chocolate in the filling, creating a cohesive chocolate-hazelnut experience.
- Milk chocolate + Nutella: The milk chocolate adds sweetness and a glossy mouthfeel while Nutella brings hazelnut aroma and spreadable richness.
- Gelatin: Keeps the filling sliceable without baking; it stabilizes the air incorporated into the cream for clean cuts.
- Whipped cream topping: Adds lightness and a fresh contrast to the dense, rich filling.
Storage Pro Tips
- Refrigerate: Store the cheesecake covered in the fridge for up to 4 days. Keep the top loosely covered with plastic wrap or a cake dome to protect the piped cream.
- Freeze slices: For longer storage, freeze individual slices wrapped tightly in plastic wrap and foil for up to 1 month. Thaw in the fridge overnight before serving.
- Dry crust prevention: If refrigerating for several days, press a piece of parchment or plastic directly onto the filling surface (under the decorations) to limit moisture loss.
- Transport: Chill fully before moving. Place on a flat tray and keep chilled with cool packs if traveling—this filling fares better cold than warm.
Reader Questions
- Can I skip the gelatin? Not recommended for this recipe—the gelatin is what allows the cheesecake to set without baking. Without it the filling will be too soft to slice neatly.
- Can I use dark chocolate? Yes. Swapping the milk chocolate for dark chocolate will reduce sweetness and deepen the chocolate flavor.
- Why two separate heavy cream amounts? The recipe uses 2 cups of heavy whipping cream folded into the filling (to lighten it) and another 2 cups to whip with sugar and vanilla for the topping.
- How to prevent cracks? No-bake cheesecakes rarely crack like baked ones, but avoid overbeating and keep the filling chilled slowly—overnight chilling is best.
That’s a Wrap
This No-Bake Nutella Cheesecake is reliable, richly flavored, and surprisingly easy. It’s perfect for when you want a show-stopping dessert without the oven heat. Follow the steps, respect the chilling time, and you’ll be rewarded with glossy slices that slice clean and taste even better than they look. Enjoy, and don’t be shy about experimenting with small garnish changes—this cake takes them well.
No-Bake Nutella Cheesecake
Ingredients
- 20 cookies Oreo cookies
- 6 tablespoons unsalted butter melted
- 1 package unflavored gelatin 4 envelopes
- 2/3 cup water cold
- 12 ounces milk chocolate chopped
- 1 1/2 cups Nutella
- 32 ounces cream cheese softened
- 2 cups heavy whipping cream cold
- 2 cups heavy cream cold (for topping)
- 1/4 cup white sugar
- 1 teaspoon vanilla extract
- 9 pieces mini Oreos for garnish
Instructions
- Lightly coat a 9-inch springform pan with nonstick spray and set aside.
- Place the 20 Oreos in a zip-top bag and crush with a rolling pin, or pulse in a food processor until fine crumbs form.
- Combine the cookie crumbs and 6 tablespoons melted butter in a bowl and stir until evenly moistened.
- Press the crumb mixture into the bottom of the prepared pan and up the sides about 1 inch using a measuring cup or spoon; refrigerate at least 20 minutes.
- Pour 2/3 cup cold water into a small bowl, sprinkle the unflavored gelatin (4 envelopes) over the water and let it bloom 1–2 minutes, then microwave for 30 seconds and whisk until smooth; set aside to cool slightly.
- Place the 12 ounces chopped milk chocolate in a microwave-safe bowl and heat in 30-second intervals, stirring between, until fully melted and smooth; set aside to cool slightly.
- In a large bowl, beat the 32 ounces softened cream cheese until smooth, then add 1 1/2 cups Nutella and the melted chocolate and beat until combined, scraping the bowl as needed.
- In a separate bowl, whisk the 2 cups cold heavy whipping cream by hand, then add the cooled gelatin mixture and whisk to combine.
- Pour the cream-and-gelatin mixture into the cream cheese mixture and use an electric mixer to beat until fully combined and smooth.
- Spread the cheesecake filling evenly into the chilled crust, then refrigerate for 5–6 hours or overnight until firm.
- For the topping, whip 2 cups heavy cream with 1/4 cup sugar and 1 teaspoon vanilla until stiff peaks form.
- Transfer the whipped cream to a piping bag fitted with a star tip and pipe decorative dollops around the cake edge, then garnish with mini Oreos.
- Run a butter knife around the pan edge to loosen, remove the springform ring, and slice the cheesecake, wiping the knife between cuts for clean slices.
Equipment
- 9-inch springform pan
- Mixing bowls
- Electric Mixer
- rolling pin or food processor
- Measuring cups and spoons
- microwave-safe bowls
- rubber spatula
- piping bag with star tip (optional)
Notes
- Use cold cream for best whipping volume.
- Bloom gelatin in cold water before heating.
- Chill the crust before adding filling to help it set.
- Allow cheesecake to chill at least 5–6 hours or overnight for best texture.