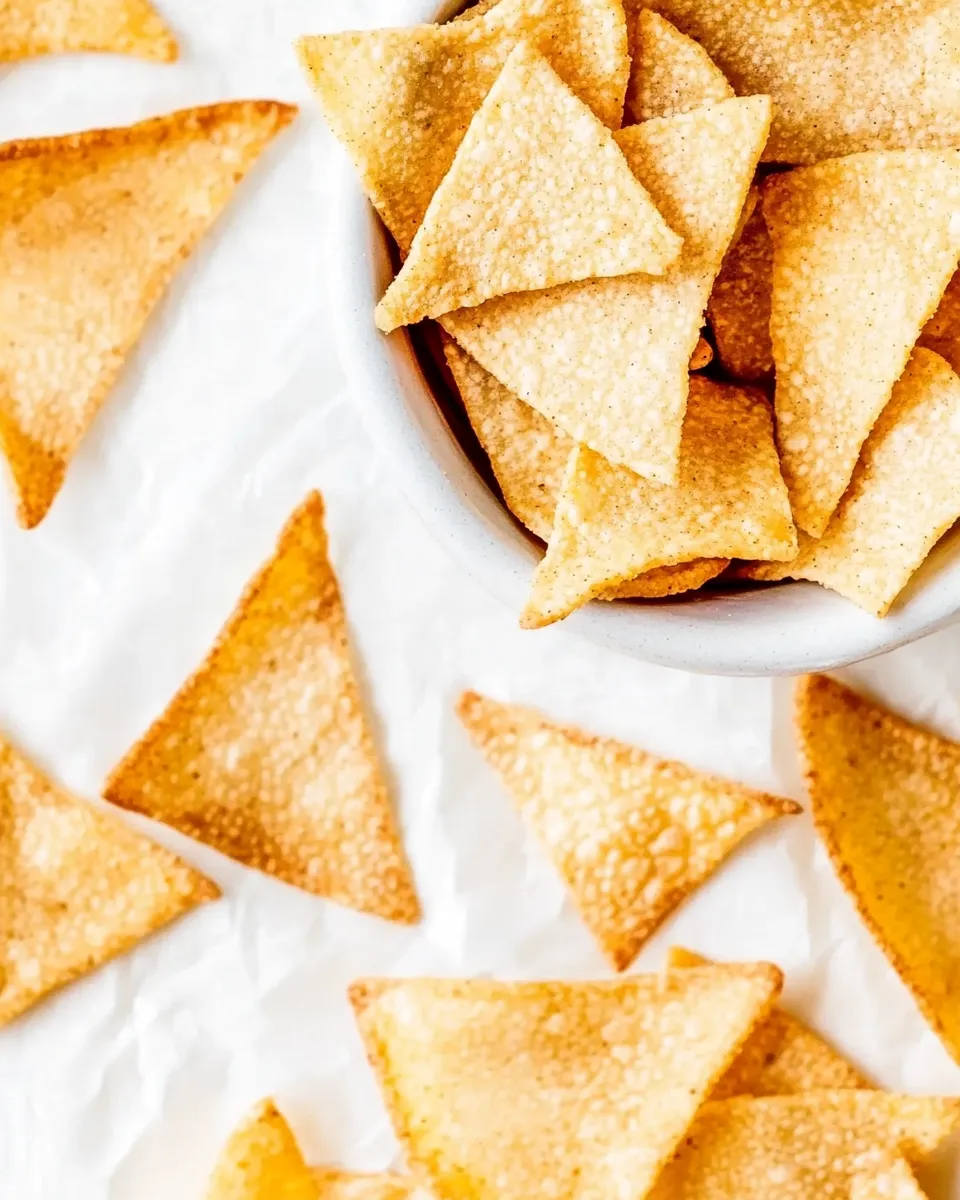
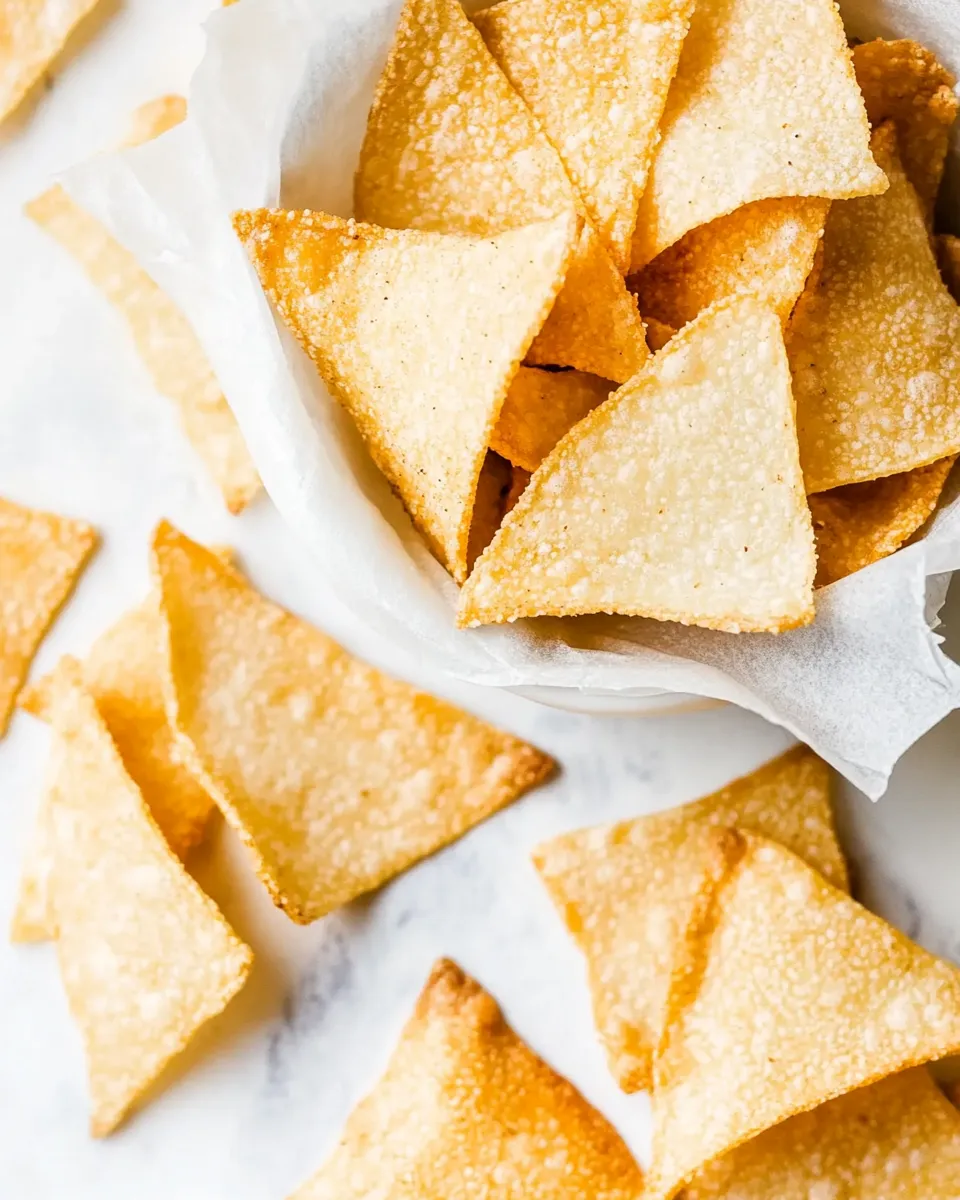
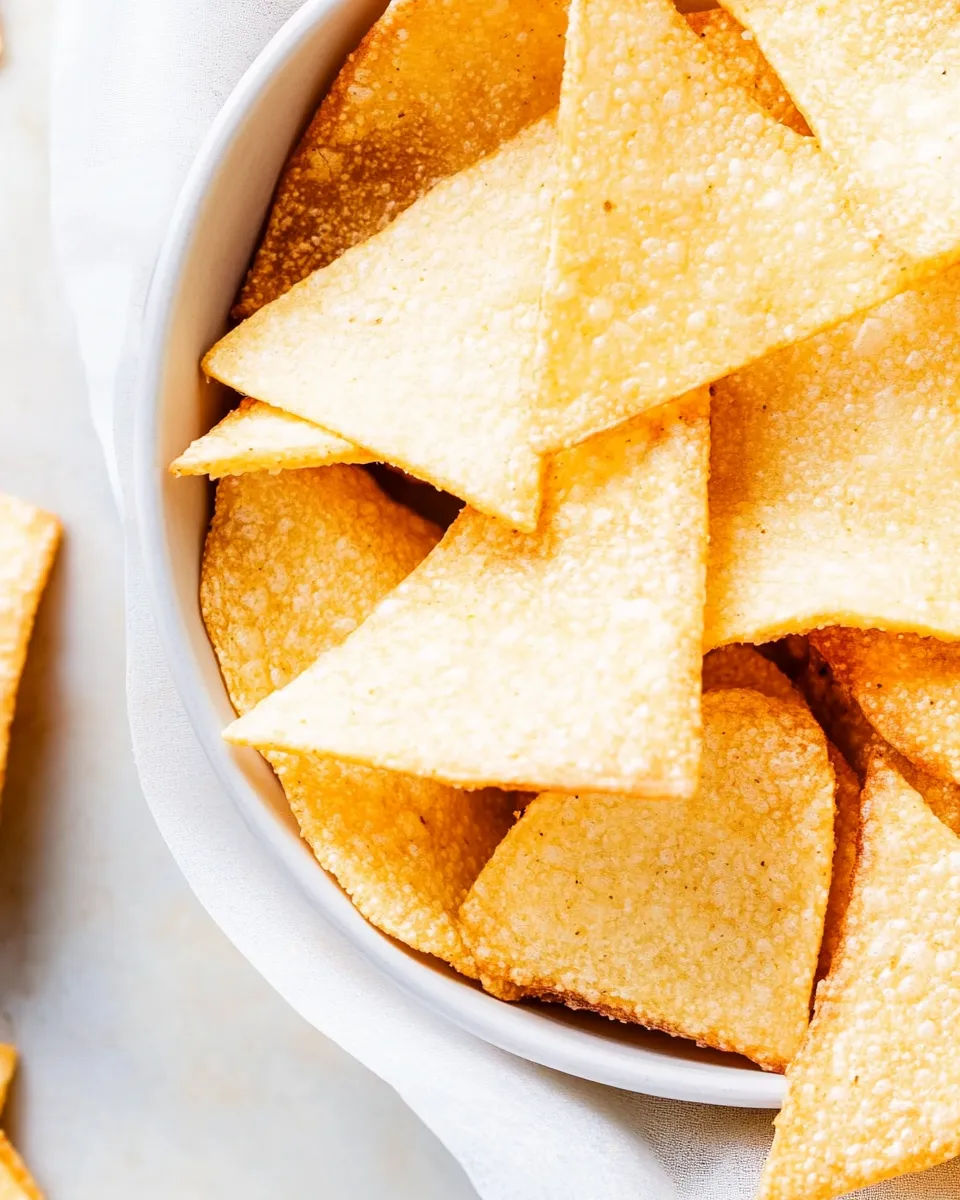
Protein Chips
I test recipes so you don’t have to. These Protein Chips are a simple, high-protein snack that crisps up in the oven with minimal fuss. They’re flour-free, quick to make, and easy to customize with spices or seeds if you like a bit more flavor.
The method is straightforward: mix dry ingredients, add warm water, roll thin, score, brush with olive oil, and bake. The result is a crunchy chip that keeps well and works for dipping, topping, or nibbling straight from the bowl.
Below you’ll find a clear shopping list, precise step-by-step instructions, tweaks for different diets, storage tips, troubleshooting, and answers to common reader questions. No fluff—just practical guidance to get these chips right on your first try.
Shopping List
- 3/4 cup almond flour — provides structure and a nutty base; pick blanched almond flour for a finer texture.
- 3 tablespoons protein powder, unflavored — boosts protein without adding flavor; use a neutral whey or plant option.
- 1 teaspoon salt — essential for seasoning the dough; adjust to taste if using salted toppings.
- 2 tablespoons psyllium husk powder — binds the dough and helps it crisp; measure carefully, it swells with water.
- 4 tablespoons warm water — hydrates the dry mix so the dough comes together; warm helps the psyllium activate.
- 1 tablespoon olive oil — brushed on before baking for browning and crunch; a neutral oil works too.
Step-by-Step: Protein Chips
- Preheat your oven to 240°C (460°F) and line a baking tray with parchment paper.
- In a mixing bowl, combine 3/4 cup almond flour, 3 tablespoons unflavored protein powder, 1 teaspoon salt, and 2 tablespoons psyllium husk powder. Whisk or stir until evenly distributed.
- Pour in 4 tablespoons warm water. Use a spoon to bring the mixture together, then use your hands to knead briefly in the bowl until a cohesive dough forms. If it feels too dry, add a teaspoon of warm water at a time until it holds; if it’s too sticky, dust a touch more almond flour.
- Separate two sheets of parchment paper. Place the dough between them and press with your hands to flatten slightly.
- Using a rolling pin, roll the dough out as thin as possible—very thin makes crispier chips. Aim for an even thickness so they bake uniformly.
- Remove the top sheet of parchment and, with a pizza cutter or sharp knife, cut the rolled dough into triangles (or any chip shape you prefer). Transfer the parchment with cut pieces onto your prepared baking tray.
- Brush each triangle lightly with 1 tablespoon olive oil to promote browning and crunch. Season with additional salt or spices if desired.
- Bake at 240°C (460°F) for about 10 minutes. Watch the edges—remove when you see browning around the edges. Oven times vary; chips should be golden and firm.
- Cool completely on the tray before serving. Cooling finishes the crisping process; warm chips will be softer.
Why This Recipe is a Keeper
These chips are fast, low-carb, and protein-forward—perfect for a post-workout nibble or a crunchy snack to pair with dips. The ingredient list is short and pantry-friendly. Psyllium husk is the secret: it binds without flour and yields a light, brittle texture that mimics traditional chips more than you’d expect.
They’re also flexible. Swap spices, sprinkle seeds, or add nutritional yeast for a cheesy note. Because the base is unflavored, you can steer the finished chip toward savory, herby, or even smoky profiles with simple seasoning tweaks.
Allergy-Friendly Substitutes

- Nut allergy — This recipe uses almond flour; for a nut-free option, experiment with sunflower seed flour. Be aware it can turn green with certain bindings; taste is fine but color changes are normal.
- Dairy allergy — The recipe calls for unflavored protein powder. Choose a plant-based protein (pea, rice, or soy) to avoid dairy.
- Gluten sensitivity — The recipe is naturally gluten-free as written. Ensure your protein powder is certified gluten-free if needed.
- Psyllium sensitivity — If you react to psyllium, try a small test batch with ground flaxseed as a binder; results will be slightly different in texture.
Cook’s Kit
- Mixing bowl — for combining dry ingredients and kneading the dough.
- Whisk or spoon — to evenly distribute dry ingredients.
- Rolling pin — critical to get the dough very thin for crisp chips.
- Two sheets of parchment paper — for rolling without sticking.
- Pizza cutter or sharp knife — for quick, even shaping.
- Baking tray and parchment — for an even bake and easy cleanup.
- Basting brush — to apply the olive oil evenly.
Troubles You Can Avoid
Common issues and fixes
- Chips are chewy, not crisp — You likely rolled the dough too thick or removed them before fully cooling. Roll thinner and allow complete cooling on the tray.
- Dough falls apart when rolling — The psyllium didn’t hydrate fully. Make sure the water is warm and knead until cohesive; add a teaspoon more water if needed.
- Edges burn while centers stay pale — Your oven temperature or rack position may be off. Try baking on a middle rack and lower the oven by 10–20°C (15–35°F) if the edges brown too fast.
- Chips stick to parchment — Use a fresh sheet of parchment under the rolled dough, and brush oil on the tops before baking to help release them.
Make It Fit Your Plan
- Low-carb/Keto — This version is already low in carbs thanks to almond flour and psyllium. Keep portions small for strict keto counts.
- High-protein — Use a protein powder with a higher protein-per-serving if you want a bigger macronutrient bump.
- Calorie-conscious — Brush oil lightly or omit brushing and instead spray very lightly with oil for fewer calories, though chips will be slightly less golden.
- Flavor-focused — Add 1/2–1 teaspoon of smoked paprika, garlic powder, or onion powder to the dry mix for a flavor change without extra work.
Little Things that Matter
- Warm water helps the psyllium activate; cold water slows the binding and can leave the dough crumbly.
- Rolling very thin is the single biggest factor for crispness—don’t rush this step.
- Let the chips cool fully on the tray; they firm up as they cool and may seem underdone while still warm.
- Uniform pieces bake more evenly. Try to make shapes similar in size and thickness.
Make-Ahead & Storage
- Store completely cooled chips in an airtight container at room temperature for up to 4–5 days. Moisture is the enemy—keep them dry.
- If they lose their crunch, re-crisp in a 160°C (320°F) oven for 3–5 minutes.
- Do not refrigerate; the humidity will make chips soften faster.
Reader Q&A
- Q: Can I bake these at a lower temperature? A: You can reduce the temp slightly, but you’ll need a longer bake. Keep an eye on browning and test a small piece for crispness.
- Q: Can I flavor the dough? A: Yes. Add dried herbs or powdered spices to the dry mix before adding water. Start with 1/2 to 1 teaspoon depending on the spice’s intensity.
- Q: Are these suitable for kids? A: Yes, they’re a nutritious snack—just adjust salt and spices for younger palates.
- Q: My protein powder is flavored—will that work? A: Flavored powders can work but will change the taste. Vanilla may be okay; avoid overly sweet or fruity flavors unless that’s your goal.
That’s a Wrap
These Protein Chips are a reliable, fast snack you can make anytime. The recipe delivers a crunchy, protein-packed alternative to store-bought chips with minimal ingredients and effort. Roll them thin, watch the edges for browning, and cool fully before serving. Try a batch tonight—season to taste and keep notes so you can perfect your favorite version.
Protein Chips
Ingredients
- 3/4 cup almond flour
- 3 tablespoons unflavored protein powder
- 1 teaspoon salt
- 2 tablespoons psyllium husk powder
- 4 tablespoons warm water
- 1 tablespoon olive oil
Instructions
- Preheat the oven to 240°C (460°F) and line a baking tray with parchment paper.
- In a mixing bowl, combine the almond flour, unflavored protein powder, salt, and psyllium husk powder until evenly mixed.
- Add the warm water and knead until a cohesive dough forms; add a little more water if the dough is too dry.
- Place the dough between two sheets of parchment paper and roll or press it very thin with a rolling pin.
- Use a pizza cutter or sharp knife to cut the rolled dough into triangle (or desired) chip shapes.
- Transfer the triangles to the prepared baking tray, brush each piece with olive oil, and spread them so they do not overlap.
- Bake for about 10–12 minutes, or until the edges are browned and the chips are crisp.
- Allow the chips to cool completely on a wire rack or the baking tray so they become fully crisp before serving.
Equipment
- Oven
- baking tray
- Parchment Paper
- Mixing Bowl
- Rolling Pin
- pizza cutter or sharp knife
- pastry brush
Notes
- Store leftover chips in an airtight container at room temperature for 3 to 5 days.
- If they lose crunch, briefly reheat in the oven to crisp up.
- Freezing is not recommended because chips lose crispness after thawing.