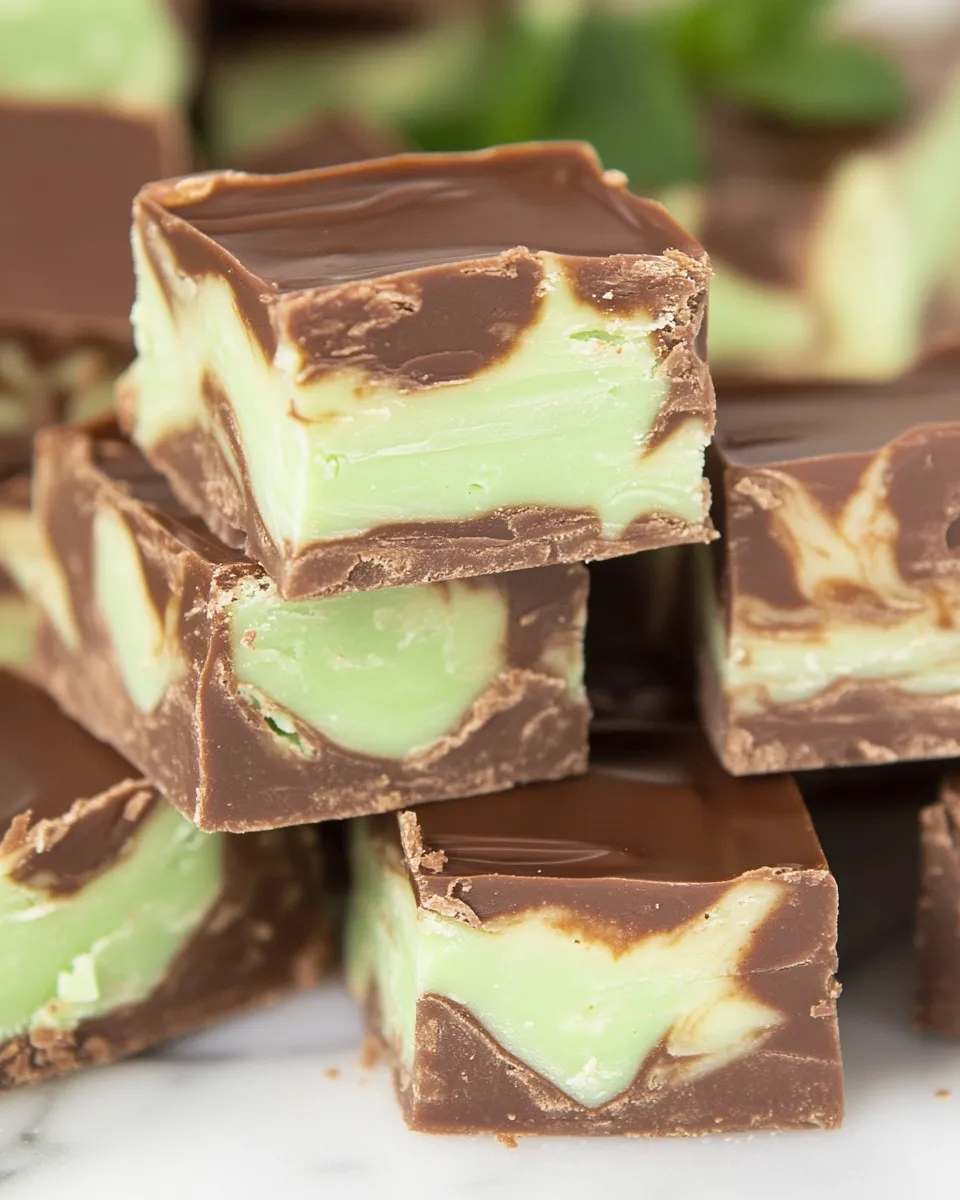
Mint Chocolate Fudge
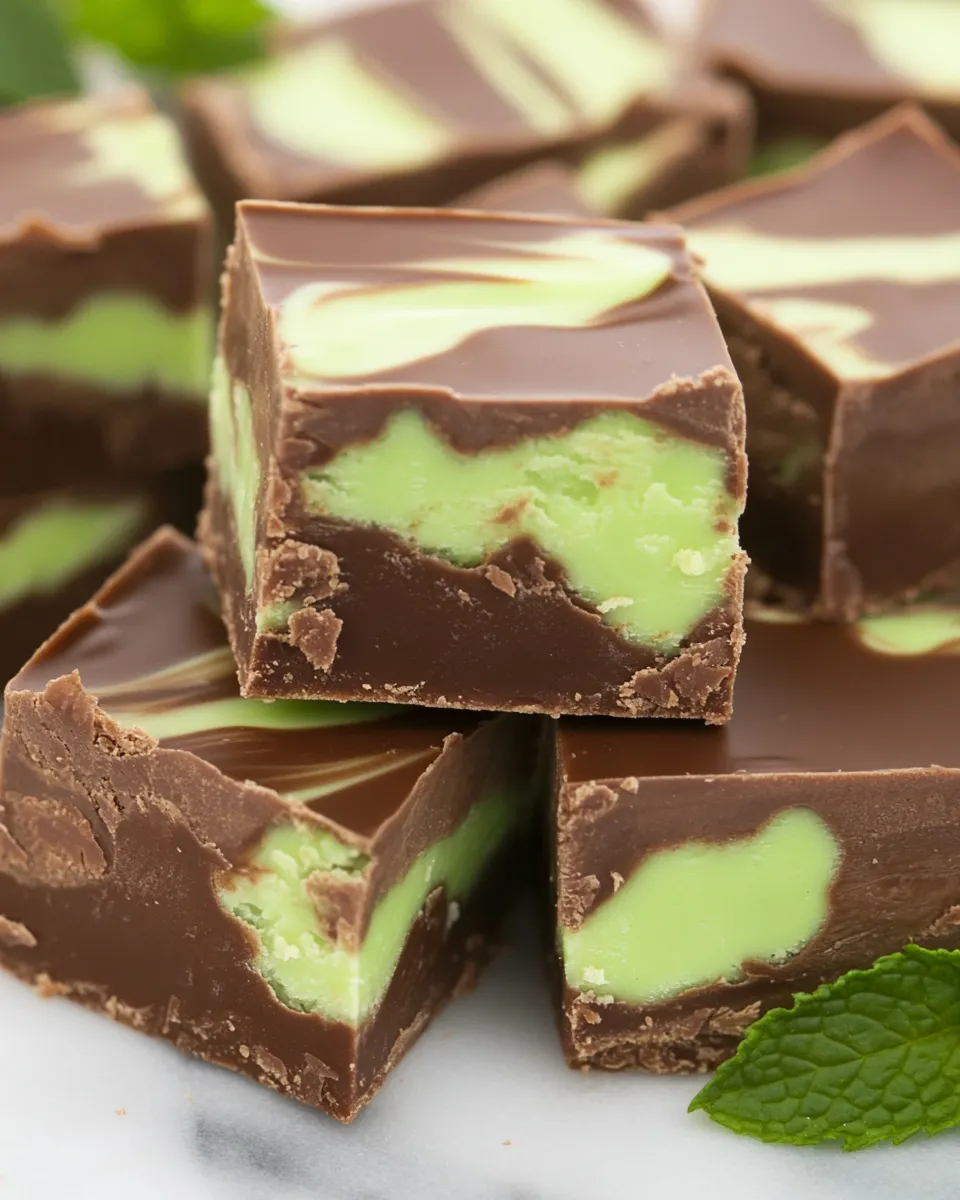
Mint chocolate fudge is the perfect dessert for mint chocolate lovers! This rich and creamy treat combines the irresistible flavors of milk chocolate and sweet white chocolate, all while being infused with a refreshing hint of peppermint. It’s quick to make, requires minimal ingredients, and is bound to leave your guests wanting more. Whether you’re planning a holiday gathering, a birthday celebration, or simply a cozy movie night, this mint chocolate fudge is the sweet treat that fits every occasion. Let’s dive into this delightful recipe!
Why This Recipe Is a Must-Try
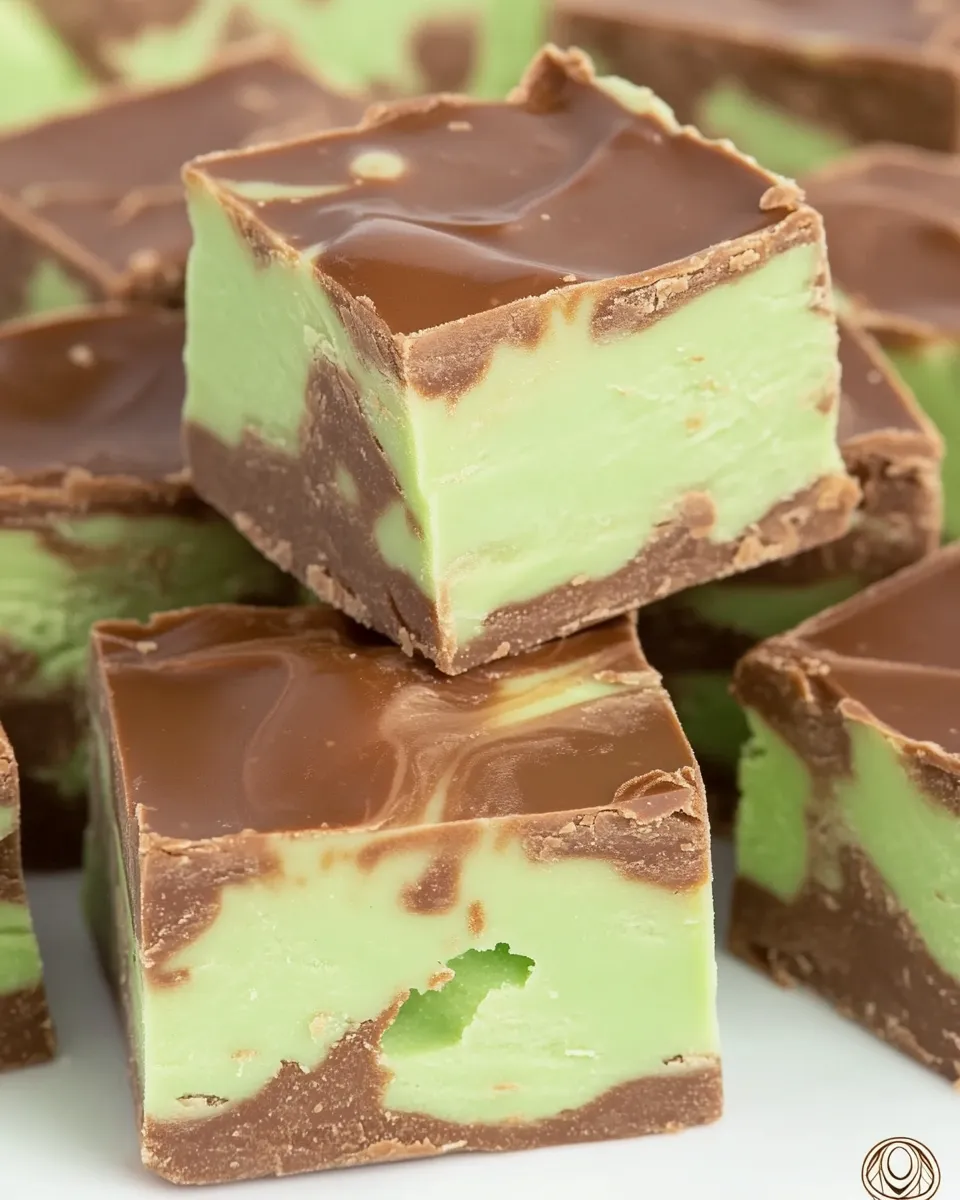
If you love the combination of chocolate and mint, this fudge is an absolute game changer. The contrast between the creamy milk chocolate and the sweet, vibrant white chocolate brings a luxurious texture and flavor profile that is perfectly complementing the refreshing mint. Plus, it’s super easy to make with just a few simple ingredients. You don’t need any fancy equipment, and the results are impressive enough to wow your family and friends. Perfect for gifting, dessert tables, or satisfying your own sweet tooth, this fudge will have you hooked!
Ingredients
To whip up this delicious mint chocolate fudge, you will need the following ingredients:
- 1 ½ cups milk chocolate chips
- 1 ½ cups white chocolate chips
- 14 ounces sweetened condensed milk, divided
- 1 teaspoon peppermint extract
- 6 drops of green food coloring, plus more as needed
These simple ingredients work together to create a visually stunning and delicious treat that is as pleasing to the eye as it is to the palate.
How To Make Mint Chocolate Fudge
Step 1: Prepare Your Baking Pan
First, line an 8-inch square baking pan with parchment paper, allowing some overhang on the sides for easy lifting later. This will make it super easy to remove the fudge once it has set.
Step 2: Make the Milk Chocolate Layer
In a medium saucepan over low heat, combine 1 ½ cups of milk chocolate chips and 7 ounces of sweetened condensed milk. Stir frequently until the chocolate chips are fully melted and the mixture is smooth. Remove from heat and stir in ½ teaspoon of peppermint extract for that delicious minty flavor.
Step 3: Pour the Milk Chocolate Mixture
Pour the melted milk chocolate fudge mixture into your prepared baking pan. Spread it evenly with a spatula and then place it in the refrigerator while you prepare the white chocolate layer.
Step 4: Make the White Chocolate Layer
In another saucepan, combine 1 ½ cups of white chocolate chips with the remaining 7 ounces of sweetened condensed milk. Just like before, melt this over low heat, stirring constantly until smooth. Once melted, stir in the remaining ½ teaspoon of peppermint extract and add in the green food coloring. Stir until you achieve a shade of green you’re happy with.
Step 5: Combine Layers
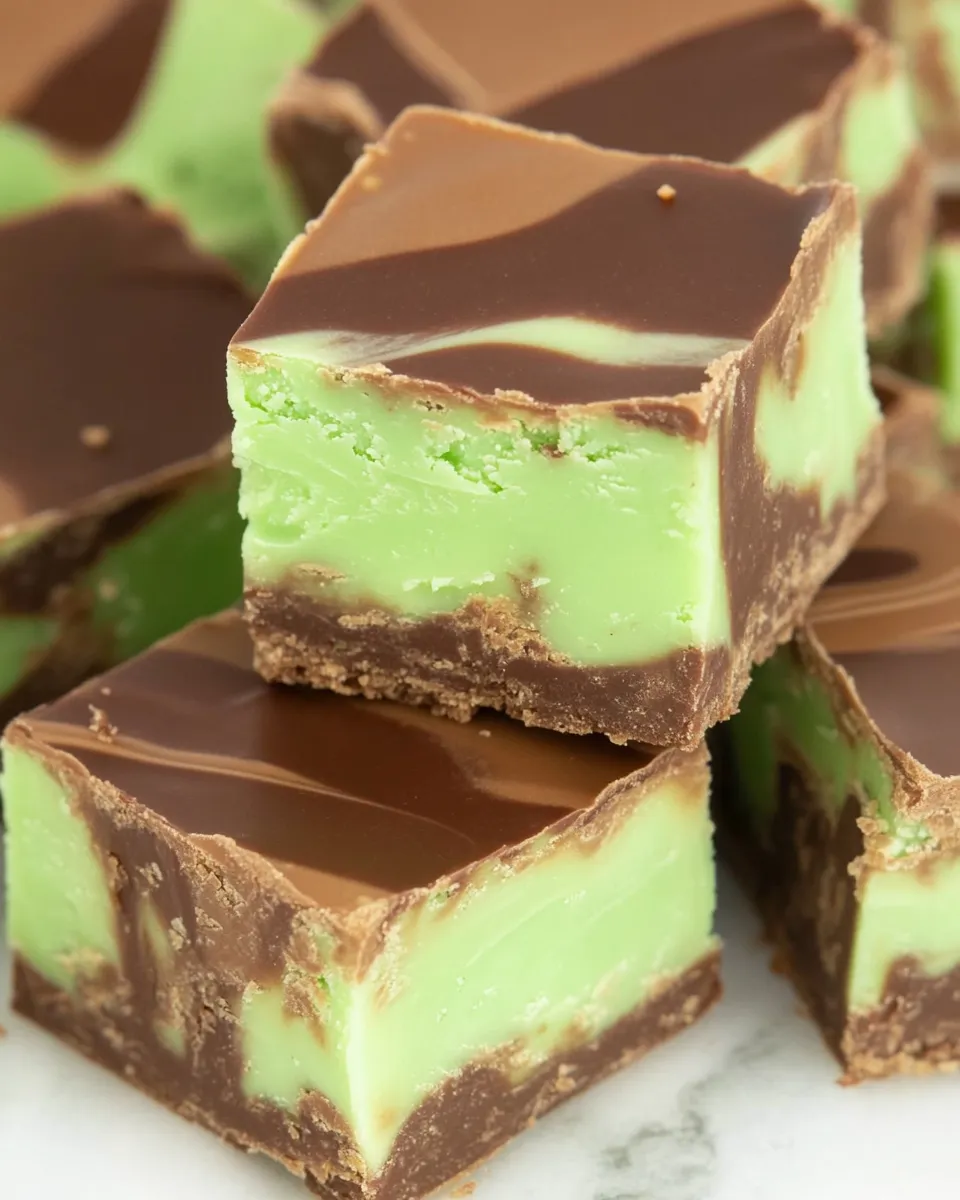
Take the baking pan out of the refrigerator and pour the green white chocolate mixture over the set milk chocolate layer. Use a spatula to spread the white chocolate evenly. If you want to create a marbled effect, you can swirl the layers together gently with a toothpick.
Step 6: Chill Until Set
Return the baking pan to the refrigerator and allow the fudge to chill for at least 2 to 3 hours or until completely set. Once set, remove the fudge from the pan using the parchment paper overhang and cut it into small squares.
Expert Tips
- Make sure to melt the chocolate chips on low heat to avoid burning. Stir constantly for the best results.
- If you want a more intense mint flavor, feel free to increase the amount of peppermint extract by a few drops.
- The green food coloring is optional; adjust the amount based on your desired color intensity.
- For a decorative touch, you can sprinkle crushed peppermint candies on top of the white chocolate layer before it sets.
Variations and Customizations
- Try using dark chocolate chips for a richer flavor that pairs beautifully with the sweet white chocolate.
- Add nuts such as crushed walnuts or pecans to the fudge mixture for added texture.
- Incorporate other flavor extracts like vanilla or almond to create a unique twist.
- Top with a layer of ganache made from melted chocolate and cream for a decadent finish.
How to Store Leftovers
Once your mint chocolate fudge is cut into squares, you can store it in an airtight container at room temperature for up to one week. For longer storage, keep the fudge in the refrigerator; it will last for about two weeks. If you want to enjoy it for even longer, you can freeze the fudge. Wrap individual pieces tightly in plastic wrap and then place them in a freezer-safe container. Thaw in the refrigerator before serving.
FAQ
Can I use different types of chocolate?
Absolutely! You can experiment with dark chocolate or even flavored chocolate chips like raspberry or caramel to create fun new variations.
Can I leave out the food coloring?
Yes, the food coloring is purely decorative. If you prefer a more natural look, you can omit it completely and enjoy classic white chocolate fudge.
How can I make this fudge vegan?
You can substitute the milk chocolate and white chocolate chips with dairy-free alternatives, and use coconut condensed milk or any plant-based sweetened condensed milk to make it vegan-friendly.
What should I do if my fudge is too soft?
If your fudge doesn’t set properly, you may need to chill it for a longer period. If it’s still soft after several hours, you can try placing it in the freezer for a short time to help it firm up.
Conclusion
Mint chocolate fudge is a delightful treat that elegantly combines the creamy textures of chocolate with the bright flavor of peppermint. It’s an easy recipe that is perfect for any occasion, ensuring that it will be a favorite among family and friends. With just a few simple ingredients and some quick steps, you can create something truly indulgent. Whether you keep it for yourself or share it with others, this fudge is sure to impress. Give it a try, and you’ll find out just how tasty and easy it is to enjoy homemade fudge any time of year!
Mint Chocolate Fudge
Ingredients
Chocolate Layers
- 1.5 cups Milk Chocolate Chips
- 1.5 cups White Chocolate Chips
- 14 ounces Sweetened Condensed Milk Divided into two 7-ounce portions
- 1 teaspoon Peppermint Extract Divided into two 0.5 teaspoon portions
- 6 drops Green Food Coloring Plus more as needed
Instructions
- Step 1: Prepare Your Baking Pan - Line an 8-inch square baking pan with parchment paper, allowing some overhang on the sides for easy lifting later.
- Step 2: Make the Milk Chocolate Layer - In a medium saucepan over low heat, combine 1 ½ cups of milk chocolate chips and 7 ounces of sweetened condensed milk. Stir frequently until melted and smooth. Remove from heat and stir in ½ teaspoon of peppermint extract.
- Step 3: Pour the Milk Chocolate Mixture - Pour the melted milk chocolate mixture into the prepared baking pan and spread evenly. Refrigerate while preparing the white chocolate layer.
- Step 4: Make the White Chocolate Layer - In another saucepan, combine 1 ½ cups of white chocolate chips with the remaining 7 ounces of sweetened condensed milk. Melt over low heat, stirring until smooth. Stir in the remaining ½ teaspoon of peppermint extract and add green food coloring.
- Step 5: Combine Layers - Pour the green white chocolate mixture over the set milk chocolate layer. Spread evenly and swirl with a toothpick for a marbled effect if desired.
- Step 6: Chill Until Set - Return the pan to the refrigerator and chill for at least 2 to 3 hours until completely set. Remove from the pan using the parchment paper overhang and cut into squares.
Equipment
- Medium Saucepan
- 8-inch Square Baking Pan
- Spatula
- Parchment Paper

