This article contains paid links. As an Amazon Associate, I earn from qualifying purchases. Product selections are based on listing and customer-review research, not hands-on testing.
The kitchen counter has a lot to do before it ever gets decorated. It holds the chopping board, catches the groceries and becomes the place you make the first cup of the day. A few well-chosen pieces can make it feel welcoming while leaving those everyday jobs easy.
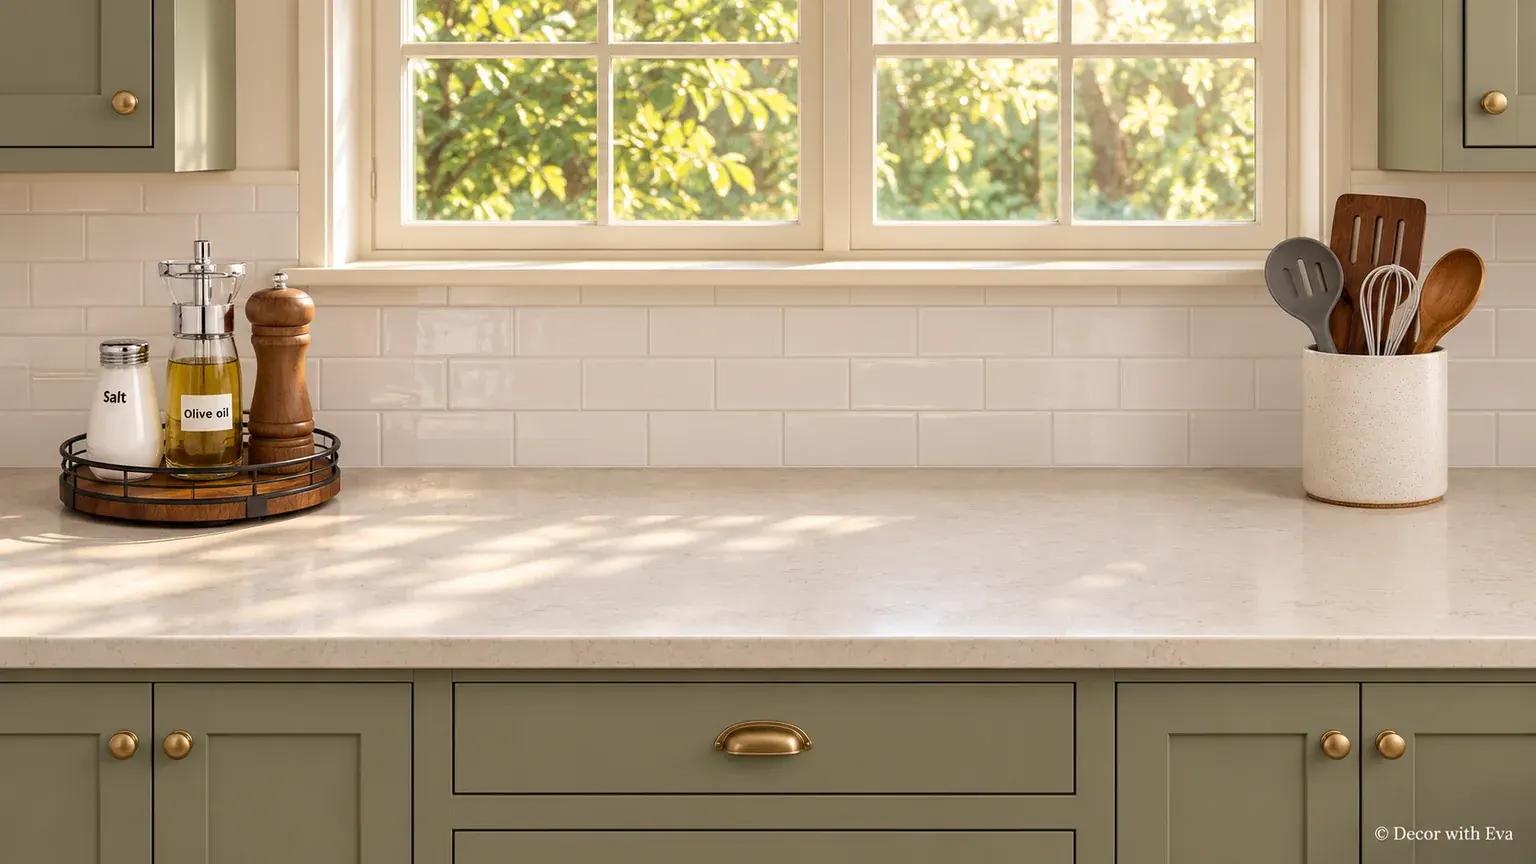
These kitchen counter decor ideas are alternatives to choose from, not a shopping list for one kitchen. Start with a counter section you can spare, use the objects that suit your routine and leave the main prep area open. Some ideas need a small purchase; others begin with a bowl, board or pitcher you already own.
Images are AI-created styling illustrations. Selected product photos informed linked pieces; appliances, utensils and surrounding accessories are separate styling props, not complete sets. The scenes illustrate arrangements rather than tested product performance or actual customer kitchens.
Start with the Space You Need to Cook
Clear the counter and put back the things you use daily. Set out your usual chopping board or mixing bowl before deciding where decor can go. Check cabinet doors, drawers, outlets, appliance openings and the route between the sink and cooking area. There is no magic number of objects that works for every kitchen.
Keep anything that can burn away from the stovetop, including wooden tools, towels, packaging and decorative stems. The U.S. Fire Administration’s cooking guidance is a useful reference. Follow appliance instructions for their own heat, ventilation and clearance requirements.
1. Gather Daily Essentials on One Small Tray
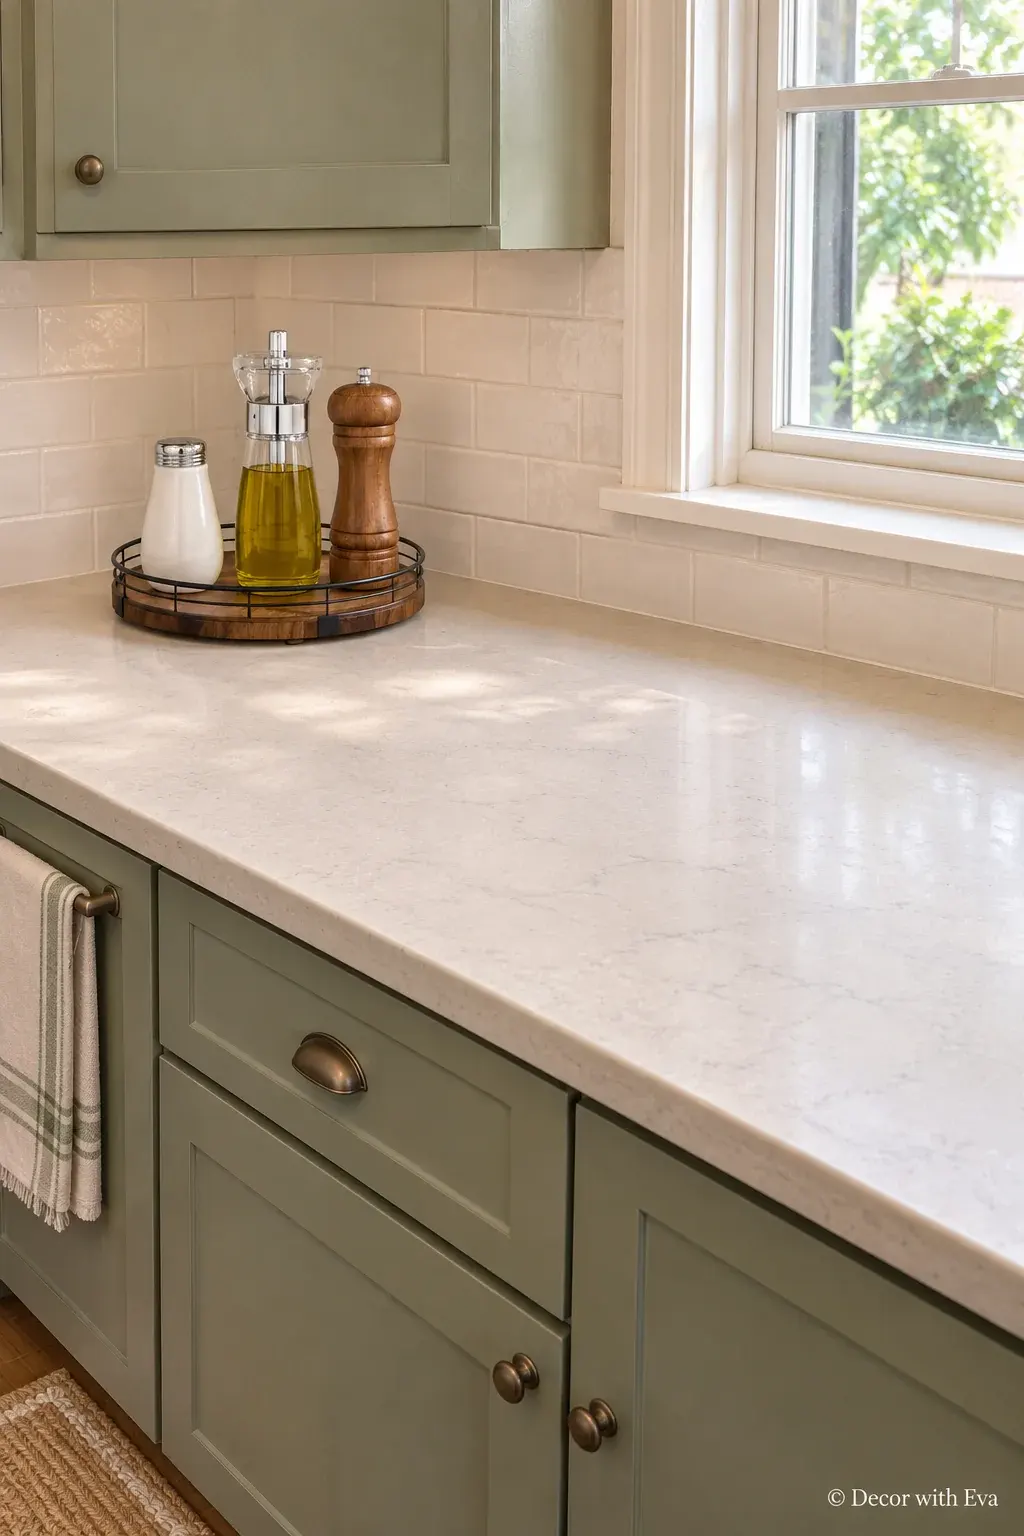
A small tray gives a few everyday items a clear home. Try a closed seasoning jar, a pepper mill and the bottle you actually use, rather than a collection gathered just for display. Warm wood brings some contrast to pale counters without taking over the whole worktop.
Put the group at the back of a dry prep area, away from the stovetop. A turntable helps only if there is room to rotate it without catching the backsplash or the next object. Keep the front of the counter open so you can set down a board and get dinner started.
Try this: Test the footprint with a plate you already own before buying a tray.
The selected 9-inch oak-wood tray has a walnut finish and black metal perimeter rail. Larger sizes share the listing. Check bottle bases and leave enough space for the tray to turn.
2. Choose a Utensil Crock That Earns Its Space
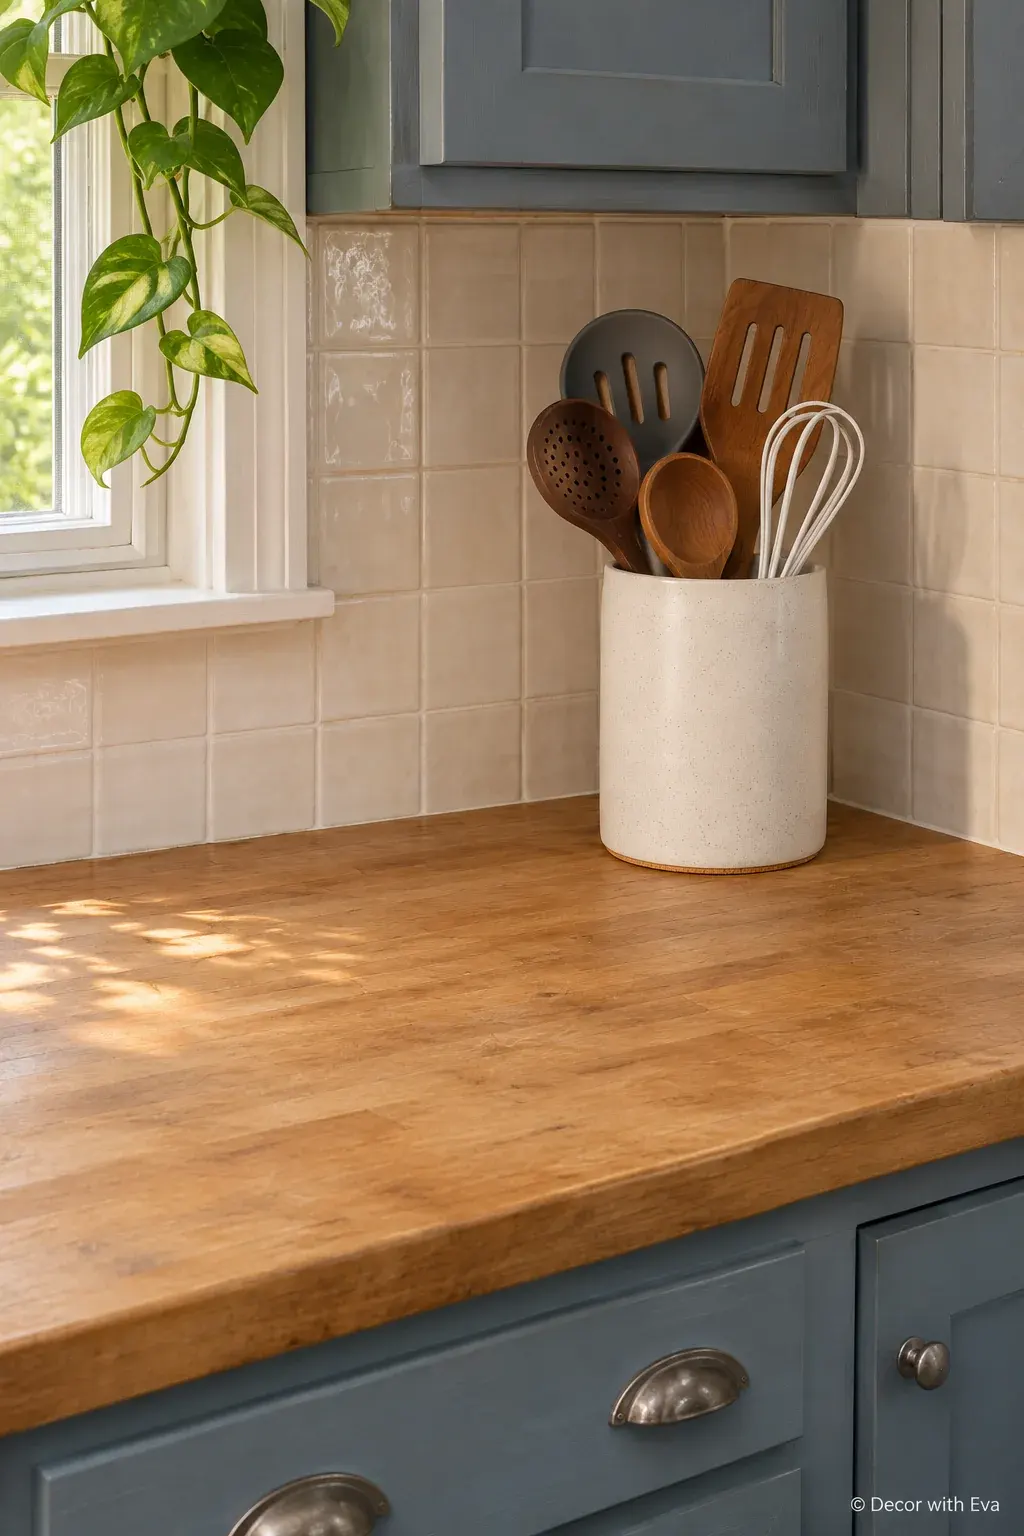
A ceramic crock can look good and solve the daily hunt for a spatula. Choose a finish that works with the cabinets, then edit the tools down to the handful you use most. A little breathing room between handles looks calmer than a container packed to the rim.
Place it within comfortable reach of the prep area while keeping wooden and plastic tools away from stovetop heat. Check the base diameter as well as the height: a tall crock can be compact, but wide handles still spread beyond its footprint.
Try this: A sound, easy-to-clean container from your cupboard may do the same job.
The Sand version is listed at 6.4 inches high and 5.1 inches across, with a cork base. Keep only the utensils you reach for regularly; the pictured tools are separate.
3. Lean Two Everyday Boards Against the Backsplash
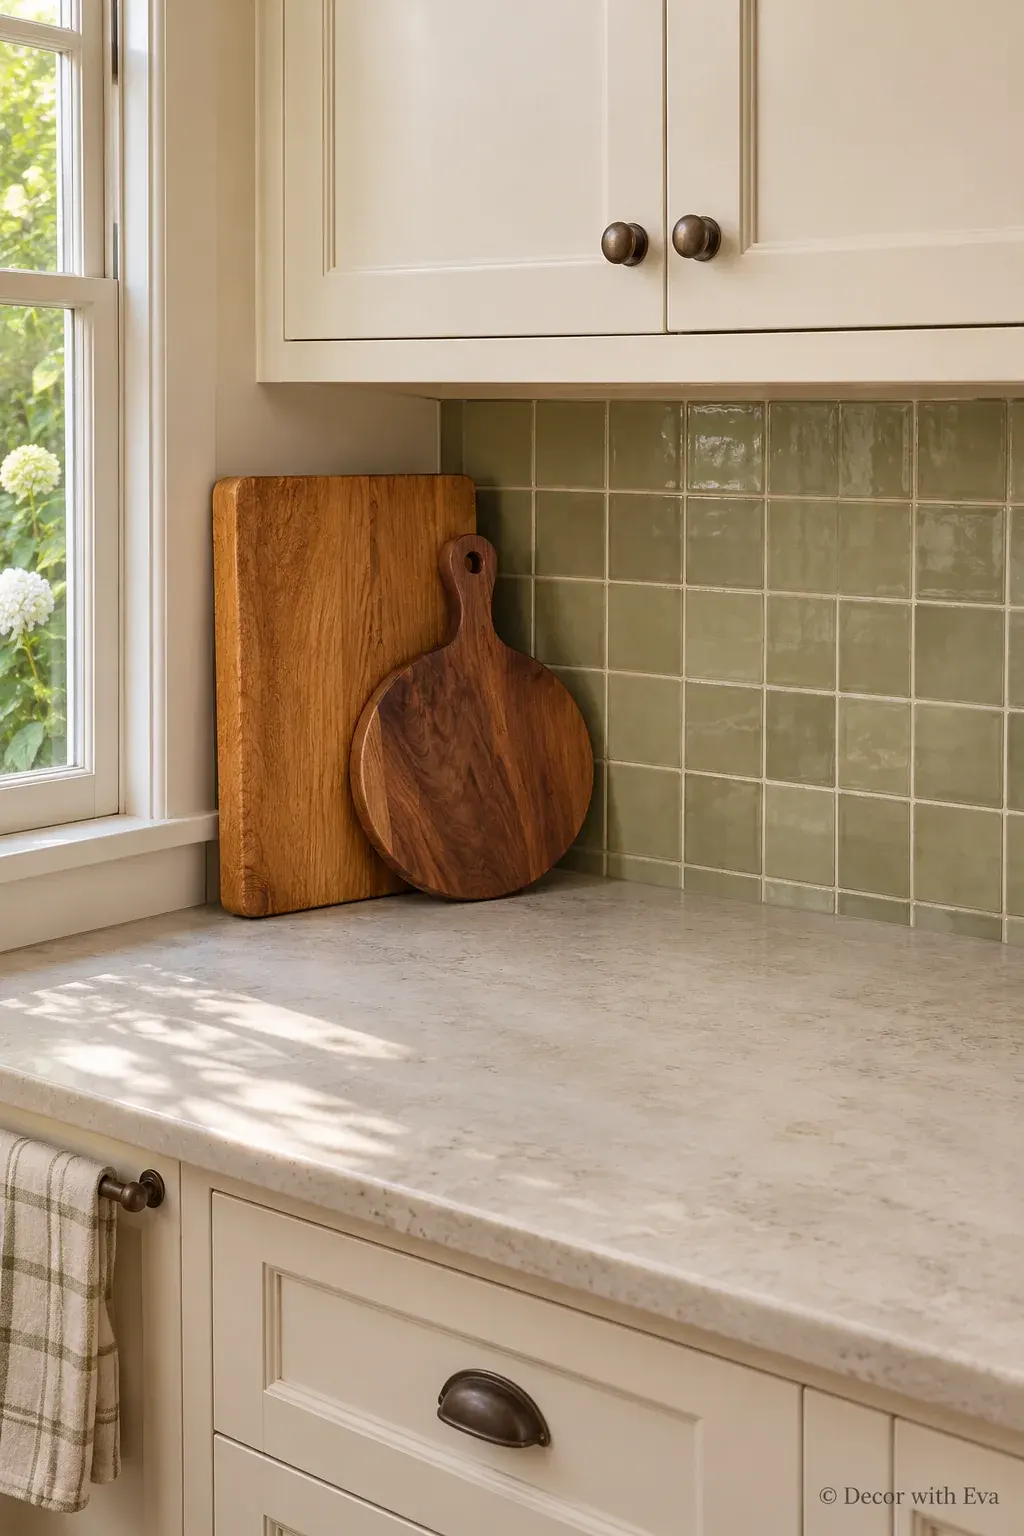
Cutting boards add warmth through something the kitchen already needs. Stand one larger board behind a smaller one so their outlines remain visible. Different wood tones can work together when the shapes are simple and the rest of the arrangement stays quiet.
Use boards that are clean, fully dry and stable in that position. Keep them outside the splash zone and away from the stovetop. Leave enough room to lift the board you want without moving a vase, a jar and a whole row of ornaments first.
Try this: Two useful boards are enough; there is no need to buy a matching display set.
4. Let a Fruit Bowl Be the Decorative Piece
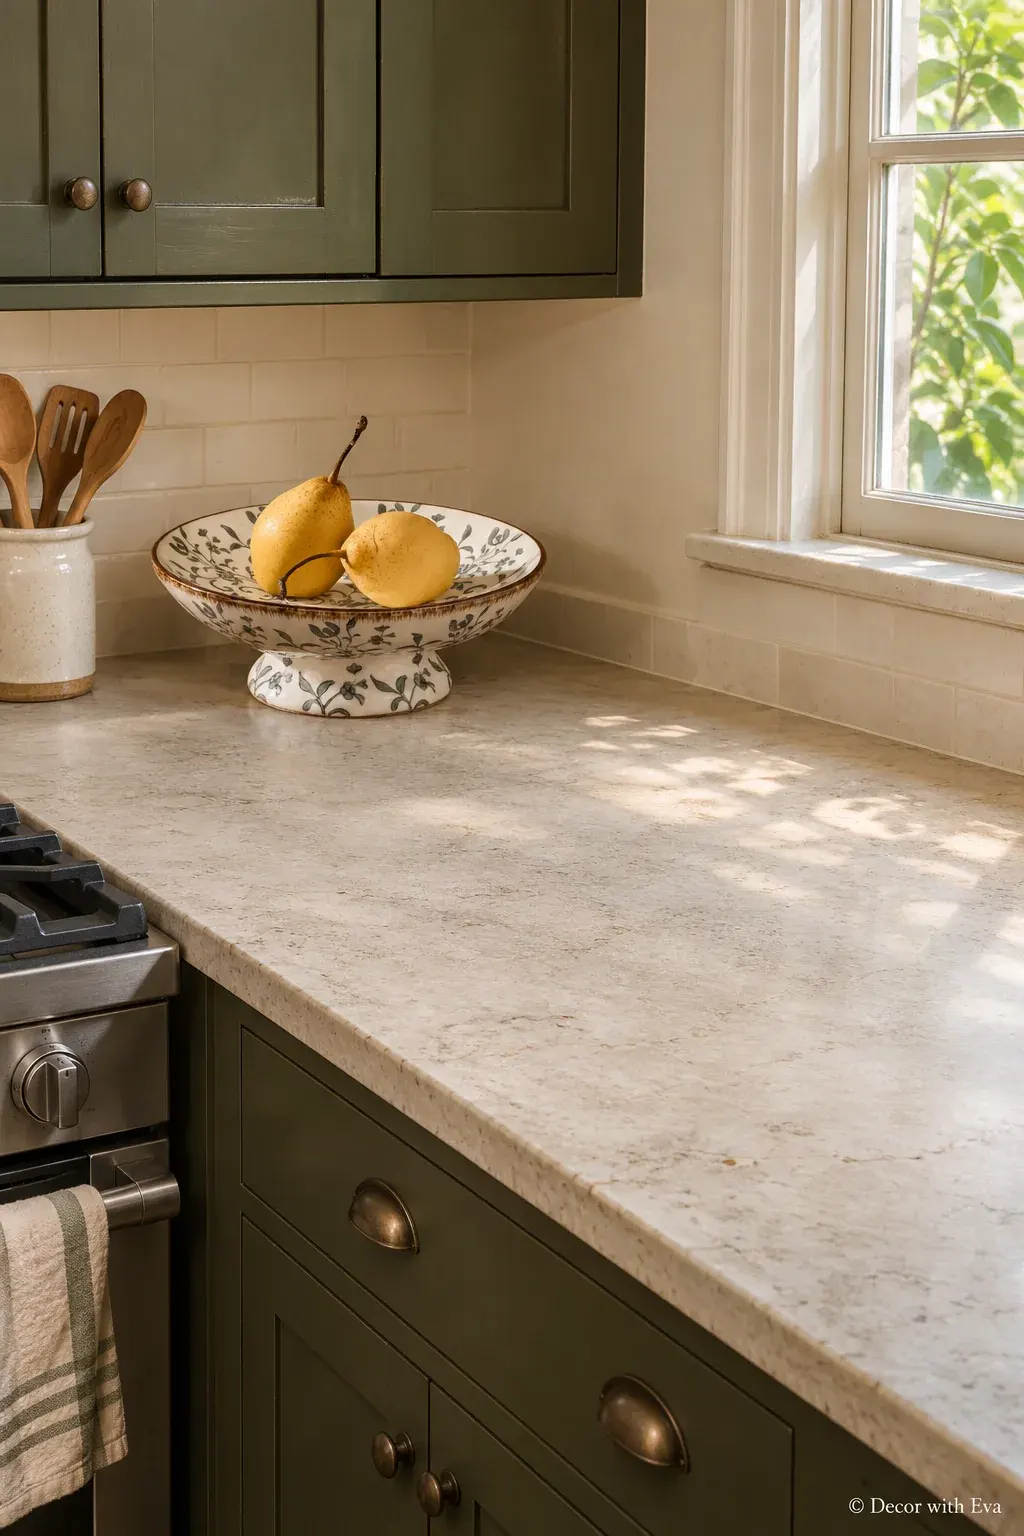
A bowl of fruit brings color that changes naturally through the week. A patterned ceramic bowl can carry the whole arrangement, especially against plain tile or a quiet countertop. Let the bowl’s rim and pattern show instead of piling fruit high enough to hide them.
Choose a location where you can reach the fruit without leaning over a hot appliance. Check the diameter before committing: a statement bowl that works on an island may consume too much of a short counter. Keep only the amount you expect to use and follow storage guidance for each fruit.
Try this: Use your favorite serving bowl when it is not needed at the table.
The inspected Gray Floral bowl has a pedestal base and brown-edged rim, approximately 11.42 inches across and 4.33 inches high. It is a substantial countertop piece; check the footprint before using it in a small kitchen.
5. Keep the Coffee Corner to a Useful Pair of Jars
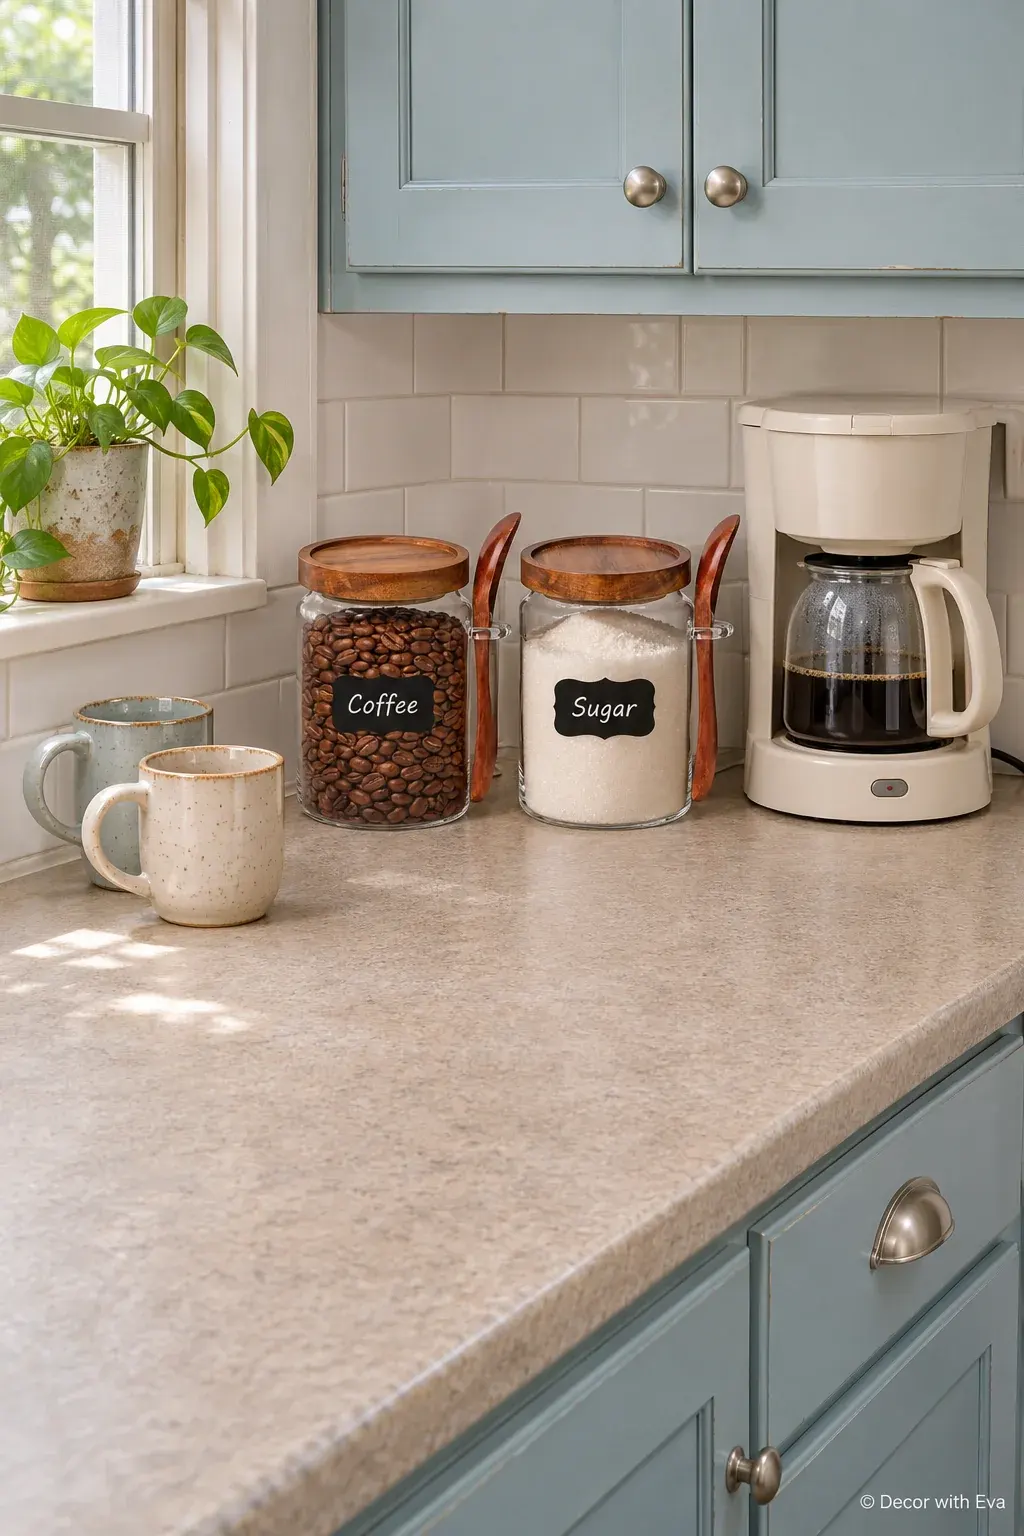
Coffee and sugar can look settled on the counter when they share a simple shape. Clear glass and wood lids add texture beside an appliance without introducing more colors. Keep the rest of the station small: a couple of mugs are more useful than a display of every cup you own.
Place the jars beside the coffee maker rather than on top of it or beneath a steam outlet. Leave room to fill the tank and lift the lids. Store ingredients according to their own instructions and keep the labels and dates you need; attractive containers are not a reason to lose that information.
Try this: Try two clean containers you already use and move reserve supplies into the cupboard.
Each selected 0.8-quart jar is about 3.7 inches wide and 5.6 inches high. The acacia lids and scoops need separate care from the glass. Keep the contents labeled, including any original dates or instructions you need.
6. Build a Compact Tea Shelf
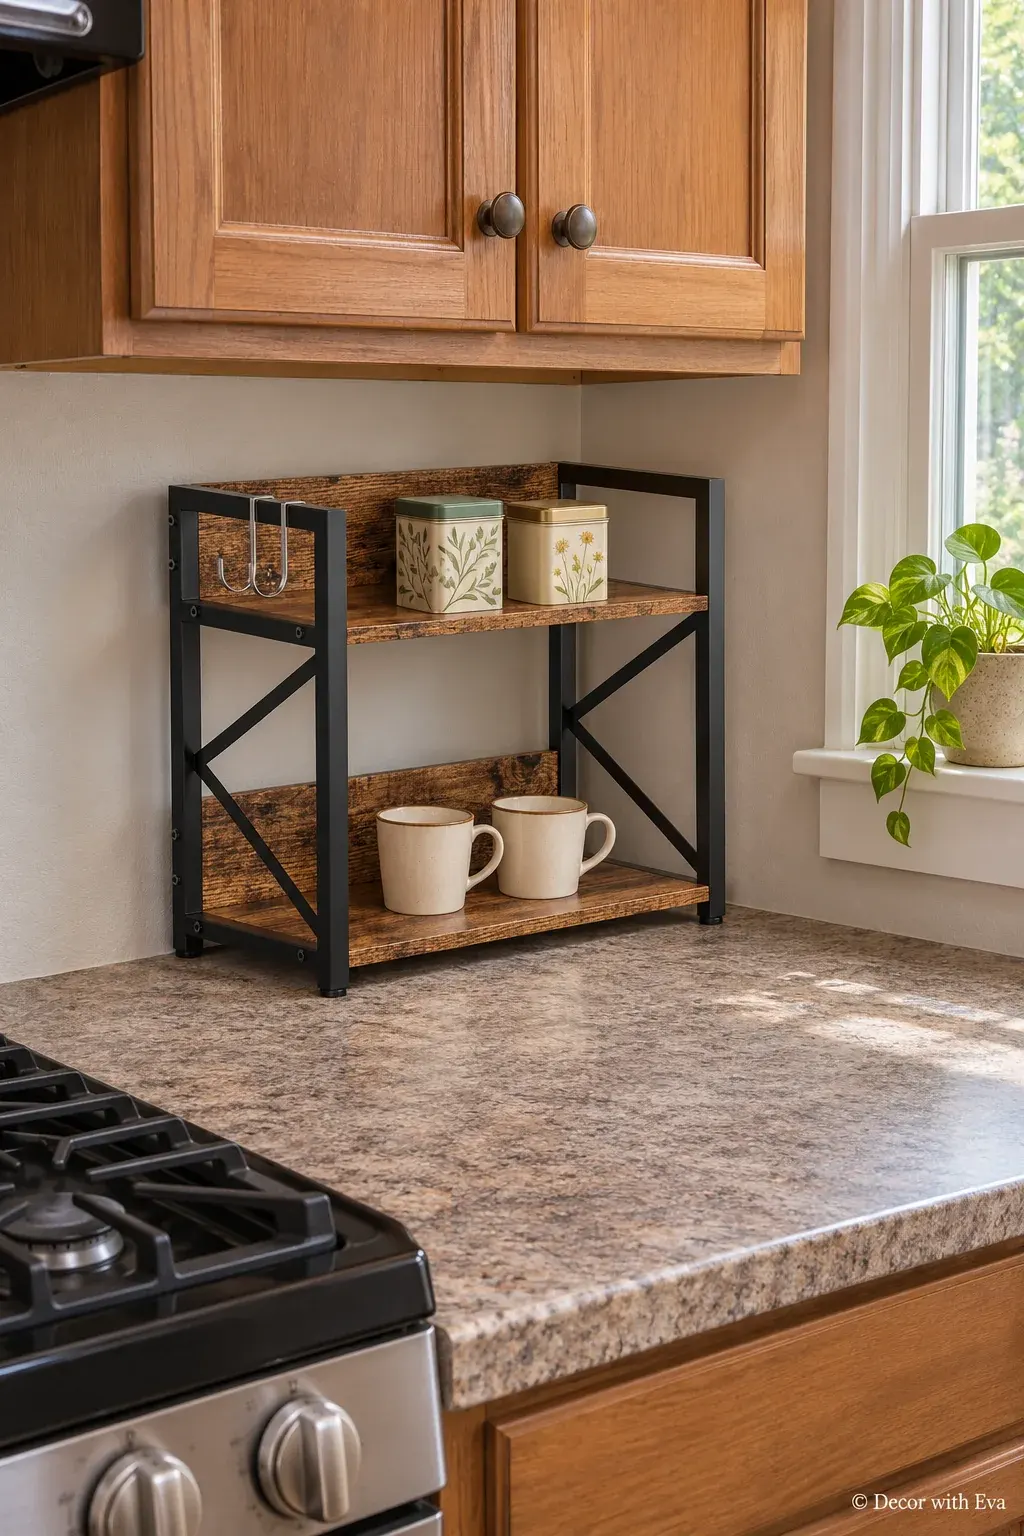
A small shelf can give cups and tea supplies their own corner without spreading them across the whole worktop. Keep the taller pieces on the upper level and the everyday cups where they are easy to take out. The aim is a station you can use, not a miniature shop display.
Measure the space below the wall cabinets and check the shelf openings against your cups and tins. A kettle needs its own stable counter space and the clearances in its instructions; it should not be squeezed into the shelving. Avoid filling hooks simply because they are there.
Try this: If a shelf feels crowded, put the reserve tea away and keep one tin with two cups.
The Medium shelf combines engineered-wood boards with a black metal frame. The listing gives its width as about 13.1–13.2 inches, depth 7.6 inches and height 13.7 inches. Check the current assembled dimensions and clearance below your cabinets.
7. Give the Sink a Small Washable Tray
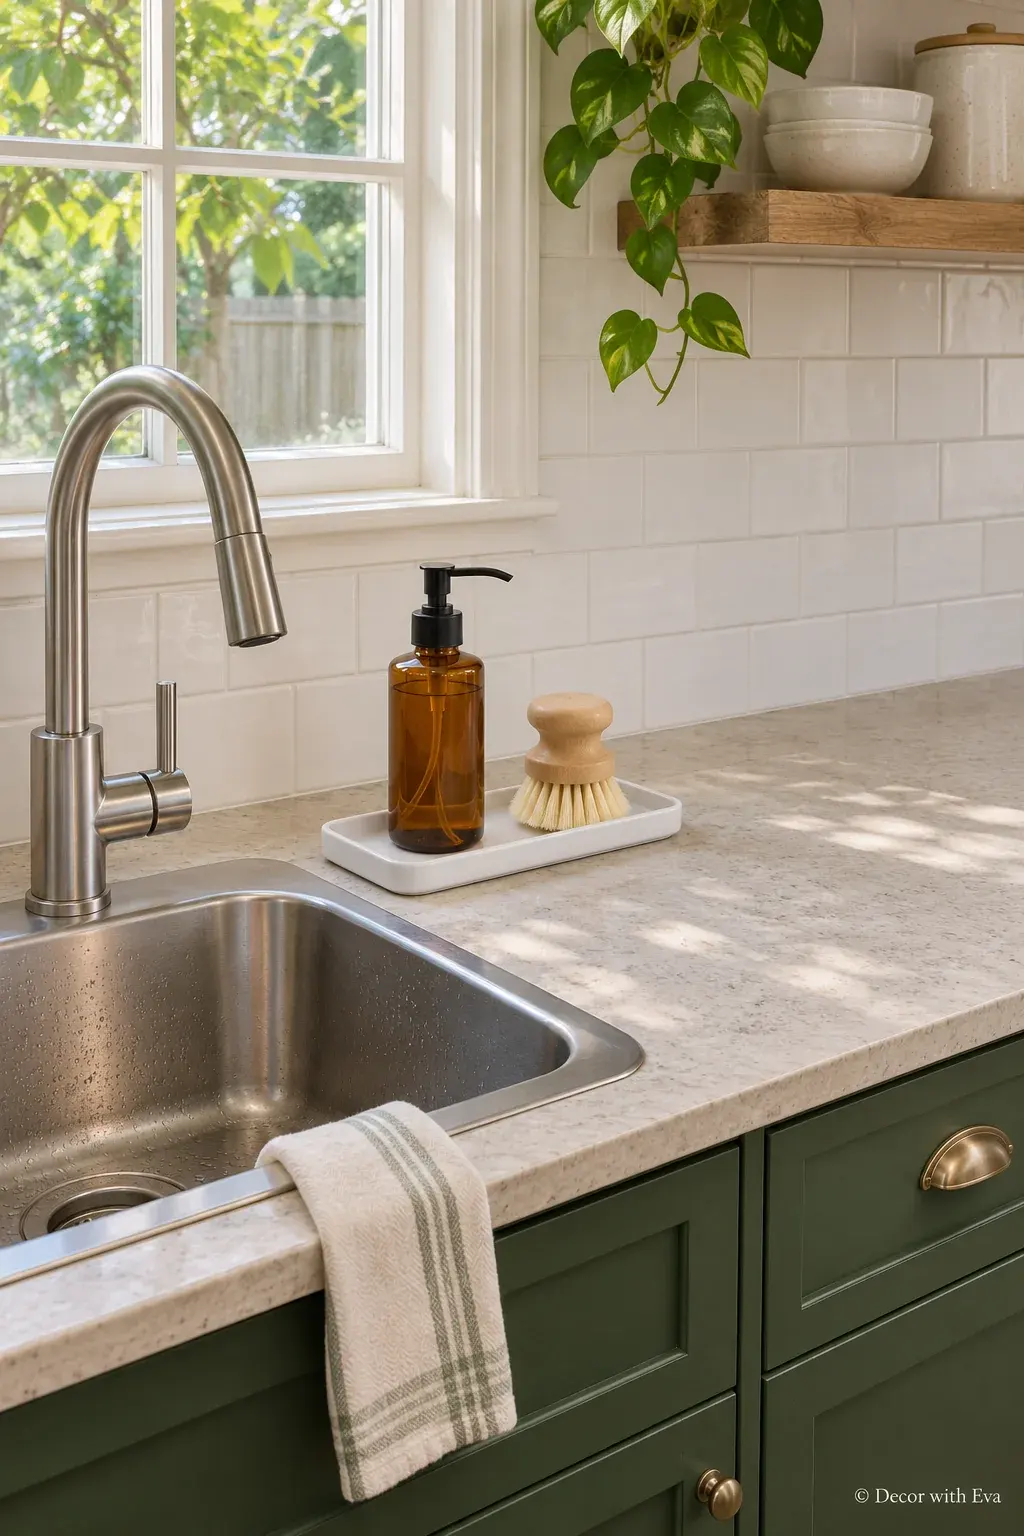
A low tray makes dish soap and a brush look like one useful group. White ceramic is an easy visual partner for many sinks, and the shallow outline does not compete with the faucet. Keep it to the things you use at the sink rather than adding decor to a wet corner.
Check bottle bases against the tray’s flat interior, not just the outside measurements. Empty standing water and clean underneath it regularly. Keep the faucet, handles and any drying space easy to use; a tray that makes washing up awkward is in the wrong place.
Try this: A small washable dish can organize one soap bottle just as well.
The selected single white tray is approximately 8.07 × 4.21 × 0.74 inches. Its outside footprint is larger than the usable flat area. Measure your soap bottles before choosing a size.
8. Add Color with a Small Salt Cellar
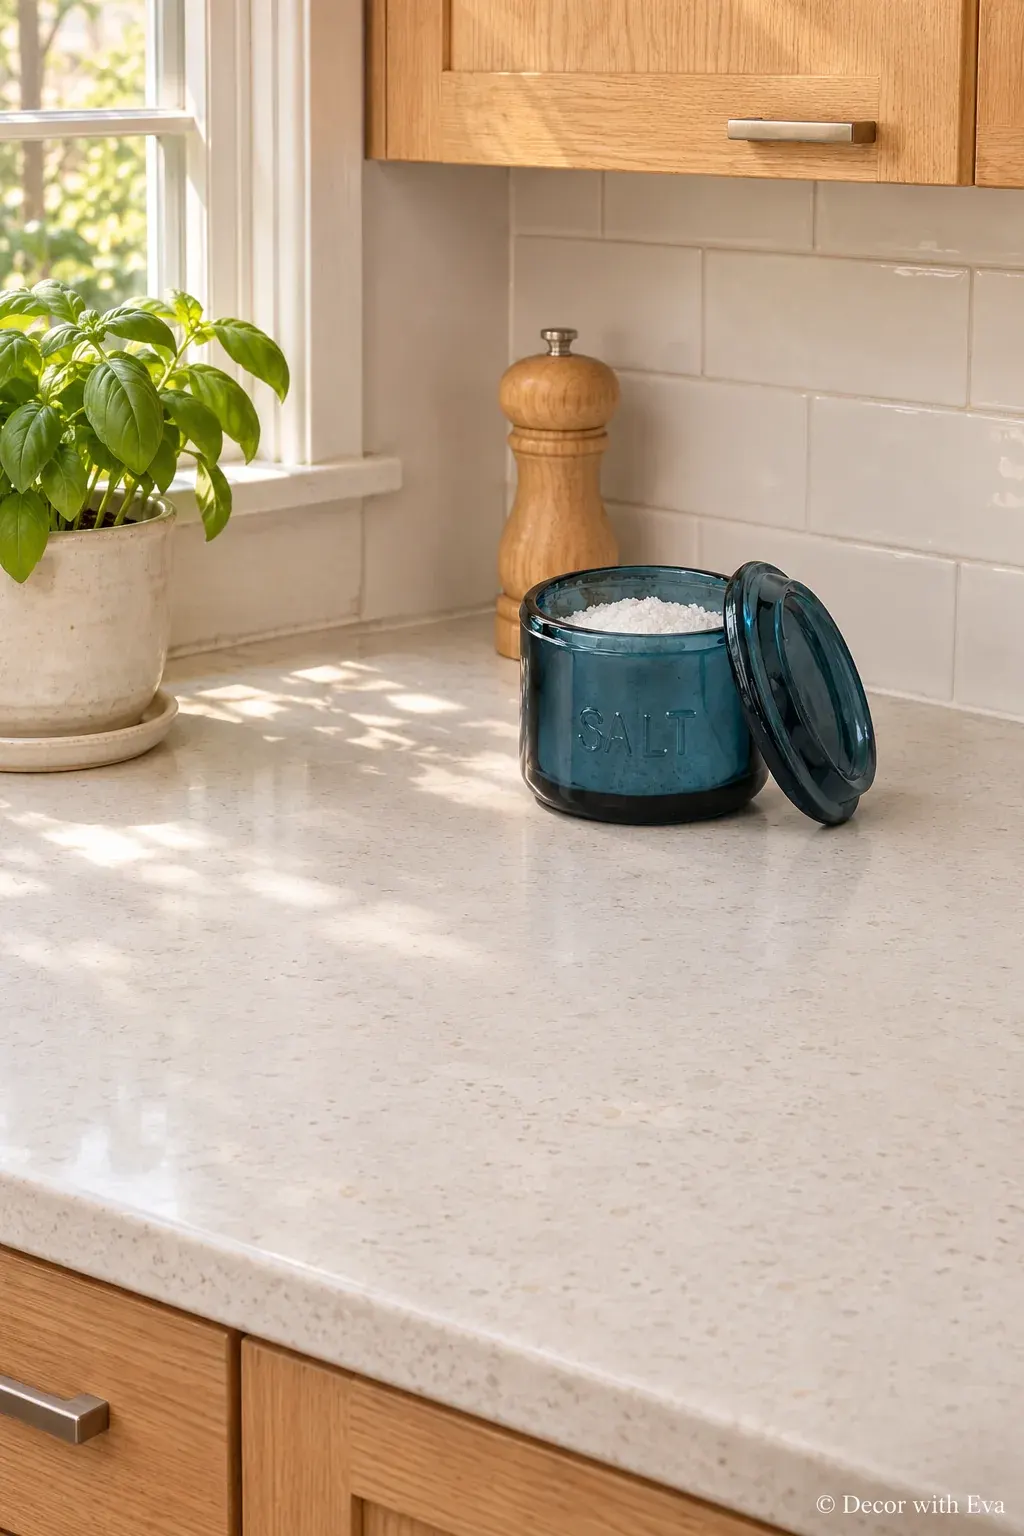
A small piece of colored glass can bring personality to a neutral kitchen without demanding a whole new palette. A navy salt cellar is decorative because of its shape and texture, while its everyday job gives it a reason to stay out.
Keep it on a dry part of the prep counter with room to lift the lid and set it down. A loose glass lid is different from a sealed canister, so do not assume it will keep out moisture. Keep a clean, dry hand or appropriate spoon available when seasoning.
Try this: Let this be the accent; the neighboring containers can stay simple.
The selected embossed glass cellar is about 3.5 inches across and 3.3 inches high, with a lift-off glass lid. It is hand-wash only. The lid has no sealing gasket; do not treat it as an airtight storage jar.
9. Replace Loose Bread Packaging with One Bread Box
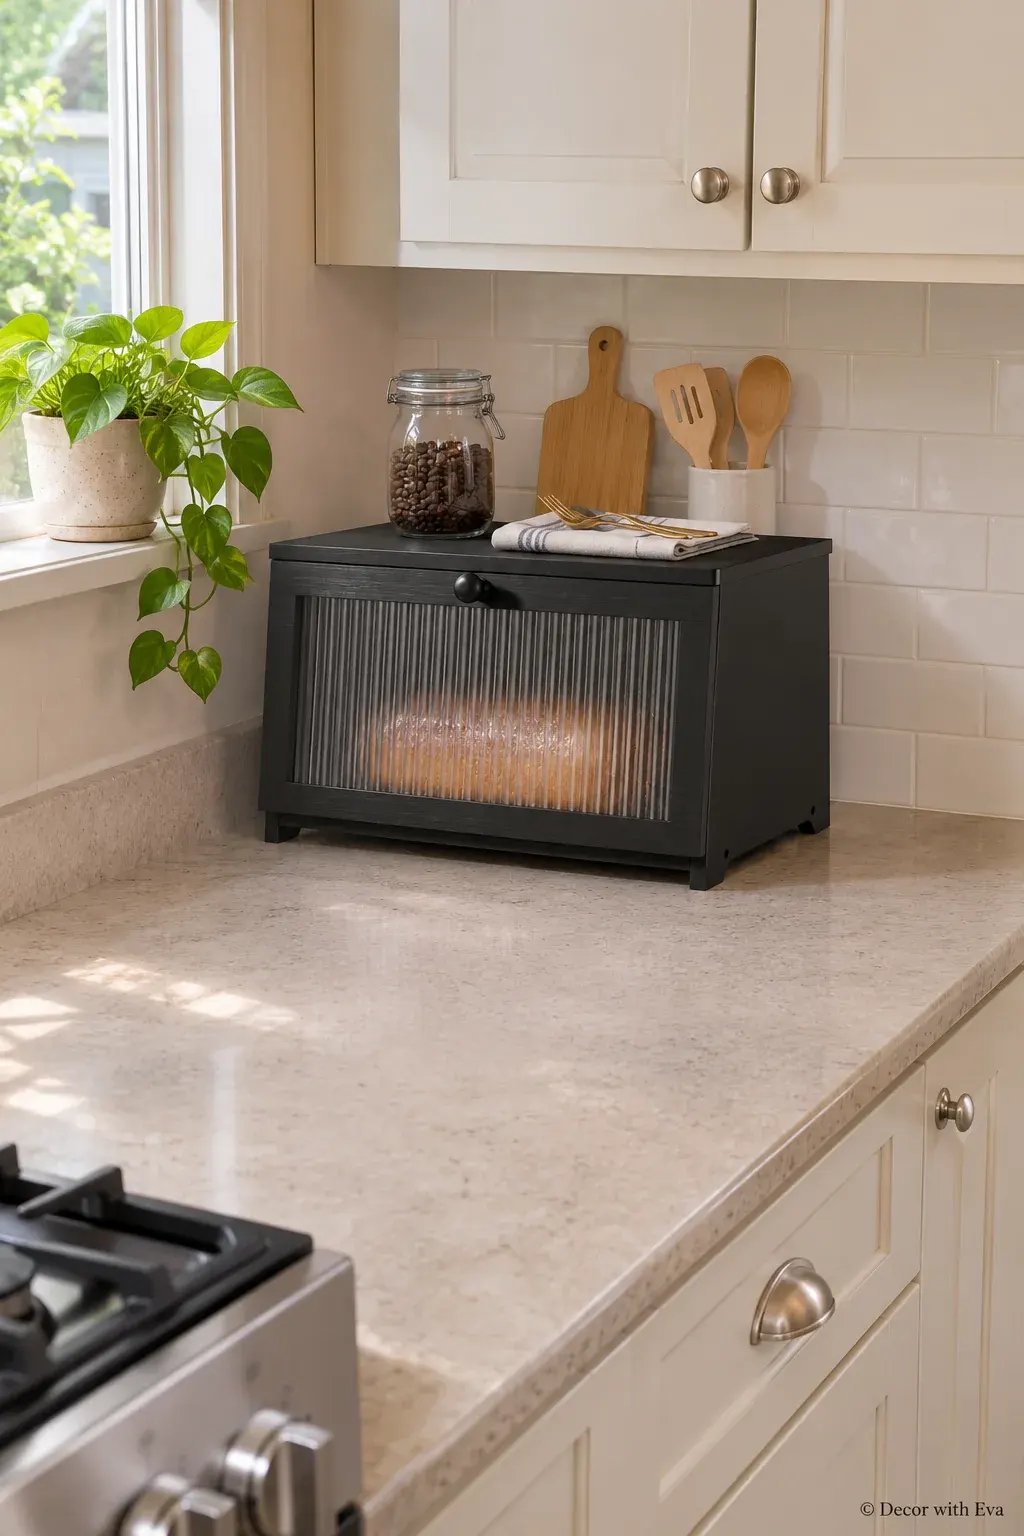
Bread bags and snack packets can make even a clean counter look busy. A bread box gives those everyday items a more settled home. A black finish adds definition against light cabinets, while a ribbed front softens the view of what is inside.
Measure the full footprint and the open door before deciding where it belongs. Keep the top mostly clear so the box does not become another clutter shelf. Use and clean it according to its instructions and the food’s storage needs; no box guarantees a particular shelf life.
Try this: If bread already lives happily in a cupboard, keep that space and skip another counter item.
The selected bamboo box is approximately 15 × 8.3 × 9.1 inches, with a ribbed acrylic front rather than glass. Leave room for the door to open. Follow the assembly directions and check the knob fastening.
10. Put a Favorite Cookbook on a Simple Stand
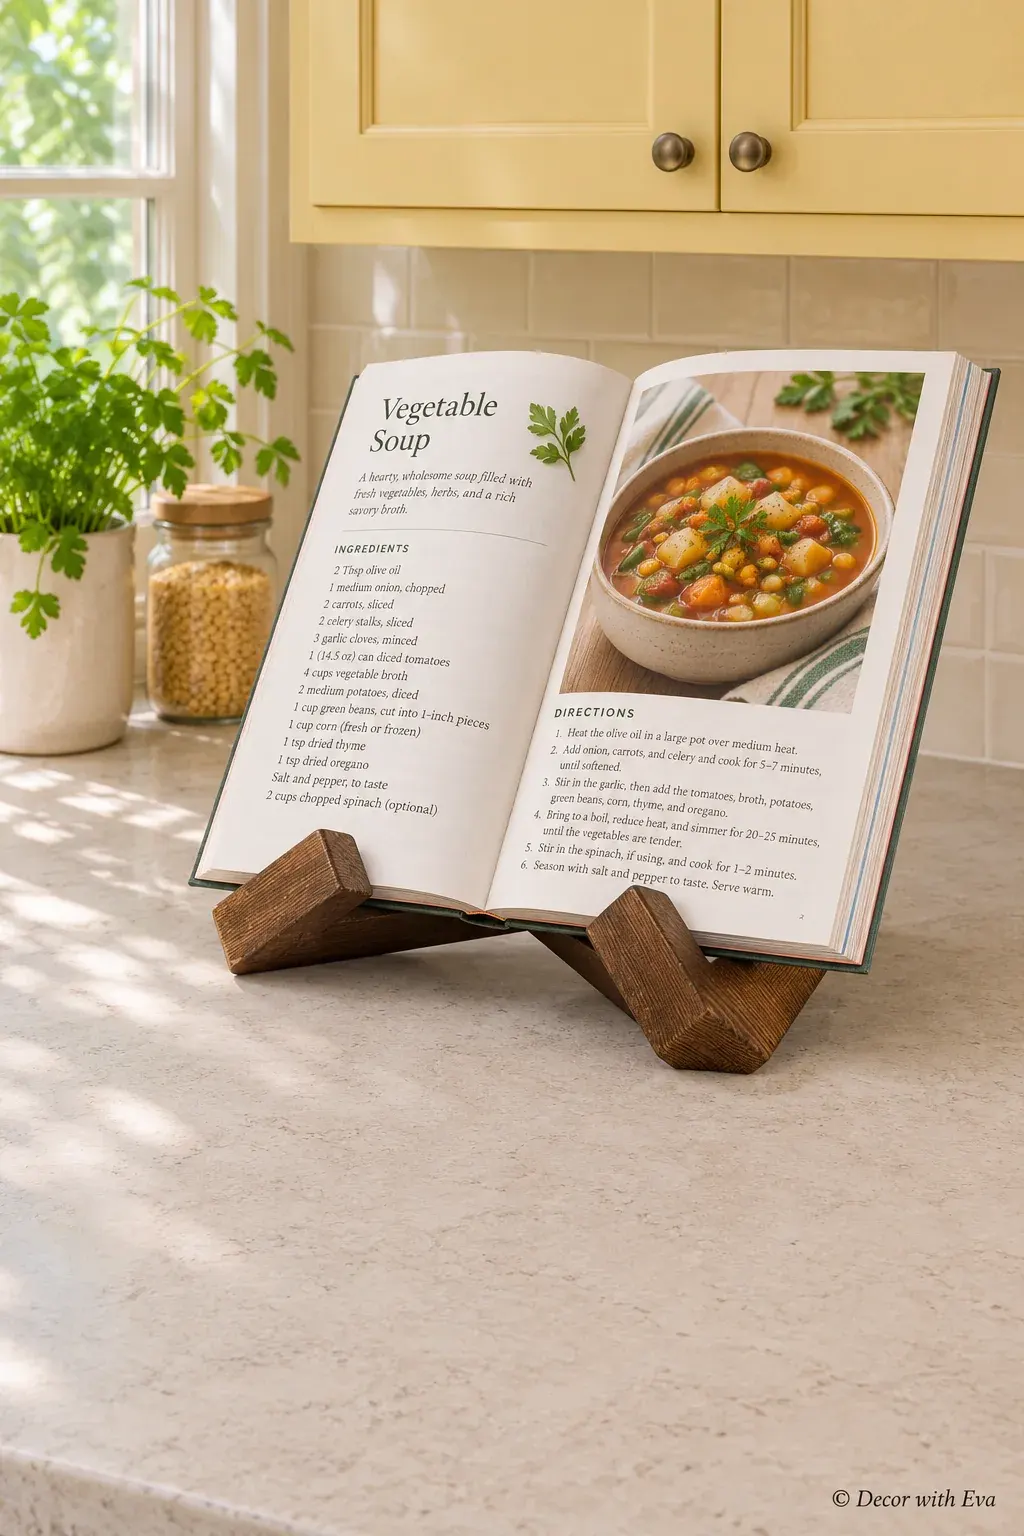
A cookbook can add color and a personal note while staying useful. Open it to something you plan to cook, or use the cover as the display when it is closed. A simple wood stand keeps the arrangement from becoming another stack of books across the counter.
Check the stand against the book’s height and weight, and make sure the pages behave the way you need. Keep it away from splashes, grease and stovetop heat. Leave clear prep space beside it so the recipe is easy to read while you work.
Try this: Choose one book and return the others to a shelf.
This Rustic Brown stand uses two interlocking solid-wood pieces. Check the seller’s book-size guidance against your own cookbook; a visible review notes that pages do not stay fully open.
11. Grow One or Two Herbs Where the Light Works
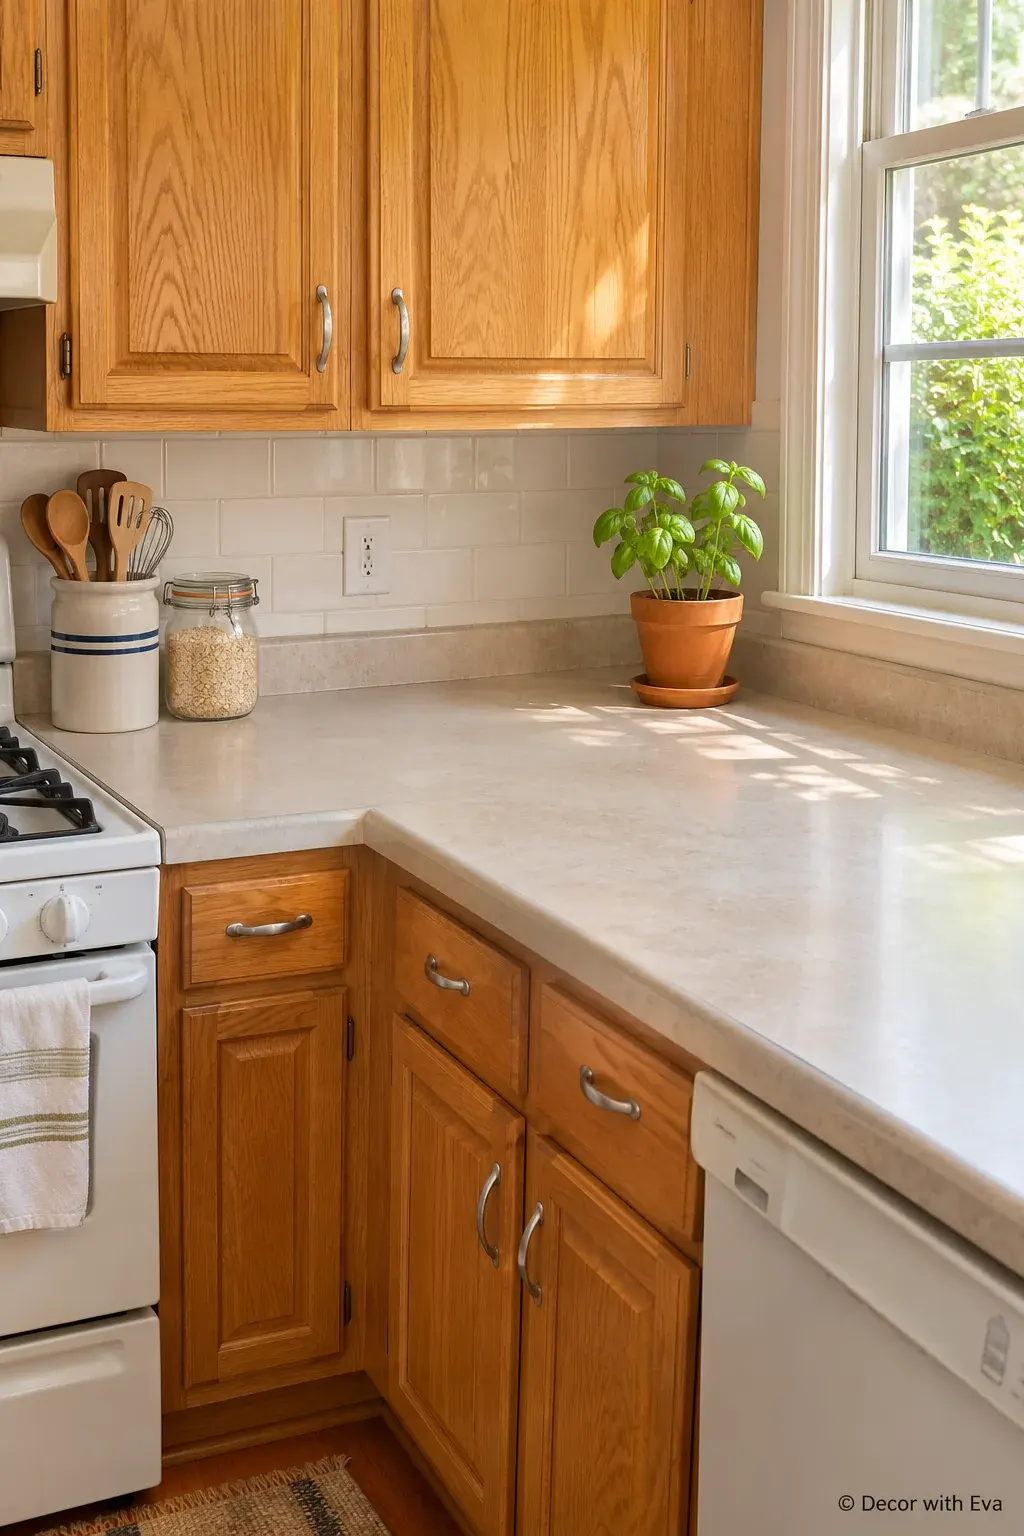
A useful herb can bring life to the counter, but the location has to suit the plant. Give one pot a bright spot near a window rather than trying to maintain a row of herbs in a dim corner. A plain terracotta pot looks at home beside wood and ceramic.
Use a pot with drainage and a suitable saucer, protect the worktop and move it away from food preparation when tending it. Choose the plant for the available light, not just the photograph. If the kitchen is too dark, keep the herb somewhere it will grow well and bring cut sprigs in when needed.
Try this: One healthy plant is a better starting point than a matching set of struggling pots.
Iowa State University Extension’s indoor herb guide explains why light and drainage matter, and recommends growing different herbs in separate containers. Use the plant’s needs to decide where it belongs.
12. Use One Pitcher for a Few Branches
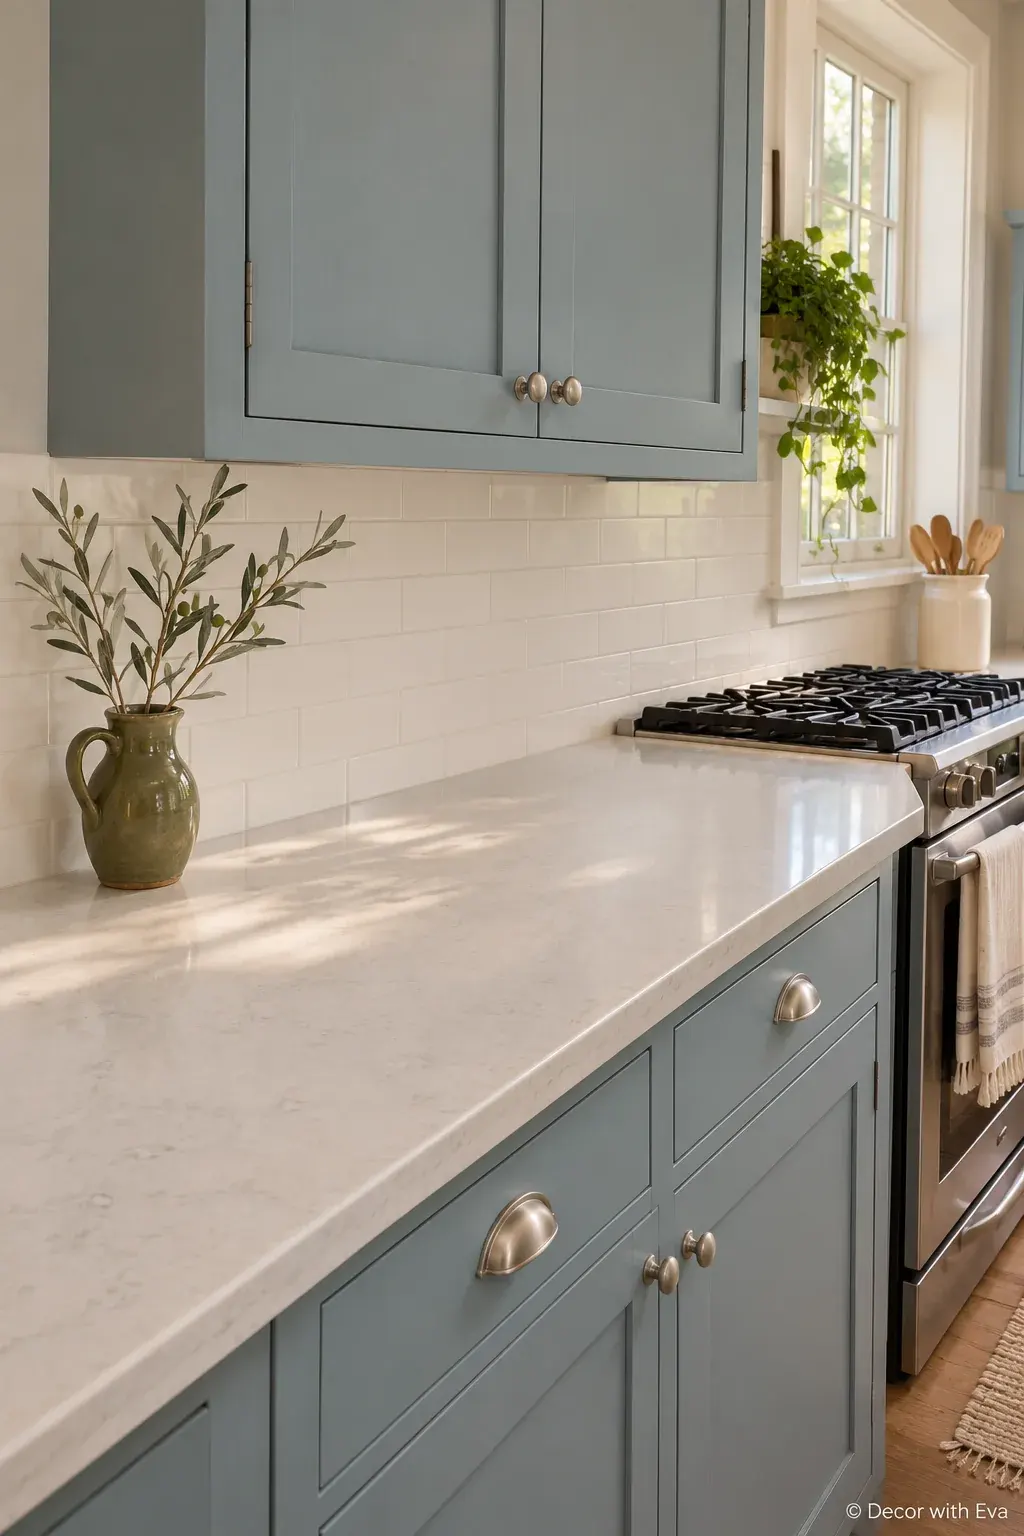
A pitcher with a few branches adds height without a cluster of little ornaments. Use a narrow arrangement that stays close to the backsplash and lets the pitcher’s shape show. This works best on a longer counter where the extra height does not interfere with the room’s daily jobs.
Keep stems clear of cabinet doors, outlets and anything hot. Choose a stable vessel and place it where it cannot be knocked into food or washing-up water. On a short counter, move the arrangement to the dining table when you need the workspace.
Try this: A pitcher you already own can come out between serving duties.
13. Add a Small Framed Print at the Back
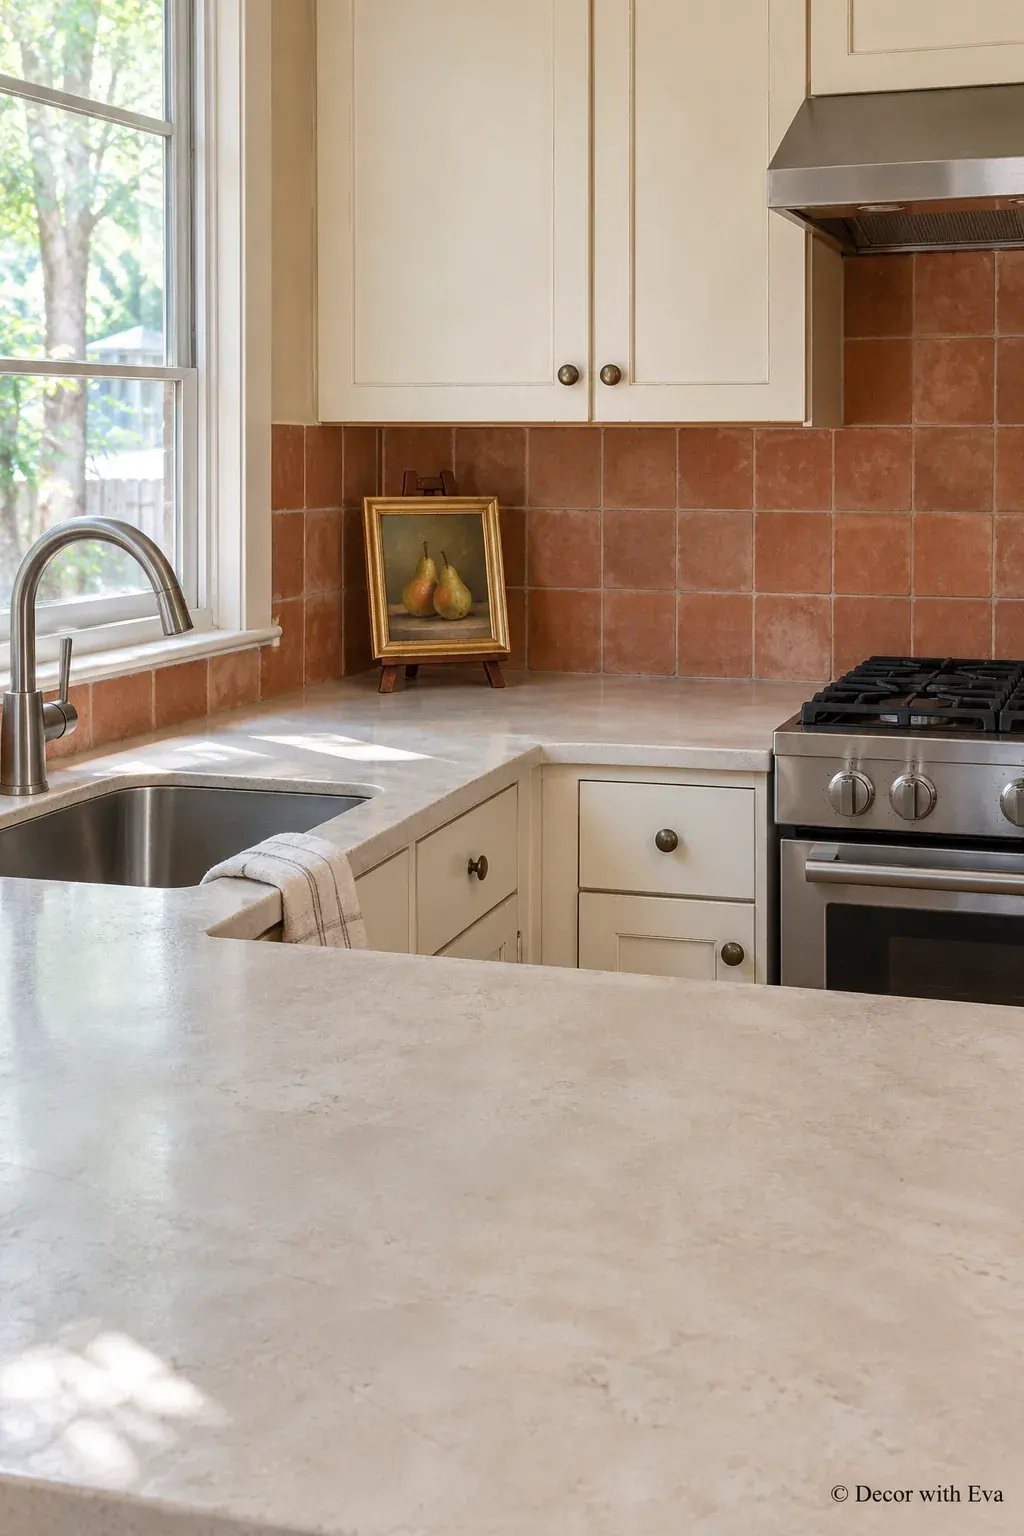
Art can make a kitchen feel connected to the rest of the home. A small still life or a simple landscape brings a softer note to a wall of tile and appliances. Keep the frame modest enough that it sits within the counter arrangement instead of blocking the backsplash.
Use a stable stand or mounting suited to the frame and the surface. Put it in a dry area away from the stove and sink, and keep it easy to move for cleaning. A frame that hides an outlet or catches a cabinet door needs another location.
Try this: Try a small print from another room before buying kitchen-specific artwork.
14. Keep Everyday Napkins in a Shallow Basket
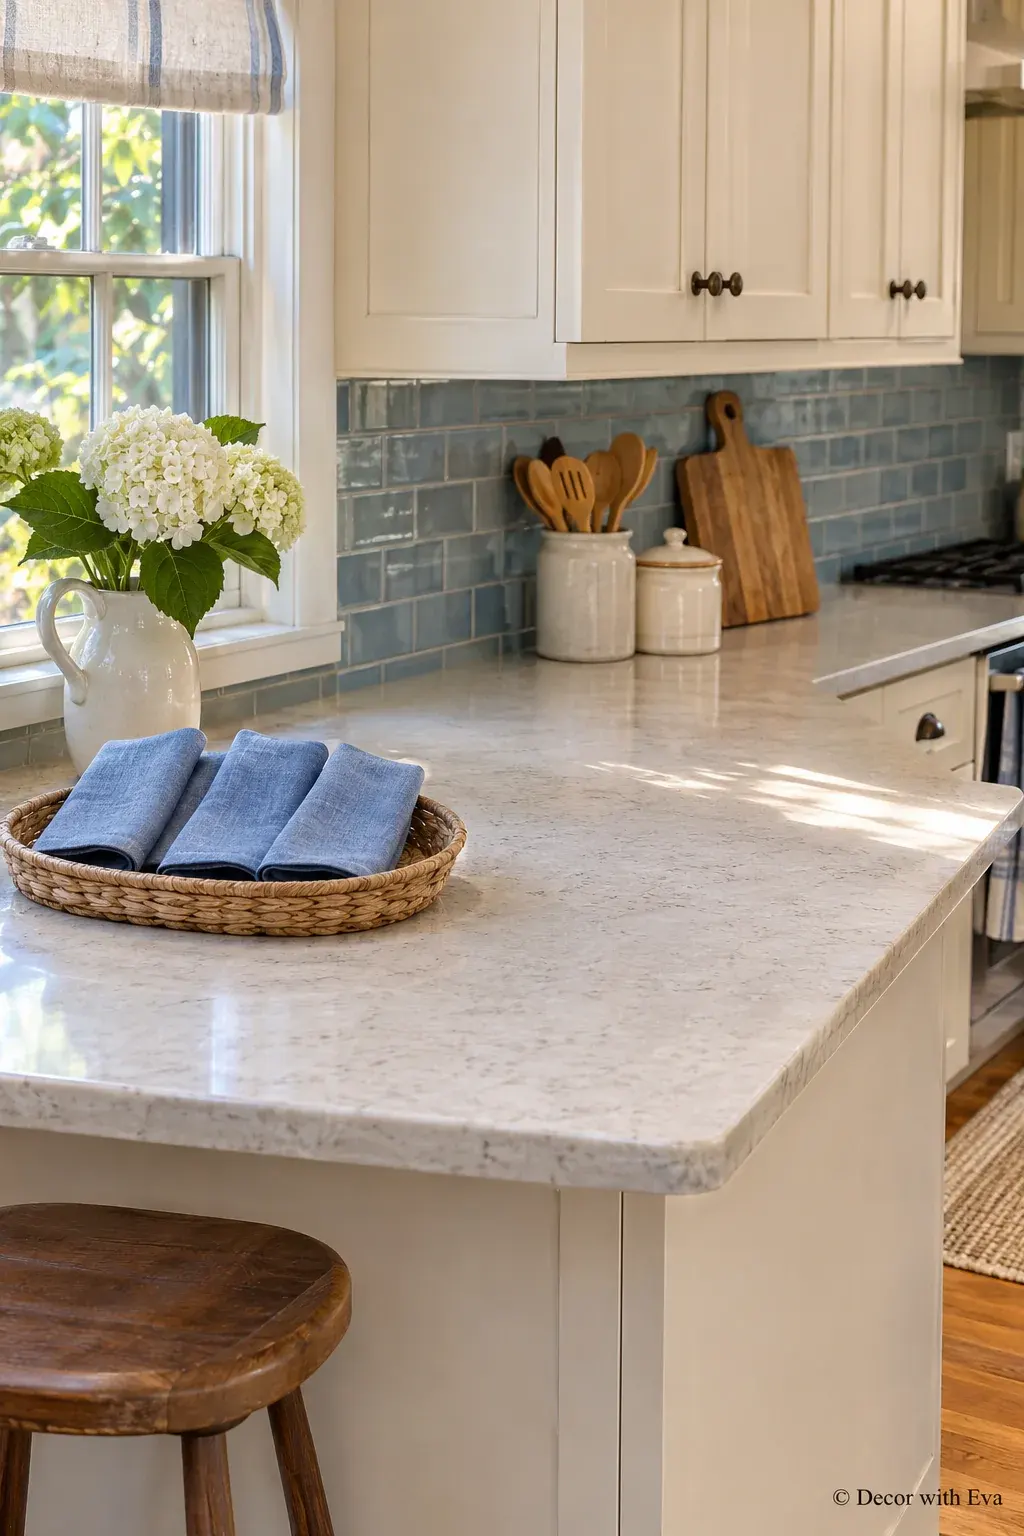
A low basket can give napkins a home on a breakfast counter without adding more jars or appliances. The woven texture is enough decoration on its own. Choose a shallow shape so the contents are easy to see and take out.
Use this in a dry eating or serving area, away from the sink and stovetop. Keep the basket clean and the contents limited to what you use. Check that it will not sit in the space needed to set down a plate or prepare lunch.
Try this: Reuse a small clean basket or washable napkin holder already in the house.
15. Move a Few Tools onto a Wall Rail
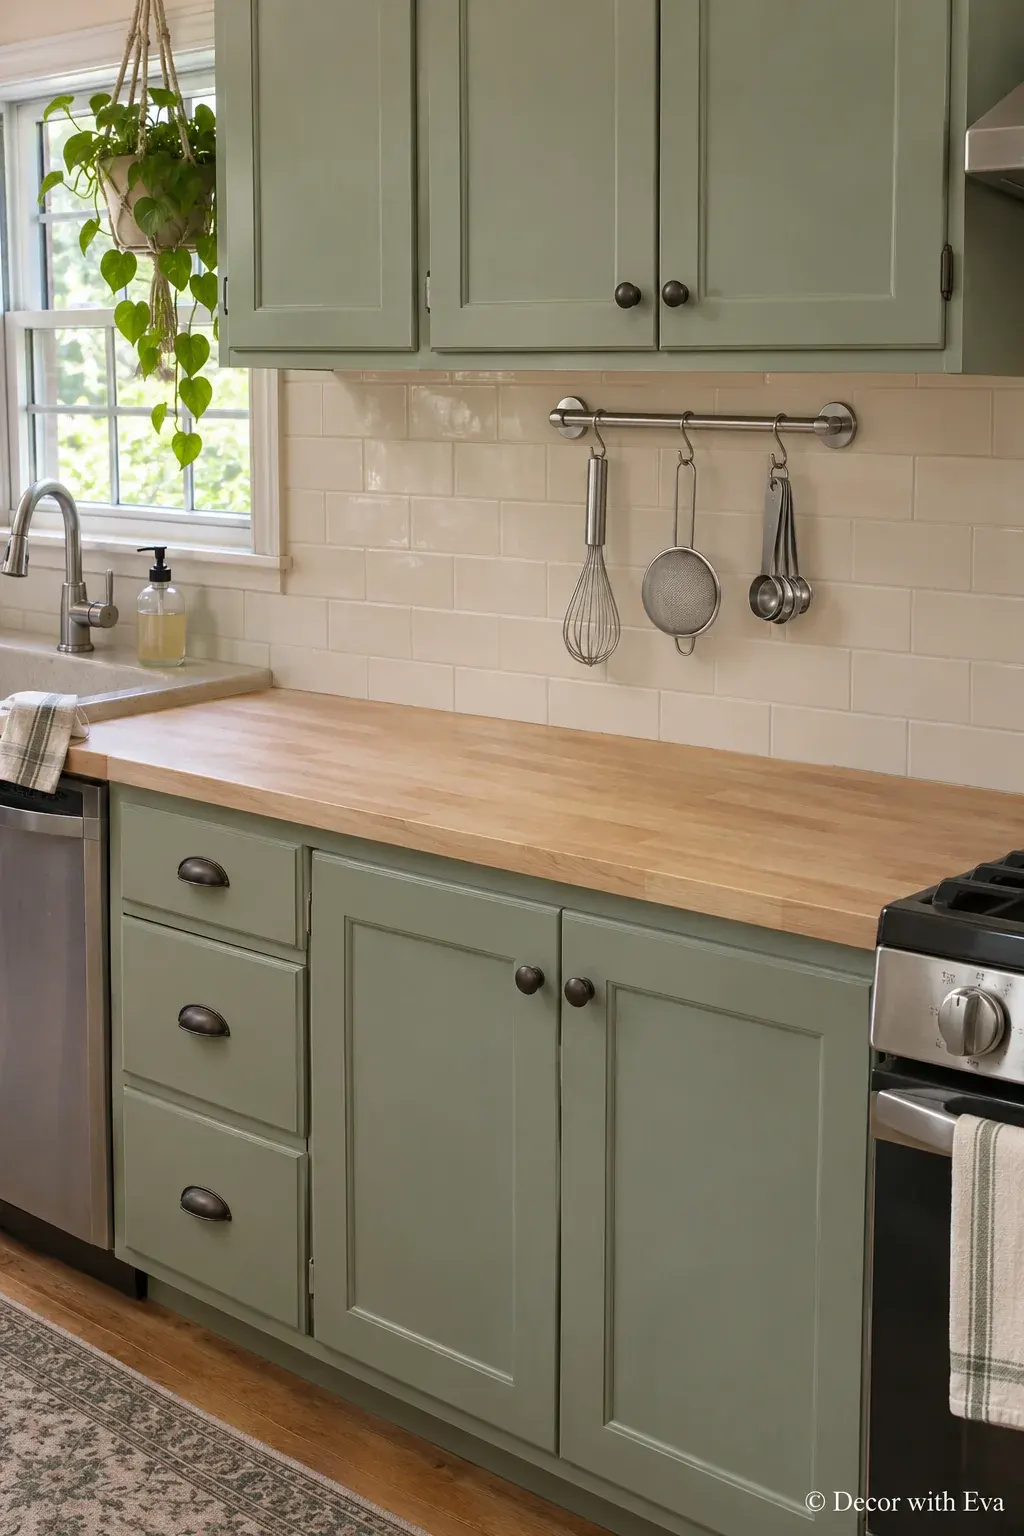
A well-placed rail can move a few useful items off the counter while keeping the kitchen’s everyday character. Choose only the pieces you want to reach for and see: a whisk, a small strainer and a measuring set can be enough.
Use hardware and fixings suited to the wall and the intended load, with permission where required. Keep hanging items outside the stove’s heat zone and clear of the work surface below. Measure their full hanging length so they do not drag across the counter or stop a board fitting underneath.
Try this: Test the arrangement with an existing rail before adding more hooks.
16. Display Today’s Baking Under a Glass Cover
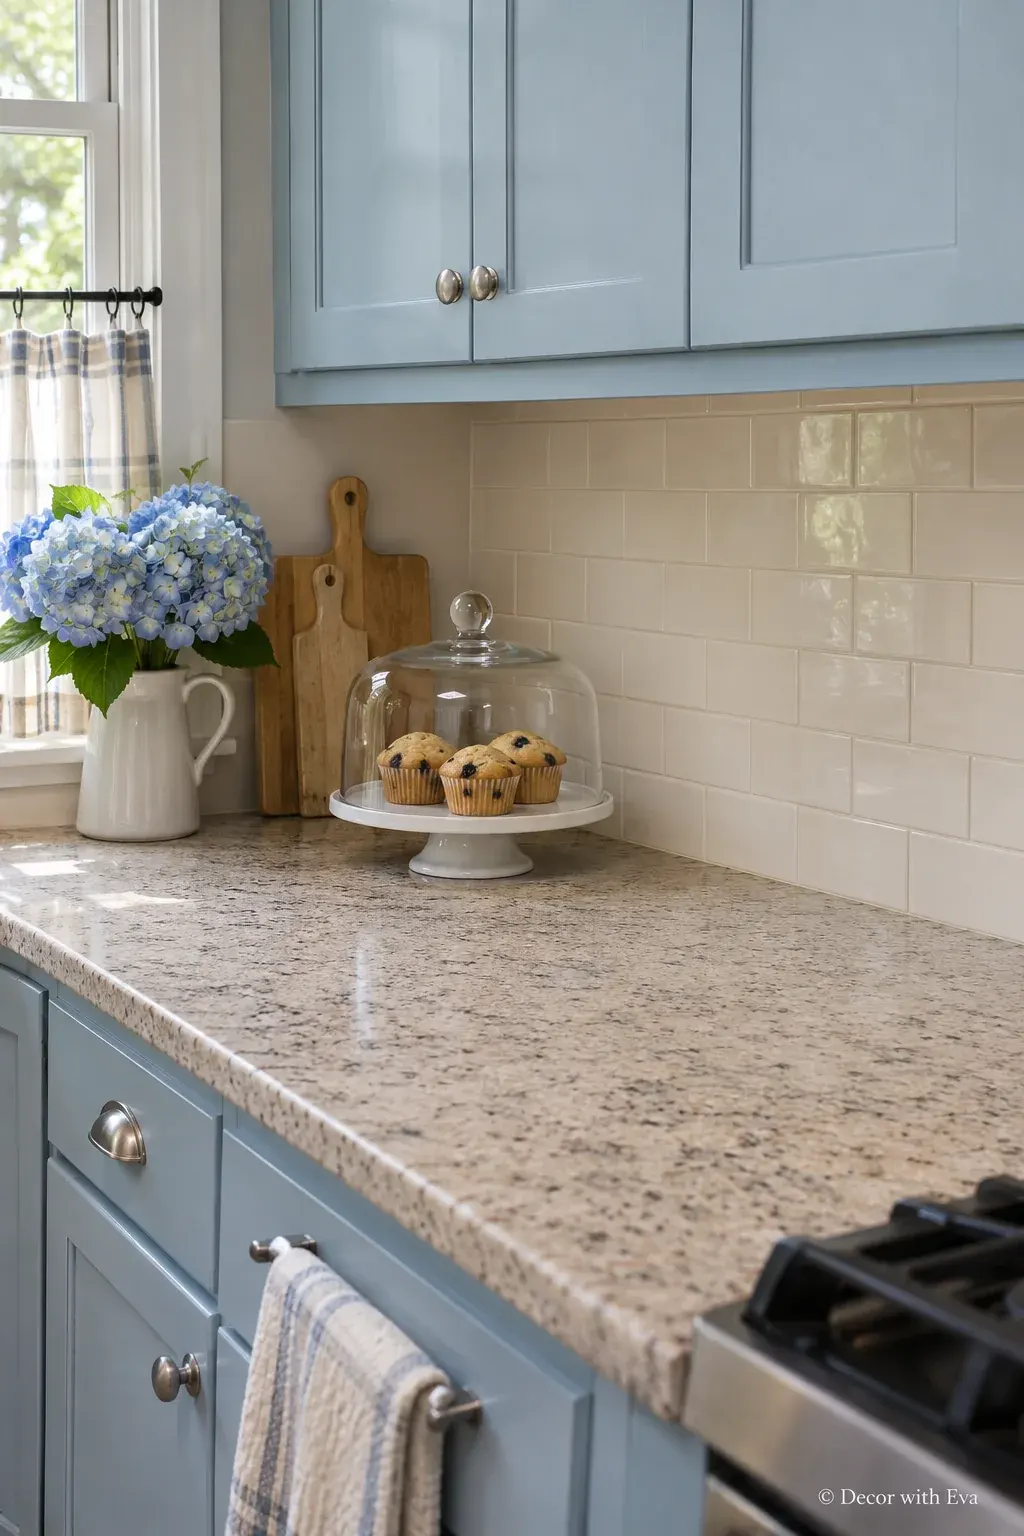
A simple cake stand can make a few freshly baked treats feel special without adding permanent ornaments. Keep the display low enough to suit the space and let the food provide the color. When the baking is gone, put the stand away if you need the counter back.
Place it on a dry serving counter rather than in the main chopping area. Follow the food’s own storage requirements; a glass cover is not refrigeration or a guarantee of freshness. Check the height with the dome lifted before placing it beneath a cupboard.
Try this: A plate and suitable cover can create a smaller version for an occasional treat.
17. Warm a Dry Corner with a Small Lamp
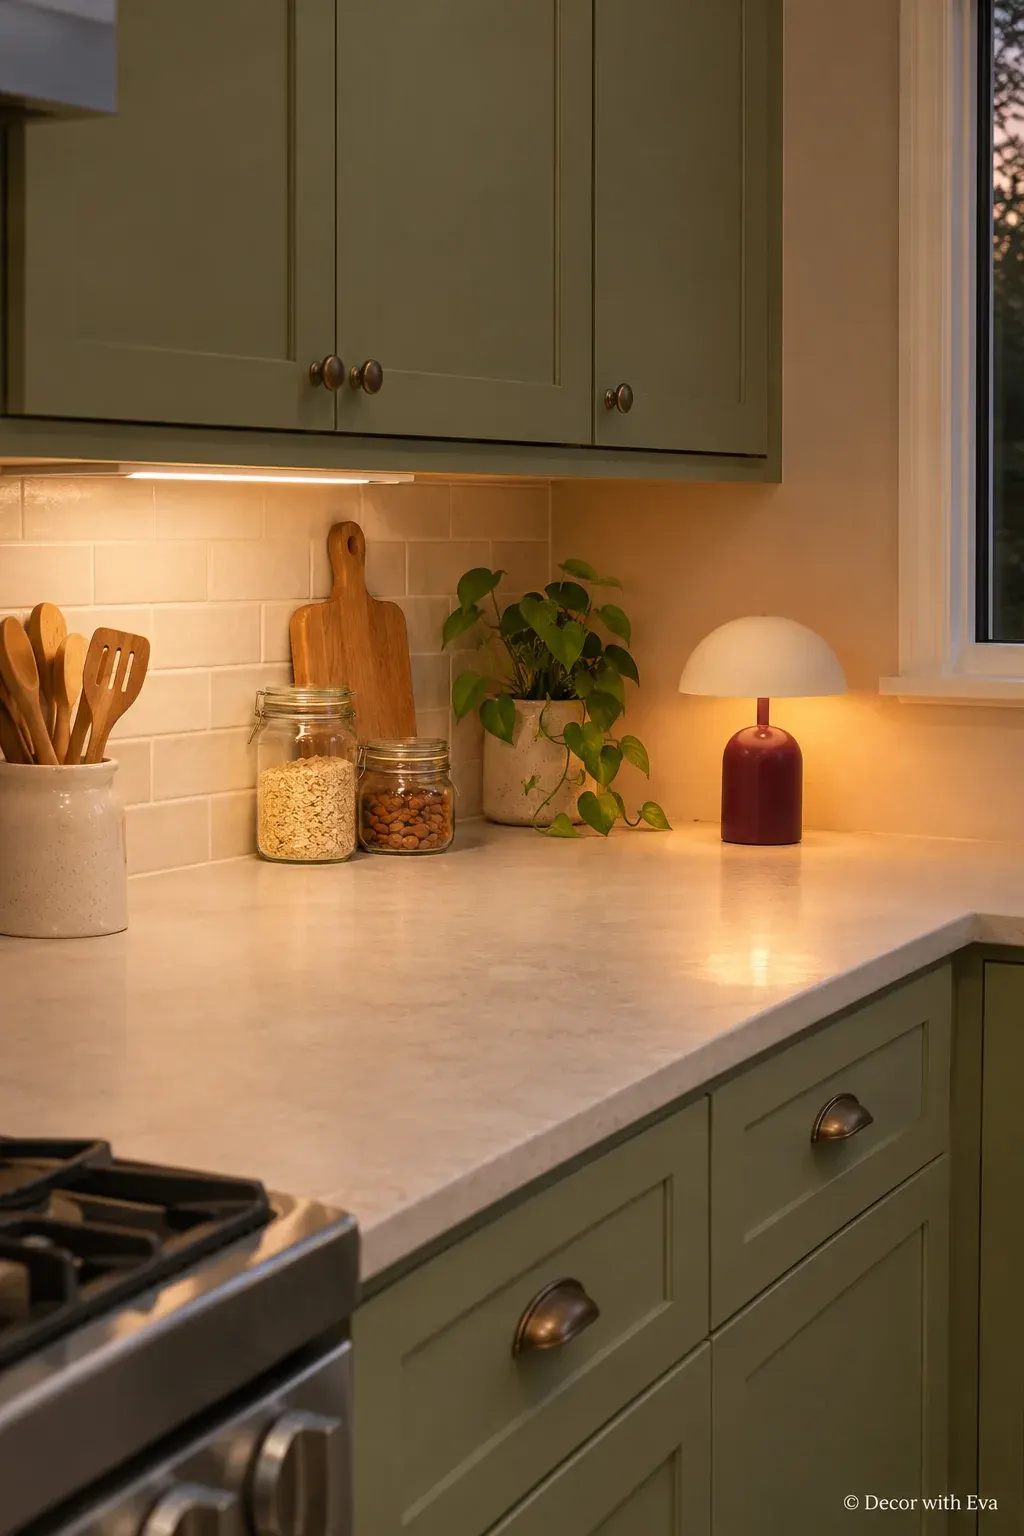
A small lamp can soften a kitchen that feels bright but a little stark after dinner. Give it a dry corner where it adds atmosphere without competing with the task lighting you cook under. A compact shape works better than borrowing an oversized living-room lamp.
Choose a fixture suitable for the location and follow its placement instructions. Keep it away from water, heat and the food-prep zone, with any cord routed out of the way. Check the cabinet clearance and the space needed to clean around the base.
Try this: Try the light in the room before deciding whether the counter is its best home.
18. Give the Island a Low Arrangement You Can Lift Away
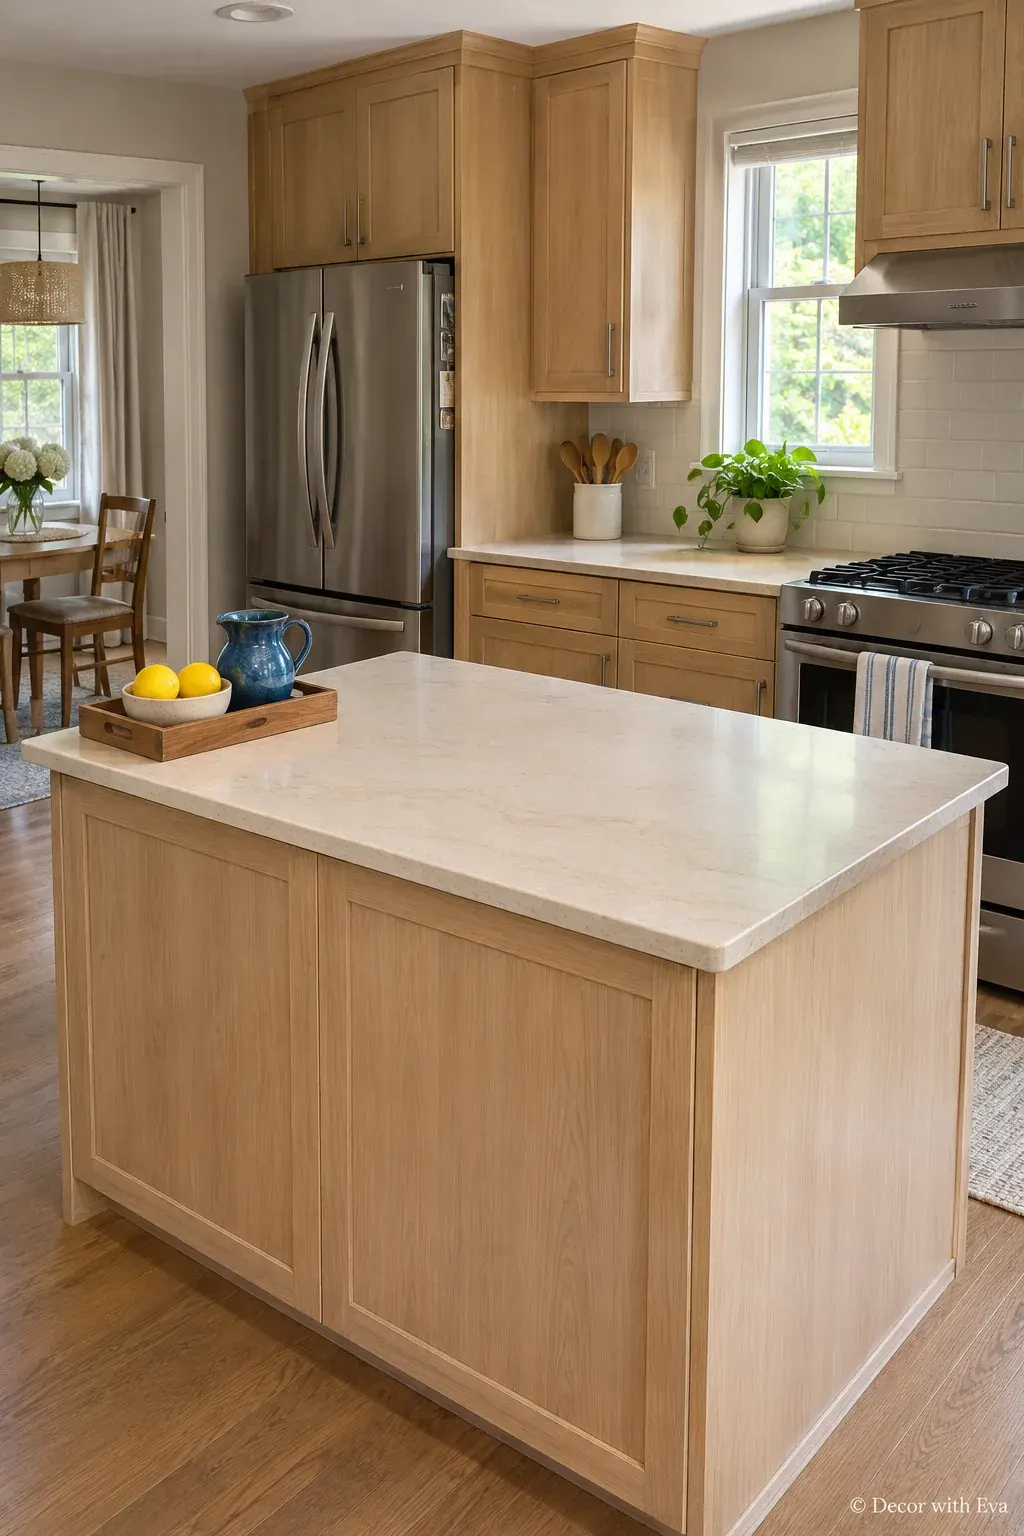
An island often needs to change jobs throughout the day. A low tray makes the decorative part easy to move when it is time to cook, unpack groceries or spread out a project. Keep the contents light enough to lift comfortably as one group.
Place it off to one end instead of in the middle of your usual work area. A small bowl and two everyday pieces can feel complete without blocking the view across the kitchen. Keep the rest of the island genuinely available, including the space around any sink or cooktop.
Try this: Use a serving tray you already own and clear it when the island needs to work harder.
19. Keep a Galley Counter’s Front Edge Clear
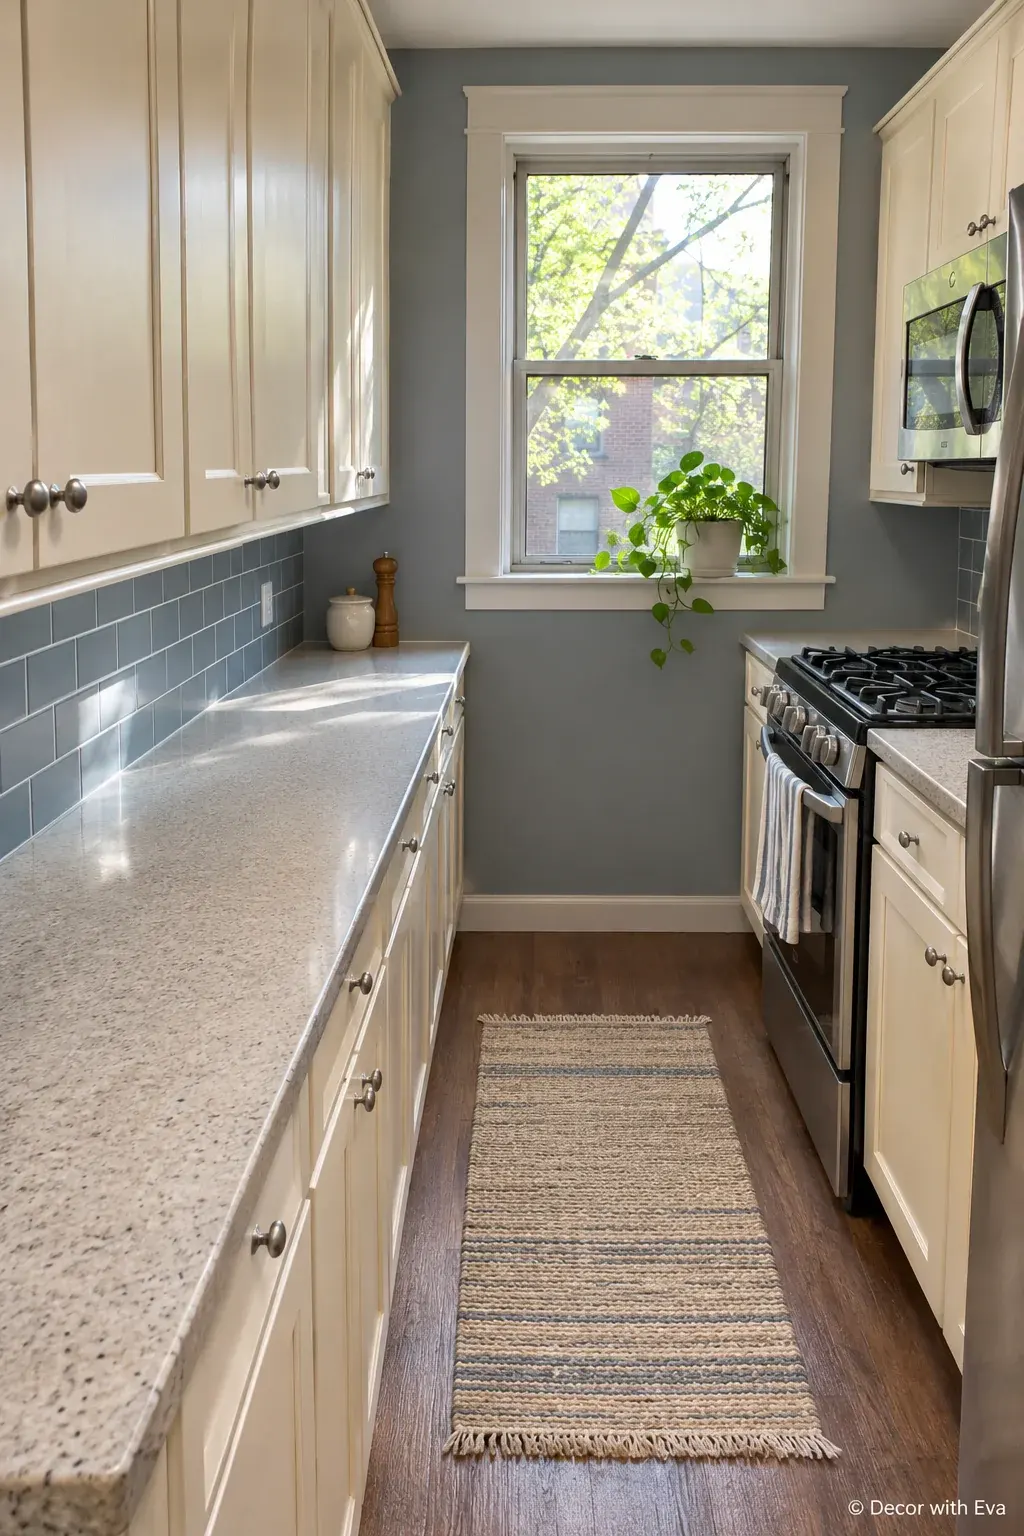
In a narrow kitchen, the placement matters as much as the number of objects. Keep a small group against the back of one end of the counter, with the front edge and the main prep section open. A low arrangement is less likely to make the galley feel closed in.
Check the kitchen in use: can you put down a chopping board, open a drawer and carry a pan through without moving the decor? If the answer is no, reduce the group. Attractive storage helps only when it leaves enough room for the everyday jobs.
Try this: Move the least-used item into a cupboard for a week and see whether you miss it.
20. Set Up a Small Baking Zone with Labeled Jars
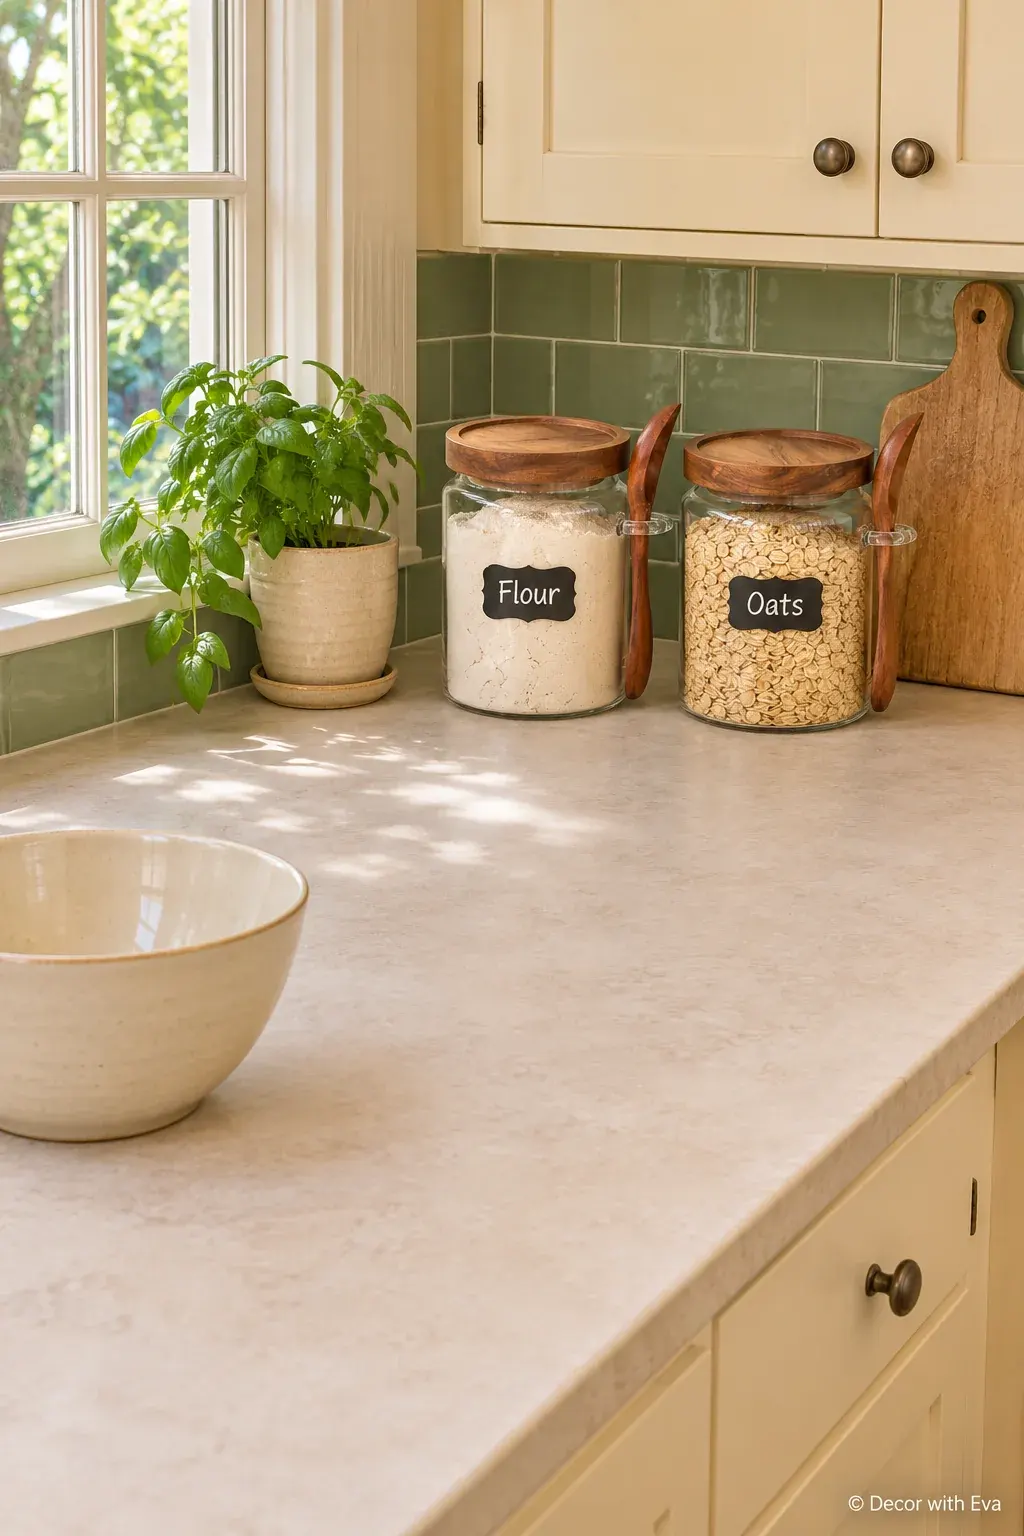
If you bake often, a small group of ingredients can make the counter feel useful and inviting. Keep only the quantities you reach for regularly, with the bulk supplies elsewhere. Clear jars add texture through the ingredients themselves rather than through extra decoration.
Match the container to the ingredient and label it clearly. Keep any dates, allergen details or preparation instructions you need from the original packaging. Put jars where they stay dry and out of direct heat, and leave the measuring and mixing area beside them open.
Try this: Start with two ingredients instead of decanting the entire pantry.
Each selected 0.8-quart jar is about 3.7 inches wide and 5.6 inches high. The acacia lids and scoops need separate care from the glass. Keep the contents labeled, including any original dates or instructions you need.
21. Make One Daily Appliance Part of the Arrangement
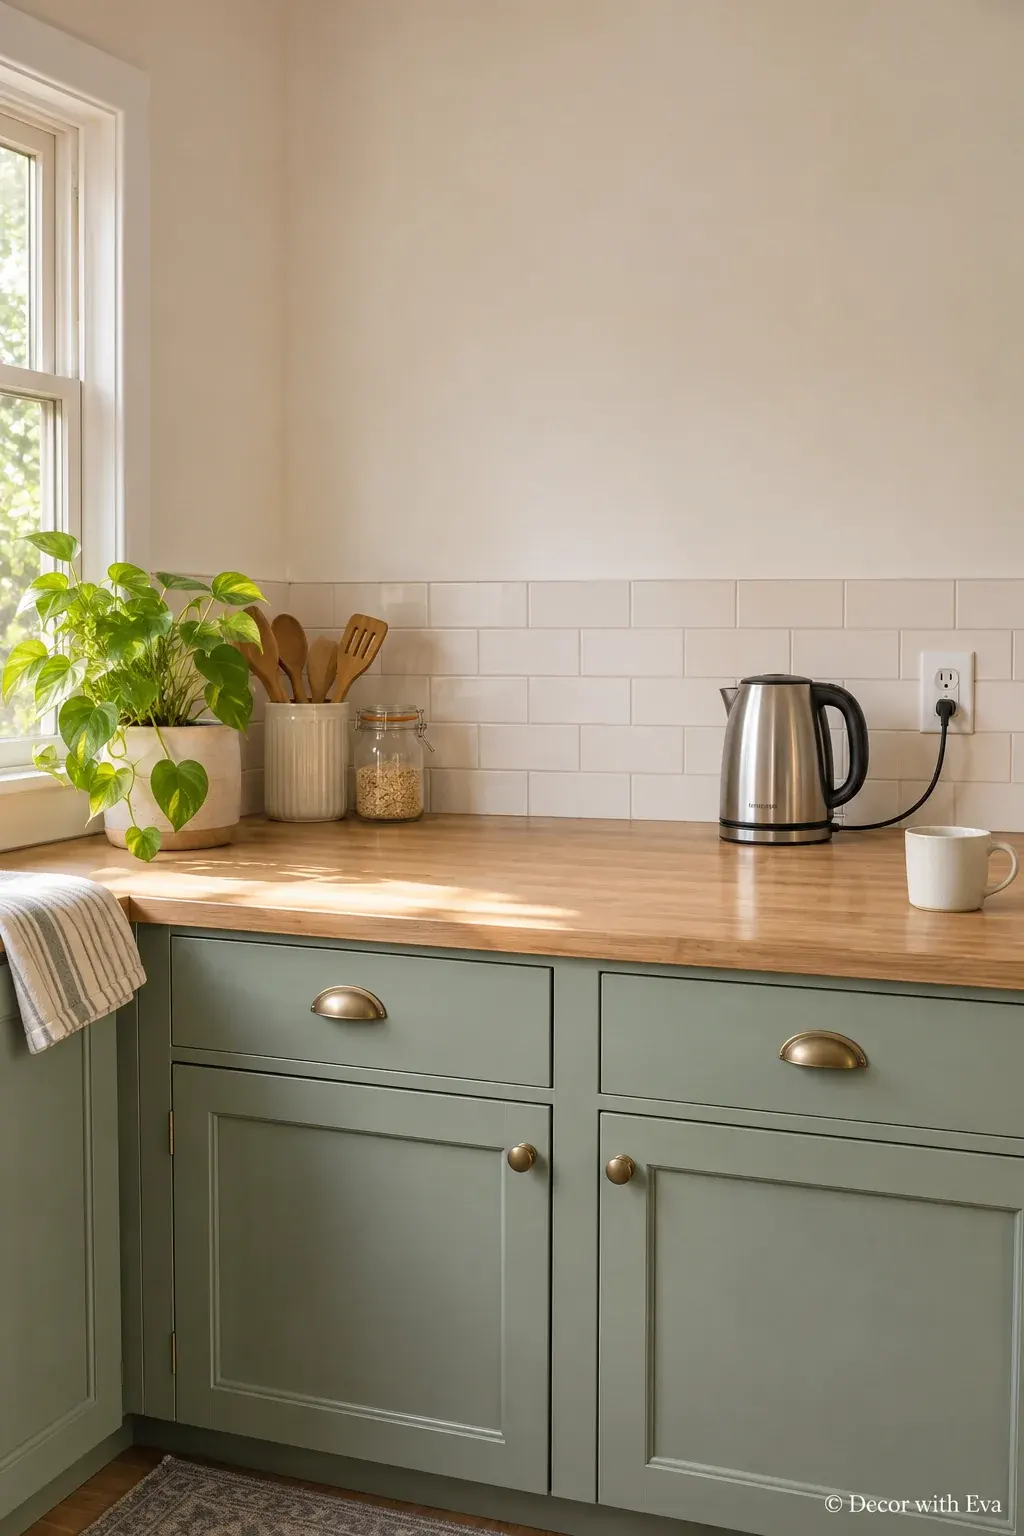
A kettle or toaster can be the main object in a small counter zone. A finish that works with the cabinets helps it feel settled, but the practical layout comes first. Keep its immediate surroundings simple so you can use it without rearranging the room.
Follow the appliance’s instructions for ventilation, heat and overhead clearance. Keep the cord tidy and dry without running it across the work area. Avoid operating an appliance inside a decorative box or under a shelf that does not provide the clearance it needs.
Try this: Put occasional appliances away and give the one you use daily a sensible place.
22. Repeat One Accent Color in Two Useful Pieces
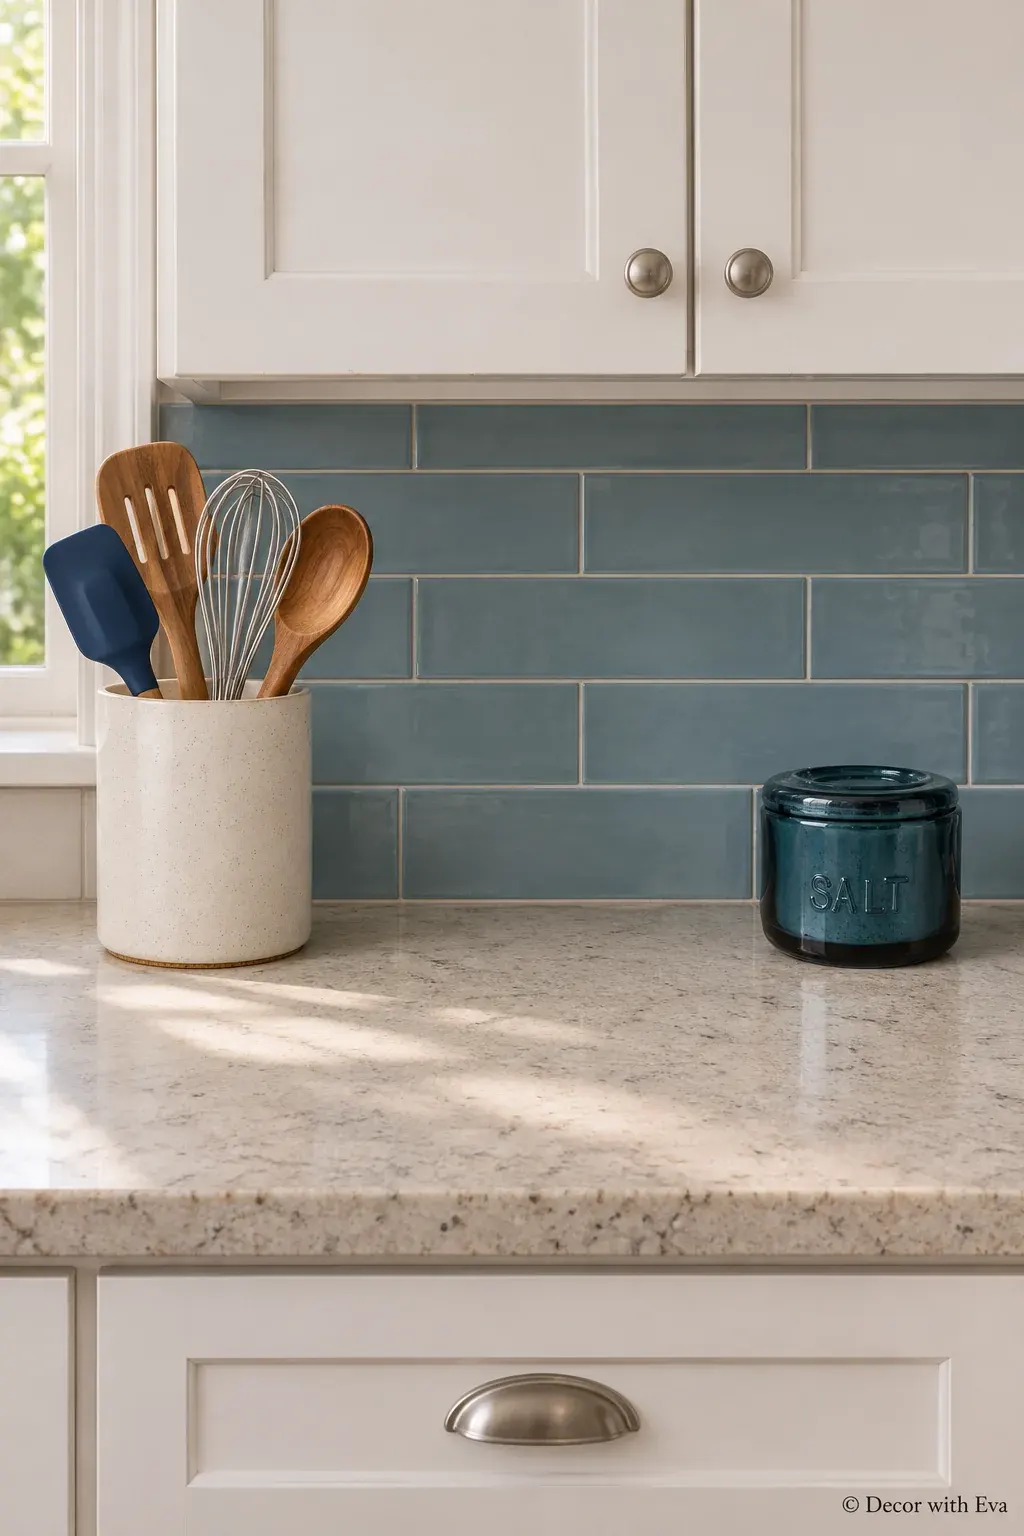
A little repetition can make the counter feel connected without adding another object. Choose an accent already in the room and echo it in something you use, such as a salt cellar or a utensil. The pieces do not need to sit together to work together.
Spread the color through the kitchen rather than building a tight display around it. Keep the rest of the containers simple and let the useful objects set the palette. You can change the accent later without replacing every jar and tray.
Try this: Try this with existing mugs, utensils or a tea towel kept away from the stovetop.
The Sand version is listed at 6.4 inches high and 5.1 inches across, with a cork base. Keep only the utensils you reach for regularly; the pictured tools are separate.
The selected embossed glass cellar is about 3.5 inches across and 3.3 inches high, with a lift-off glass lid. It is hand-wash only. The lid has no sealing gasket; do not treat it as an airtight storage jar.
23. Swap One Accent When the Season Changes
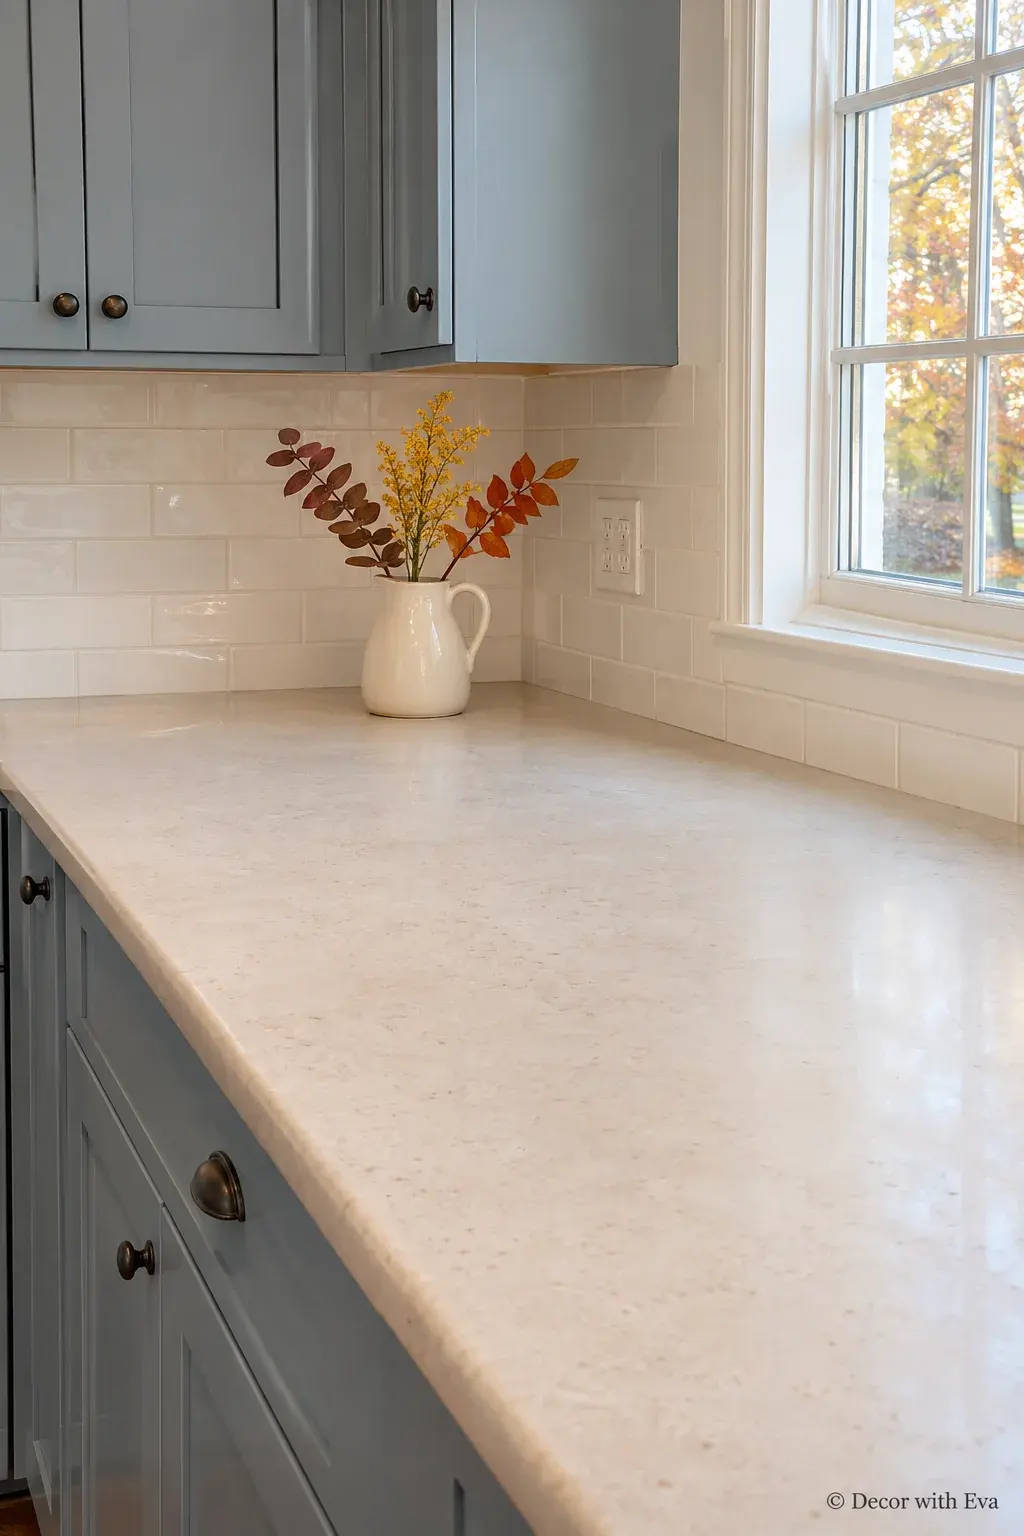
Seasonal decorating can be as small as changing one thing you already keep out. Put a few fall stems in the everyday pitcher, change the small print or use a different serving bowl. The rest of the counter can carry on working exactly as it did before.
Choose one spot for the change and put the previous accent away. Keep branches and textiles clear of heat, water and cabinet doors. If the arrangement has to move every time you cook, use a smaller version or take it to the table.
Try this: A few clipped stems or a bowl from the cupboard can make the change without a shopping list.
What Should Stay on a Small Kitchen Counter?
Keep the everyday essentials and one small decorative choice that fits around them. That may be a useful bowl, a single plant or a compact coffee setup. If a tray or shelf makes the space harder to wipe, reduces appliance clearance or occupies the only prep area, simplify it.
How Do You Make Kitchen Counters Look Less Cluttered?
Remove things that do not belong in the kitchen, put reserve supplies away and give each remaining group a clear purpose. Check the arrangement after cooking a normal meal. The best version is the one you can put back quickly without lining up a dozen little objects.
Let the Counter Follow Your Routine
Choose one idea, live with it for a few days and keep the part that makes the kitchen nicer to use. Leave room to chop, mix, wash and set things down. A counter can feel finished without being filled.
When the holidays arrive, build on the same useful layout with our kitchen Christmas decor ideas. A small seasonal change can sit around the routines that already work.